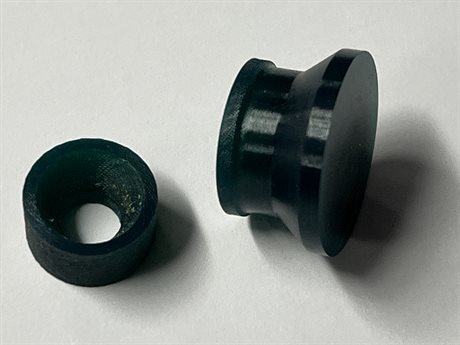
Just acquired this FWB 150. Looks nearly new. Serial number 35059 indicates it’s a 1968 model I believe. Having a traditional stock design makes it suited for either side shooters. And I shoot from the right side. I feel very blessed to have found this rifle in this condition. It Chrony’s in at 634fps using RWS Hobby 7.0 grain. Beautiful Walnut stock. Came with a bipod and adjustable Iris. The only thing it needs is a new breech seal. Does anyone here know where I can get one? Thank you.
edit: upon removal of the receiver from the stock, I discovered the stock is “walnut stained” Beechwood.
EDIT II- upon removal of the receiver again and a closer study of the wood stock, I can say with certainty that this stock is Walnut. Just very tight grained heartwood. Heavy like Beech.

edit: upon removal of the receiver from the stock, I discovered the stock is “walnut stained” Beechwood.
EDIT II- upon removal of the receiver again and a closer study of the wood stock, I can say with certainty that this stock is Walnut. Just very tight grained heartwood. Heavy like Beech.
Last edited:

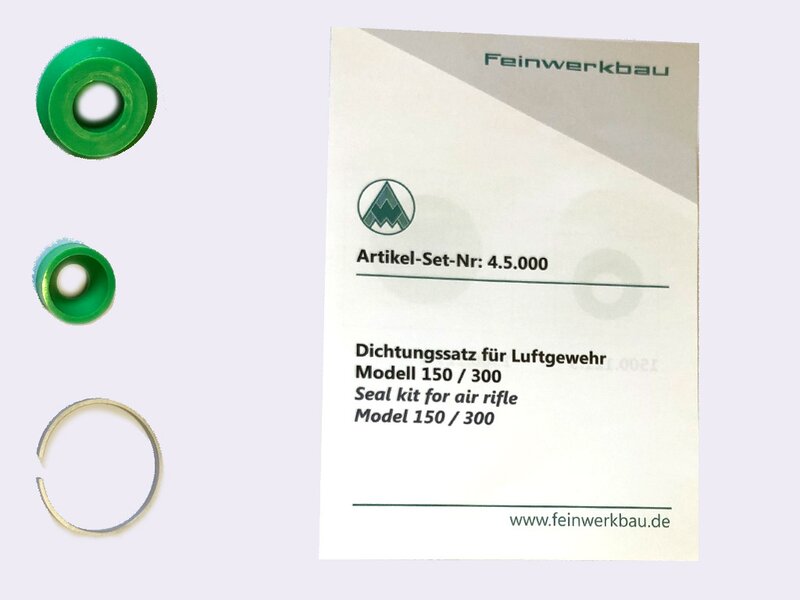


 and this is for D Slade
