
Upvote 0
You are using an out of date browser. It may not display this or other websites correctly.
You should upgrade or use an alternative browser.
You should upgrade or use an alternative browser.


Filters
Show only:
Results Meeker N50 Match Results, 7/1
- By reiffra945
- Benchrest
- 3 Replies
Here are some more pictures from today’s match:
Upvote 0
Semi-wadcutter slug
- By JFranco
- Projectiles
- 13 Replies
Well , yes and no . These slugs comes with round nose but make holes like wadcutters .
I made before the hybrids like FX , but stop making them , too much work .
Also make a flat tip , something like meplat , see snap .


I made before the hybrids like FX , but stop making them , too much work .
Also make a flat tip , something like meplat , see snap .
Upvote 0
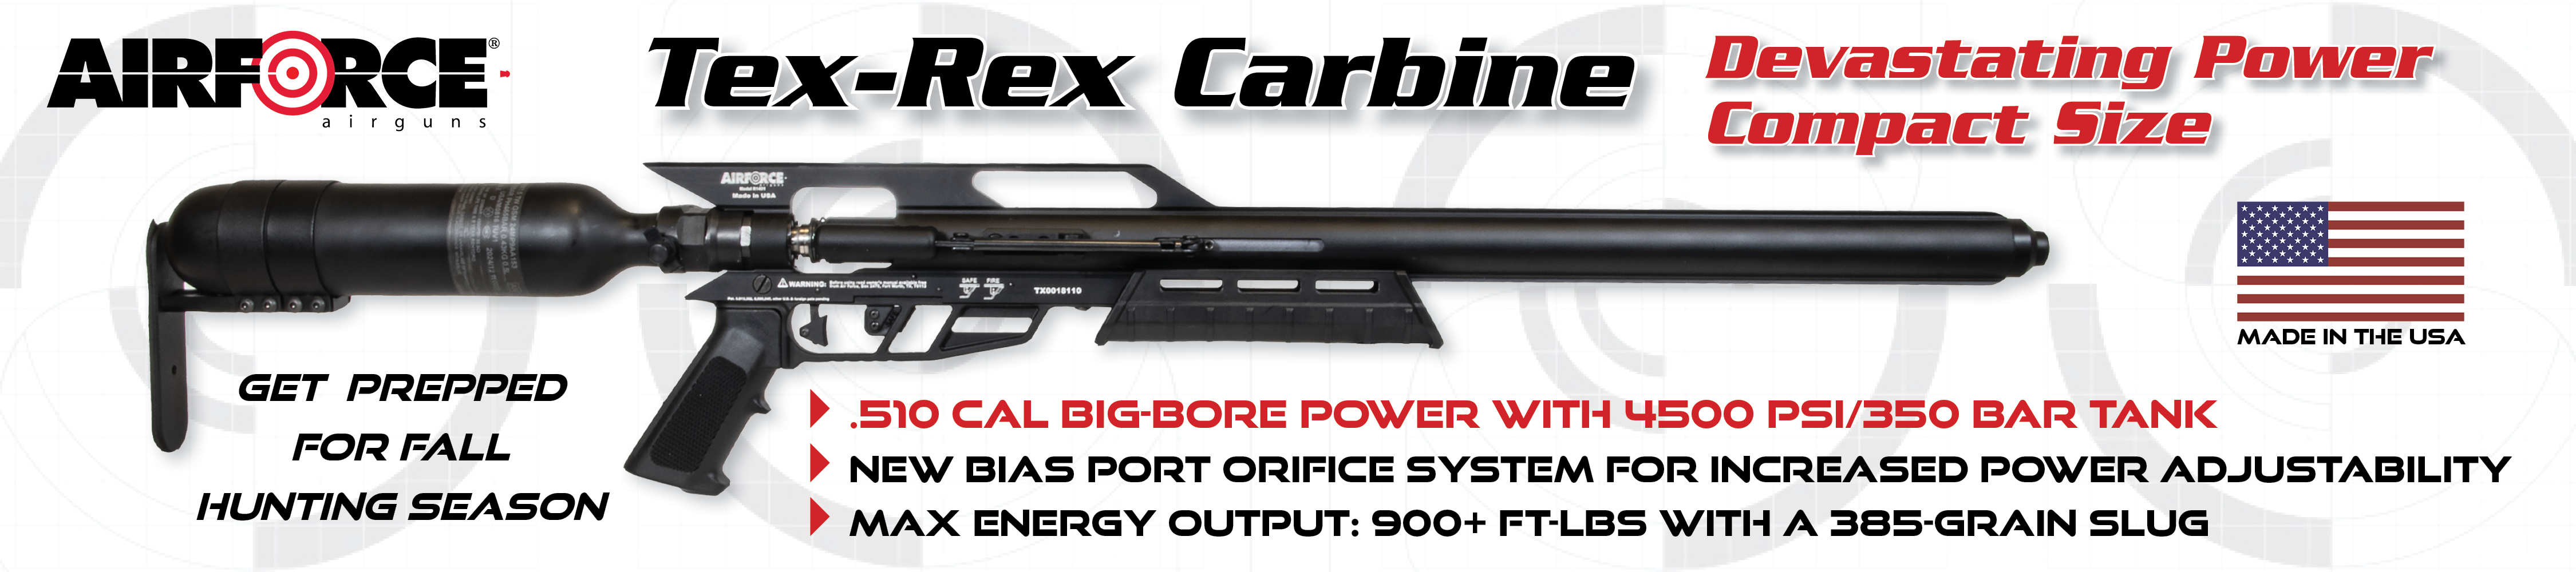
Airforce 40 seconds of Airforce Power!
- By MongooseV8
- Big Bores & Arrow Shooters
- 2 Replies
Some nice setups. I like the Panthera rail mounted under the shroud.
Upvote 0
Will dry air dry out occassional moisture intrusion
- By rayroz
- Tanks, Pumps, Compressors
- 10 Replies
There has been lot said on the subject and lord knows a ton trying to get the moisture out .
Do your best with what you have and shoot the hell out of it . Have fun .
Do your best with what you have and shoot the hell out of it . Have fun .
Upvote 0
Airmaks Krait Pro
- Industry News
- 5 Replies
No, there are not. The Krait Pro is just the Krait with all the accessories they sell put on the gun.Are there any fps performance gains on the Krait Pro?
Upvote 0
F class bipod
- By Strelac
- All Other Equipment
- 2 Replies
You are right, it’s limited due to the main screw. It’s surprisingly easy to turn that screw, but still inconveniently long to do it just for the transportation purposes.Wow, surprisingly affordable! I expected at least $300. Does it fold up for portability? Probably not, with the leg adjustment & all.
I have to check with my friend who bought one is there an easy method to disassemble it
Upvote 0
Microbore Failure
- By jarmstrong
- Tanks, Pumps, Compressors
- 9 Replies
HOSES ARE TEMPORAY, they are like car tires, they wear out,, yard hose, radiator hose, air hose, hydraulic hose,,,,
we will not talk about humans,,,
also build quality is not equal among mfrs
we will not talk about humans,,,
also build quality is not equal among mfrs
Upvote 0
Pyramyd AIR - FX DRS Classic - Price drop!
- Industry News
- 0 Replies
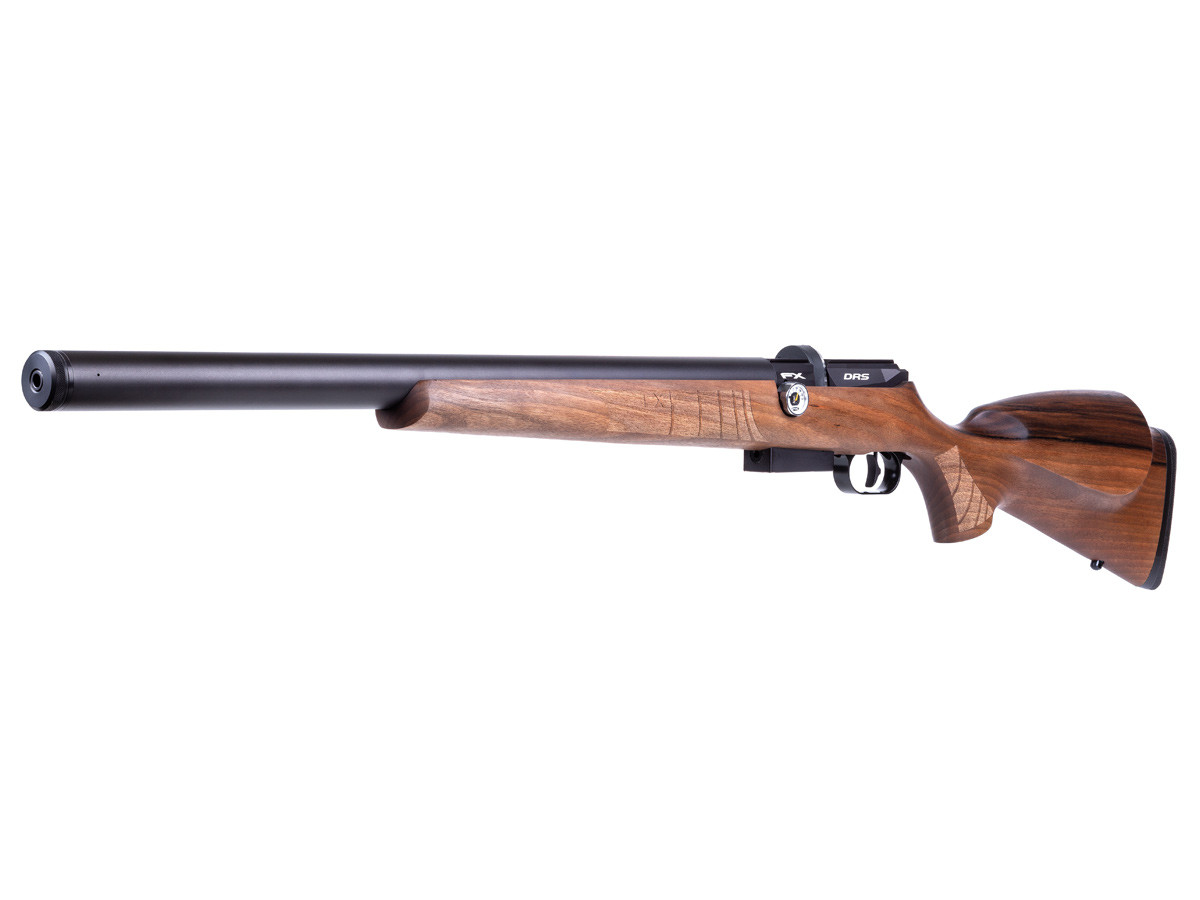
FX DRS Classic PCP Air Rifle, Walnut | Pyramyd AIR
We've got a great price on the FX DRS Classic PCP Air Rifle, Walnut. Get a great price and expert advice at Pyramyd for your next outdoor adventure!
www.pyramydair.com
"Next level, Incredible, Amazing" - the NEW Utah Airguns facility!
- By Justaguy
- Industry News
- 26 Replies
Hopefully they will start carrying more parts.
Upvote 0
FX Price Increase
- By 6gun
- General Discussion
- 17 Replies
I often wondered if they had that good utah lds money.There is a big big cost to the fancy new building and gun range they built. Revenue must go up to pay for it. Plus the nightly YouTube hunts with $60,000 worth of Airguns in $150,000 Raptor has to be paid for. Not knocking it. Good for them. American dream. Turned a hobby into successful business! BUT their price increases are more than they needed to be for tariffs alone, so it’s others reasons too.
Upvote 0
Makin chips
- By Matt247365
- General Discussion
- 7 Replies
Nice looking parts
My first job was shoveling chips at my friend's Dad's shop.
It was 1978. I was 14yo. Excited to be making 2 bucks an hour
My first job was shoveling chips at my friend's Dad's shop.
It was 1978. I was 14yo. Excited to be making 2 bucks an hour
Upvote 0
Moving Inventory = Mega Deals
- Industry News
- 0 Replies

MOVING SALE! - Utah Airguns
<p>The Patriot Javelin Slug is an exceptional choice for long-range shooting, even in challenging weather conditions. Its efficient tangent ogive shape and balanced design ensure maximum compatibility with various barrel configurations and velocities. Additionally, its smooth exterior and...
 utahairguns.com
 Utah Airguns Moving Sale 6/30/25 - Save Up To 50% Off
- By Ridgeback
- General Discussion
- 27 Replies
My bad…!@Ridgeback It is a good Idea to create a thread asking your question as opposed to hijacking a thread that focuses on a particular vendor. If you opt to conduct an AGN search, you may already find that similar questions have been posed on AGN.
I’m new here and mean no harm or intention highkack - I come in peace!

Thanks!
Upvote 0
Upvote 0
Recommendations for Battery Powered Air Compressor
- By Normkel
- Tanks, Pumps, Compressors
- 35 Replies
DC motor current draw decreases with RPM, which is why they have their highest armature torque at zero RPM. Many will recall that it was common practice to convert 6 volt tractors and vehicles to 12 volt, but no need to make changes to the starting motor. In fact, 6 volt starters (starting motors) last much longer when powered by 12 volt.I have not tried it but I am confident it will work. I have a 100 amp hour lithium phosphate battery on my smaller boat for the trolling motor. Fully charged it puts out 14 volts. But car alternators put out 14V too. So the compressor can take it but I don't know if a steady diet of 14V will affect the compressor.
There is much confusion regarding motor loads because most people consider an electric motor to be a DC resistance load, ignoring the switching effect of brushes and commutator.
Many will also recall that a failing battery typically results in destroying the starting motor, because of the low voltage, low motor RPM = high current issue.
In my (70) years of starting systems & DC motor experience, I have no concern with operating my small compressors off 14 volts versus 12 volts, but great reluctance to operate them from lower voltage sources.
Another factor that is often ignored is the operating voltage question. A "12 volt" or "14 volt" battery is only providing that voltage at a low, or zero current (amps) flow. When powering a load, especially a significant load such as the compressor or starting motor, the battery voltage will be pulled down, often much lower.
The industry standard minimum voltage for 12 volt starting motors, applicable to other DC motors IMO, is 9.6 volts. If a "12 volt" DC motor is operating at a supply voltage below 9.6 volts, that is asking for trouble.
I would be grateful to learn how much the 100 amp LI battery voltage is pulled down by the load of your compressor. It the battery is capable of powering a trolling motor for extended periods, I expect it will be more than satisfactory for your compressor. A voltage measurement of battery voltage with compressor operating will tell the tale. By the way, batteries can be damaged by too high a current flow (draw) so I would be more concerned about battery damage than motor damage.
Upvote 0
6 more rat kills from last night. Video.
Post up your results when you start cracking them.Thanks mate for giving some confidence.
Now, I'll be more comfortable and will focus on aiming at the right spots.
Upvote 0
HW35
- By MDriskill
- Traditional Airguns
- 17 Replies
A quick bubba way to measure the port is to mash a piece of poster putty or something similar on it.

Gamo Gamo Arrow - Power and Firing Valve Mods
- By Air King
- PCP Airguns
- 0 Replies
EDIT 7/21/2025: About the power mod, I find that it greatly effects the POI for the first 20 shots which shoot very high, as might have been expected in an unregulated airgun. After a couple magazines it settles down but then falls off after another thirty shots or so. So in hindsight I increased FPS a lot but also decreased functional accuracy just as much.
The tank is at about 75% full at a point when the accuracy normalizes for a few mags, I'll leave it there for the pesky wabbits, so it's still useful for something.
--------------------------------------------------
If you have any questions about these two mods just ask.
The first mod is about increasing power by drilling out the air transfer port between the tank and barrel, the second mod I hope fixes the common issue of broken firing valve pins in the Arrow, which I think results from a lack of firing pin support between the hammer and valve. As for tools and disassembly, not much will be discussed there, it's not difficult, work in a well lit area, etcetera. I'm not a technical writer so do these things on your own or use a pro, but I'm a handy person as should you too before doing these things. Work at your own risk. Read and understand everything before attempting.
For the firing valve mod you should degas the tank, you can loosen the tank gauge, do slow slowly. You can remove the tank first to do this, it's two T25 torx screws under the stock, careful as the nuts will fall out of their slots in the rifle. Then carefully remove the two plastic bands, the rear band will prolly fall off, the front band be careful to pry that off, don't mar it up. Don't use excessive force when disassembling or reassembling.
To remove that band, see the little horizontal slot at the top of the band where it hooks into the stock, gently pry that up with a slim screwdriver of the correct size, don't pry on the band itself or it'll prolly break.
* POWER MOD: No photos are included. A chronograph is required. So with the tank off you'll see the transfer port, remove that carefully by twisting it out, don't mar it with a pliers or anything, don't ruin the o-rings. The only lube you'd use on any of these parts is silicone oil if any at all, anything aerosol or petrol based might erode or explode. I drilled out the port to 9/64 per my liking and went from 690 fps to 820 fps. I used a regular hand drill with the part wrapped in masking tape and drilled it out in stages with the drill bit index, I held the part with a mini vise grips and wrapped the part in masking tape so as not to mar.
Drill it out to your liking, you'll of course need a chono to complete this mod, you'll have to reassemble it to test fire, don't try to fire it without complete reassembly or it flies apart. I think this mod is self explanatory so that's about it, drill it out to your liking.
* FIRING VALVE MOD: The following photos show the firing valve support mod, which uses parts I found at a True Value hardware in the nut display area, those parts are common to those displays; a bushing, five nylon nuts, a nylon screw of the same size (not seen), and JB Weld metal epoxy.
As for the sizes of the parts, I don't remember exactly, only that the bushing fit about perfectly in the space, but it had to be ground down using an angle grinder in a vise to fit in that area. The five nylon nuts fit snuggly around the pin, I think they were 10/24 size if that makes sense. Bring the air tube to the store is what I did. A nylon spacer of the same nut size was a bit too loose on the firing valve pin, so I went with the nuts.
For a lot of this you're on your own, I'm not a technical writer. Grind or cut the bushing to get close to fitting, the gap between the washer hole was finer then the scale in the drawing, like maybe an eighth of an inch. But the only place it's glued is onto the firing valve, nothing is glued to the stock. When the nuts were lined up on the nylon screw, they were lightly super glued.
After they dried very well they were glued into the bushing with JB Weld metal epoxy. I used the nylon screw of the same size to keep glue from the threads. You want those nuts to be as squared as possible so I put it up on a flat surface with a piece of tape underneath, so they'd dry like that and not get stuck. And don't press the firing valve pin unless it's been degassed.
So after the epoxy sets up after a day, the bushing is glued onto the firing valve. Lightly sand the face of the bushing and valve, don't sand or nick that pin or it may damage the tempering. Of course test the bushing before gluing, see that the pin should be snug but have no lateral movement which is what I think leads to it's breakage. I put a very thin coat of teflon plumber's grease on the pin before gluing, put a thin coat of epoxy glue on the bushing and the valve, then press into place. If done well, a bead of glue will form around the glue joint. Use a cotton swab or something to clean up the area if need be.
So now let it cure for at least a full day or longer. Reassemble and hopefully the pin won't ever break. I'm not a technical writer so proceed with your due diligence.
Huben Huben Gk1 V3 Rear sight problem
- By castro510
- Air Pistols
- 2 Replies
It doesn’t seem to be loose…I thought that was the problem before but then after tightening it. The problem occurred again
Parallax wheel mounted on the elevation turret?
- By Troy Bakel
- Optics
- 7 Replies
This is the reticle of a Russian PSO-1 type range finding scout scope.
Each ^ (chevron) is a scope zero point for a specific distance with a corresponding elevation turret setting.
Find the range to target using the horizontal crosshair or curved range determination lines. Place the correct ^ on the target and select the corresponding elevation turret setting for that ^, shade for wind, and send it.
The Russian Sharp Shooter who's Kalashnikov SV-99 I had the privilege to shoot had her ^ dope on a wheel mounted to the elevation turret.
The ^ on her scope were BDC for civilian 5.6 mm not Warsaw 7.62.
Upvote 0
Picatinny Rail Mod for Air Venturi Avenger Bullpup
Did this mod last year on an Avenger Bullpup I design. The original rail was too long to mount the CV Life scope that I got on Amazon Vine so it cost me nothing. The key was to find a rail with the proper number of notches between the screw holes to match the Avenger mounts, which in this case is fifteen notches, also gotten on Amazon but for $8 although the price has gone up the past year.
LINK: https://www.amazon.com/dp/B0D1SK76NX?
The new Bullpup II design has lower mounts but still the same rail length, so this mod may still apply if you want to use low scope rings as I did, not sure how low the new mounts go.
The watch is the Buyalov Design 1967 gotten from Meranom for about $350 a few years ago.
Hatsan Hatsan Velox 25cal
- PCP Airguns
- 0 Replies
Does anyone know if there's any mods to bring my Hatsan Velox 25cal up atleast to the advertised fps?
Thomas Air Headspace tweaking, not the kind between your ears
- By Troy Bakel
- PCP Airguns
- 17 Replies
I have a <12 FPE Thomas BR.
During pellet testing the two best pellets were the H&N Baracuda FT 9.57 grain, 4.51 diameter and the MEISTERKLUGEN 7.0 grain pistol wad cutter.
If inserted into the chamber deep enough to touch/engage the rifling, both pellet's 5 round group size opened up.
For depths between flush with the breech face and touching the rifling, it didn't seem to matter, the group size remained consistent.
So I set the depth of the pellet probe to insert a pellet till the skirt is just inside the breech face so depth and centricity can be verified easily by eye and therefore be consistent shot to shot.
Upvote 0
Hi
- By Moderator3
- General Discussion
- 1 Replies
Read the Rules for general posts and specifically for the classified section.
You must have 10 days presence on AGN and you must have at least 10 posts that contribute to the value of knowledge of the forum.
Introduce yourself, have a look at me and contribute to the conversation, before you worry any about buying or selling.
 www.airgunnation.com
You must have 10 days presence on AGN and you must have at least 10 posts that contribute to the value of knowledge of the forum.
Introduce yourself, have a look at me and contribute to the conversation, before you worry any about buying or selling.
Classifieds Rules
www.airgunnation.com Upvote 0
Load more