I mounted a rail to my (new to me) backup FX 400 stock today. So, I decided I'd share my mounting method with you guys.
Before I get started, let me just say that T-nuts work VERY well and are a bit more secure than the system I used. However, with this stock and the carbon fiber bottle, there is very little room for the T-nuts and I didn't want to take a chance at damaging my bottle. Also, there was a hole already drilled into it when I got it that was just slightly off center.
Enjoy!
Edit: added video of this procedure....
The first thing I did was take a rough measurement of the thickness of the stock where I planned on mounting the rail. I got about 11/16". Then I measured about how much of the screw would be taken up by the rail, about another 1/8. Added up = 13/16 just shy of 3/4 inch.
Getting started with some of the tools I'll need laid out...

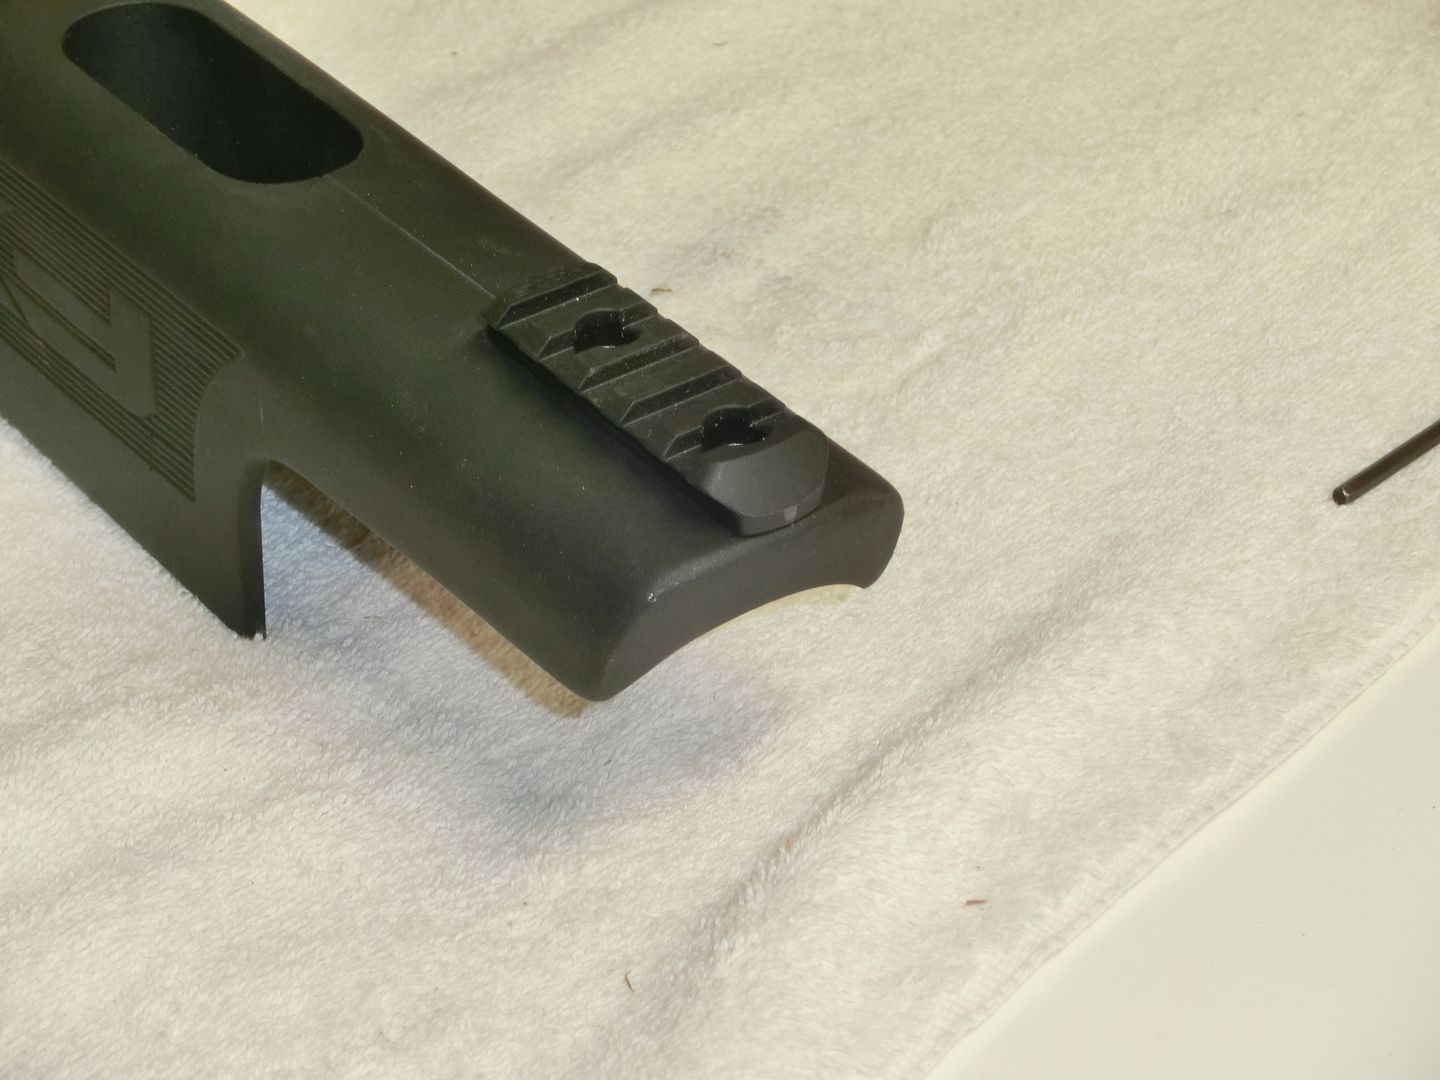
Visualizing where the rail will go...
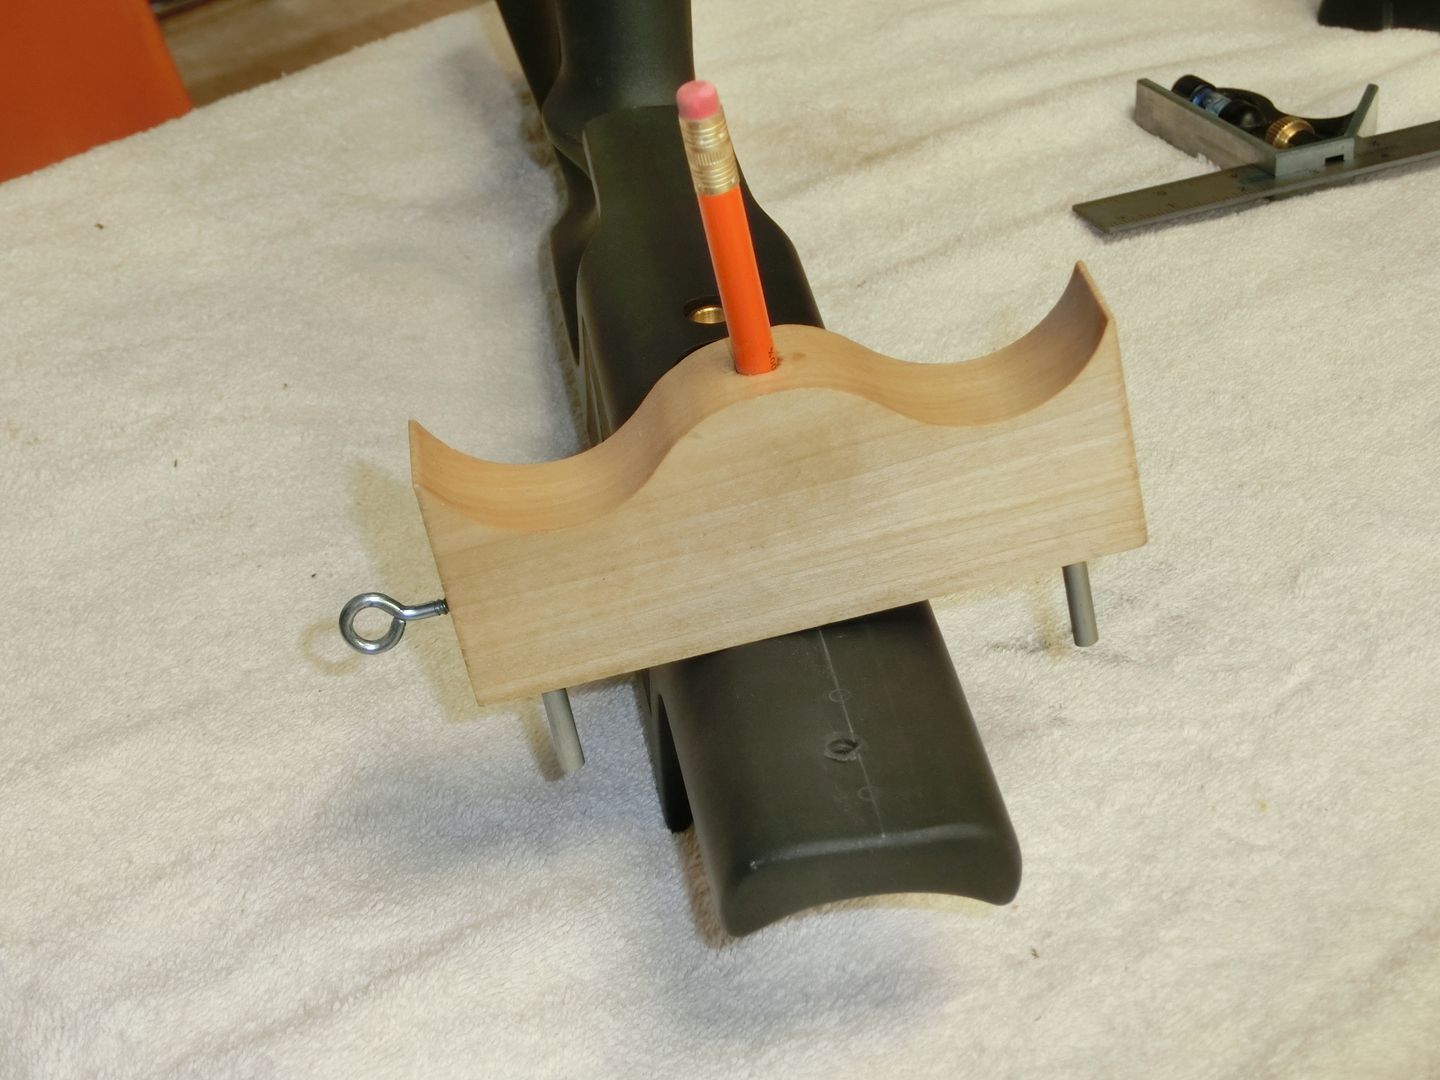
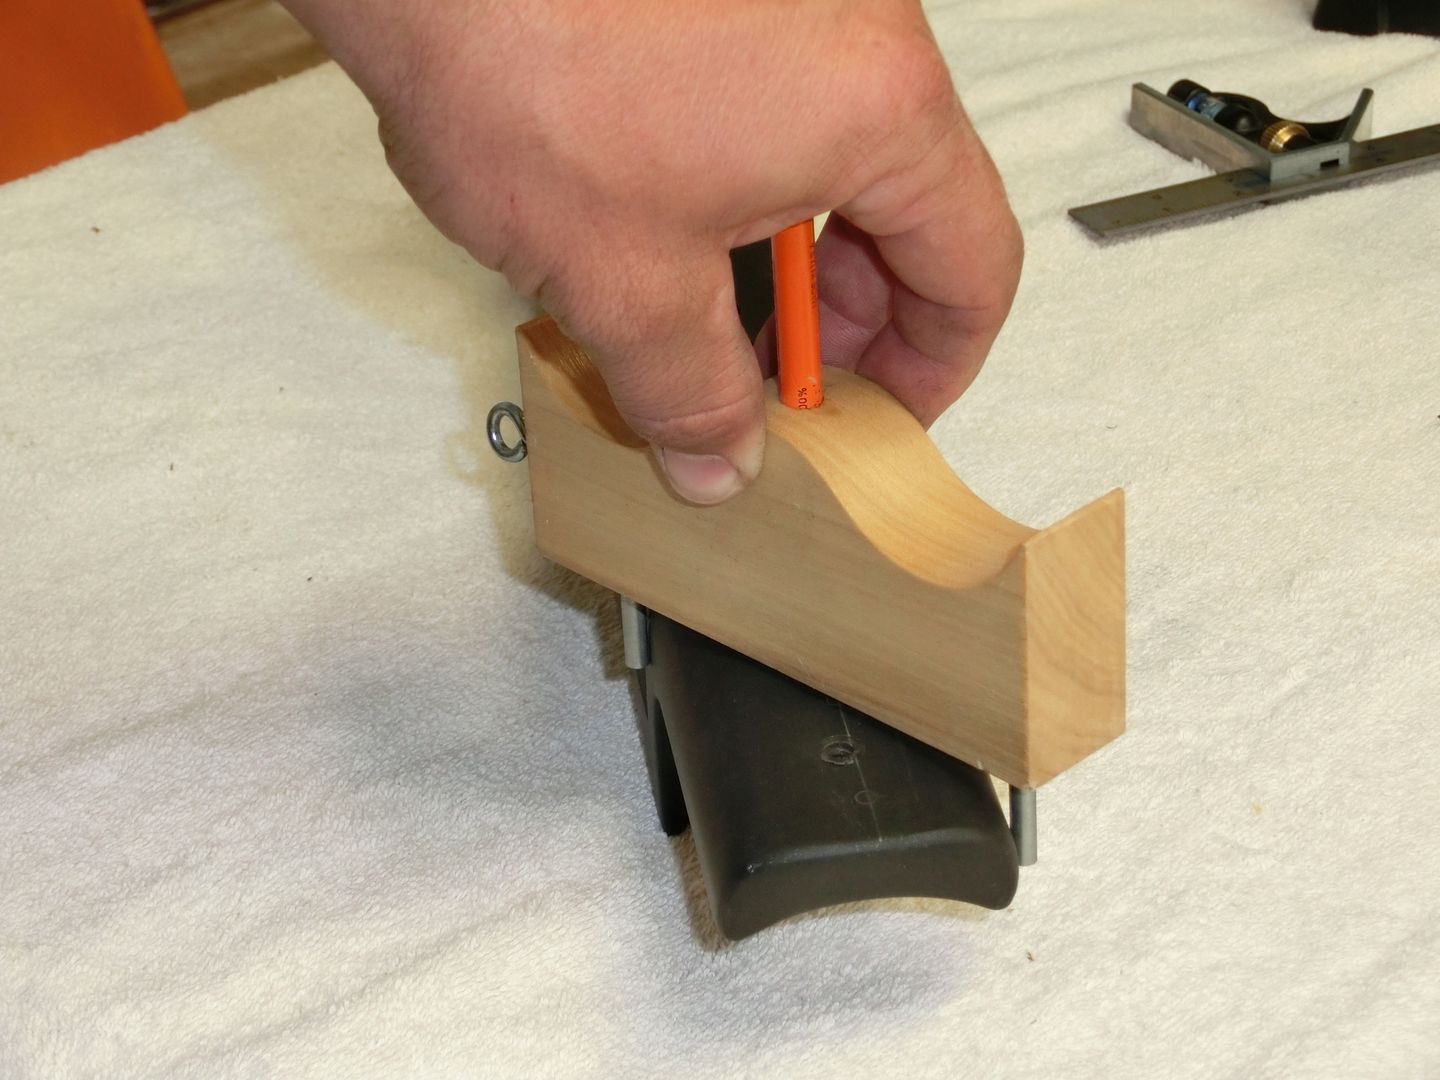
One thing that some people struggle with is finding the center of the stock. This is a very simple tool I made that will help me to locate the center. It's a piece of hardwood with 3 holes drilled into it. It is critical to have exactly equal spacing between the center hole and the outside holes. The outside holes are drilled to accept a 1/8 rod and the center is drilled out to accept a pencil.

Bottom view shows the rods and tip of the pencil. The rods are epoxied in place. I made this jig large enough to find the center of the wide side of a 2x4. There are 2 eye hooks also. One is to hold the pencil in place, the other is just to hang the jig on the wall.

Turn the stock bottom side up. The jig goes on then simply turn it while keeping it perpendicular to the stock. Then, just slide it down the stock.
The jig won't work all the way to the end so, lay a ruler next to the line you made and finish it to the end.
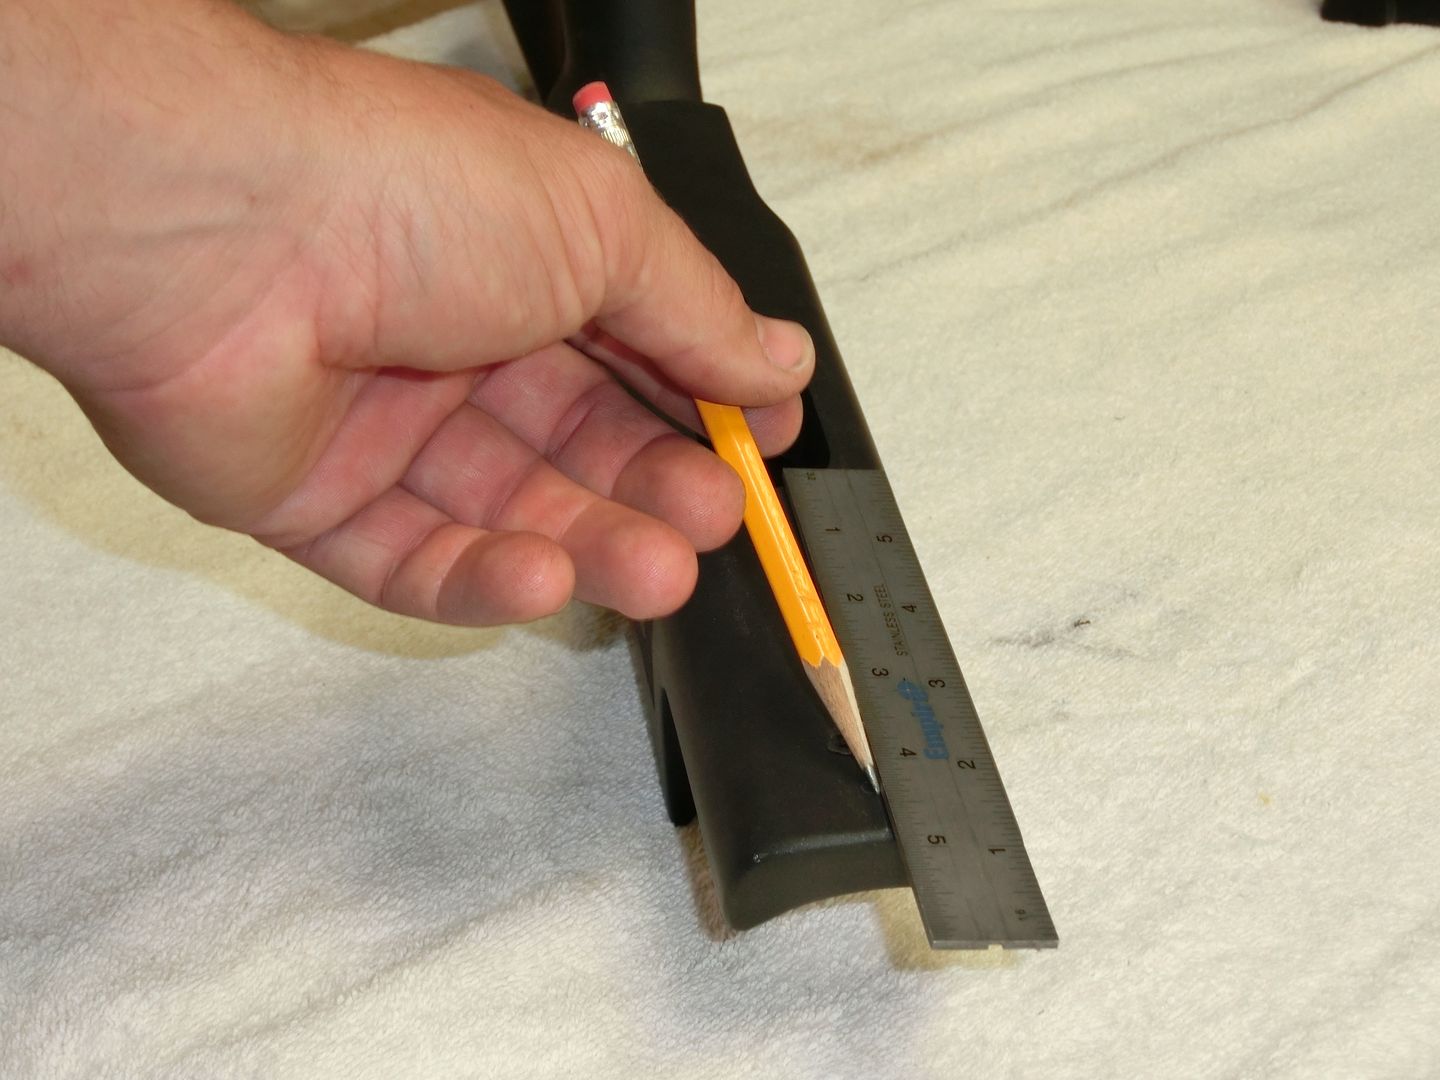
Here's another method to find center and the way I used to double check my line. Using a combination square, set it on the side of the stock and check the measurement. Use a flat part of the stock.
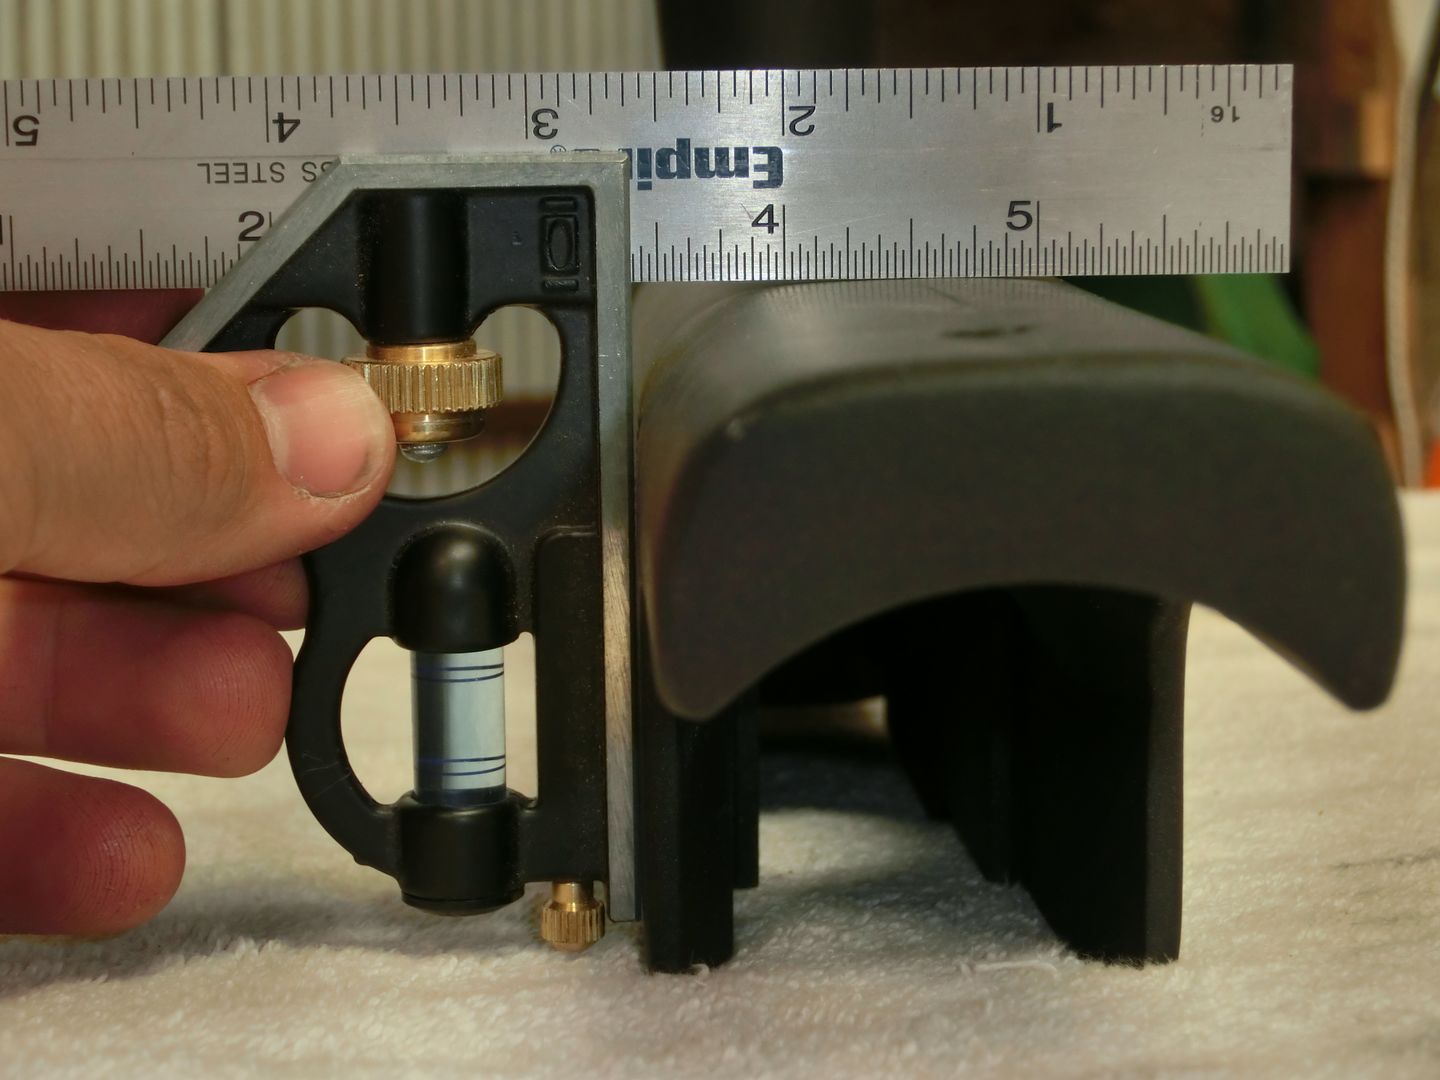
I'm at the 4.5" mark...
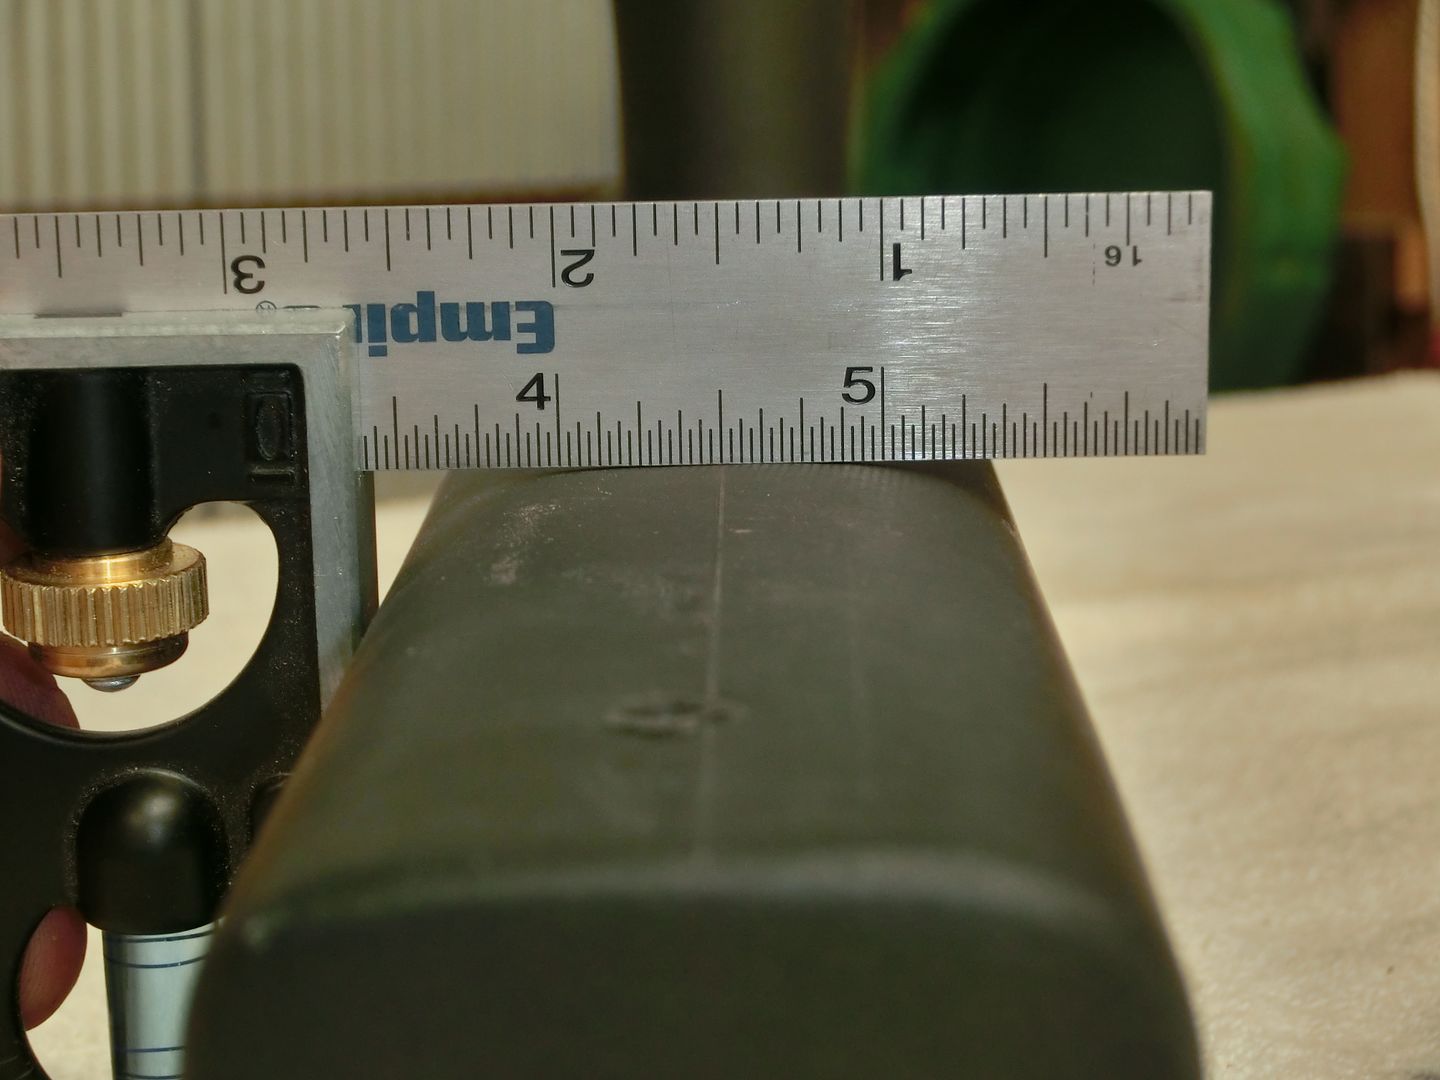
Spin it around and check the other side in the same spot and in the same way. If it reads 4.5" your in the center. If it reads off at all, you need to make an adjustment. The adjustment should be 1/2 the distance to the first measurement. (I was actually off about 1/32" but fudged the ruler for illustrative purposes)

Now, set your rail in place. Try to center it on the lines as best you can but, don't worry too much if you're a little off.
This is what you should have at this point.
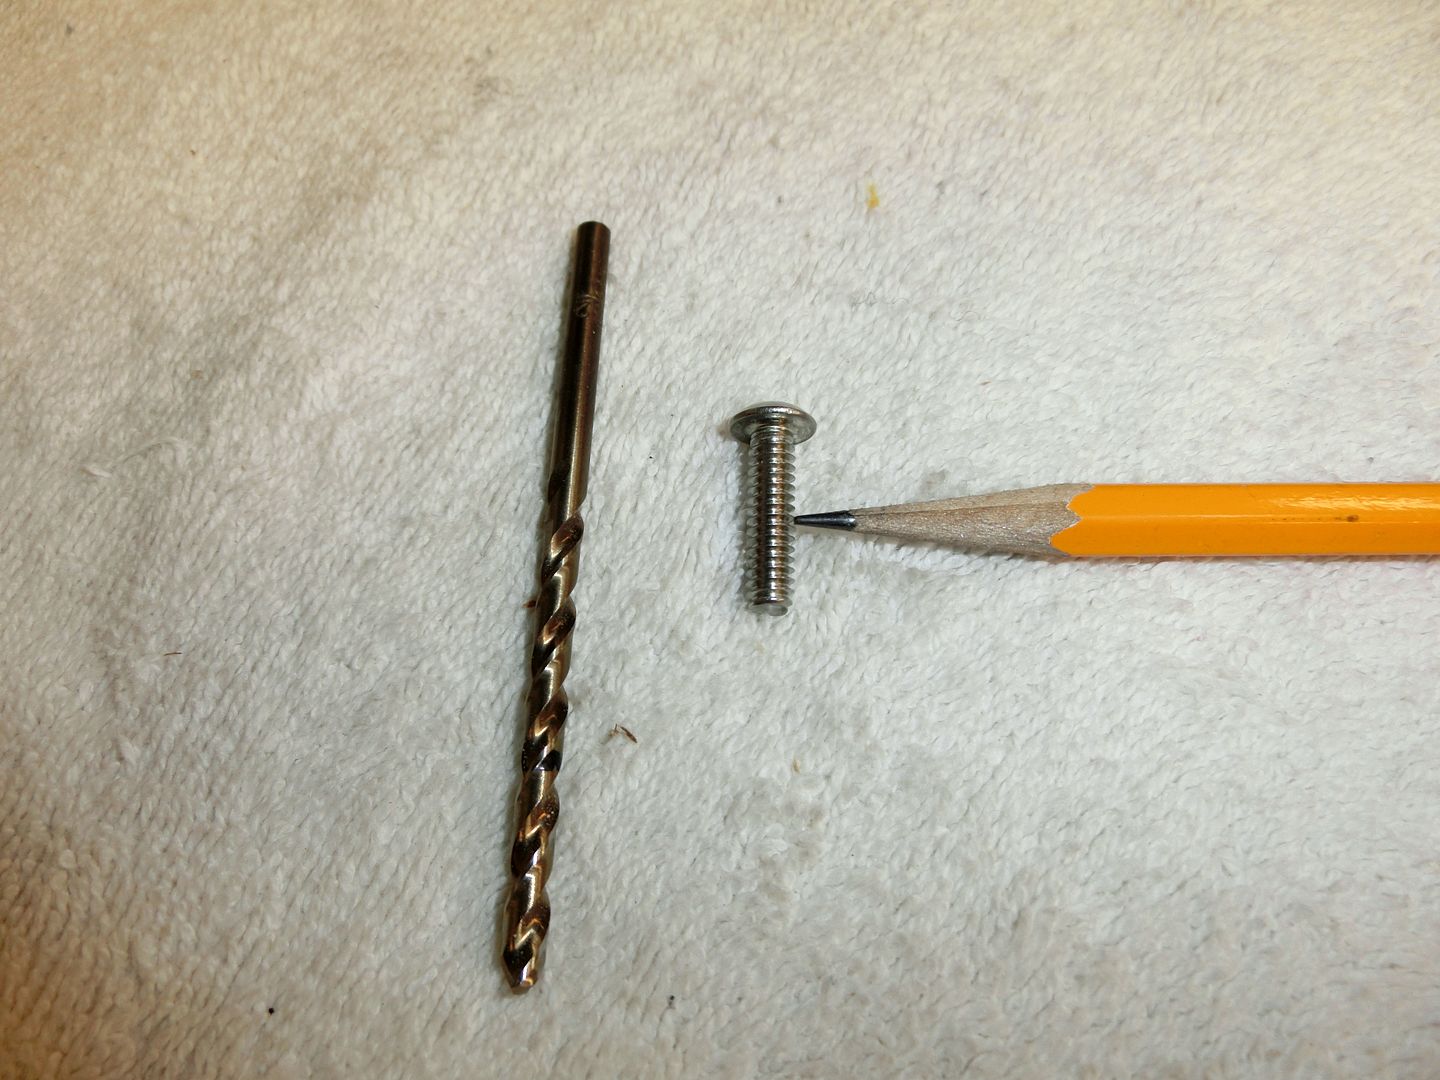
Time to pick out a drill bit. You want a bit that is going to be the same size as the center shank of the screw without the threads. An easy way to do this is to hold the screw and bit together and see if you can see the threads or not. Don't go too small because you stand a chance of splitting or cracking your stock. Too big, and you might not have enough material for the threads to grip.
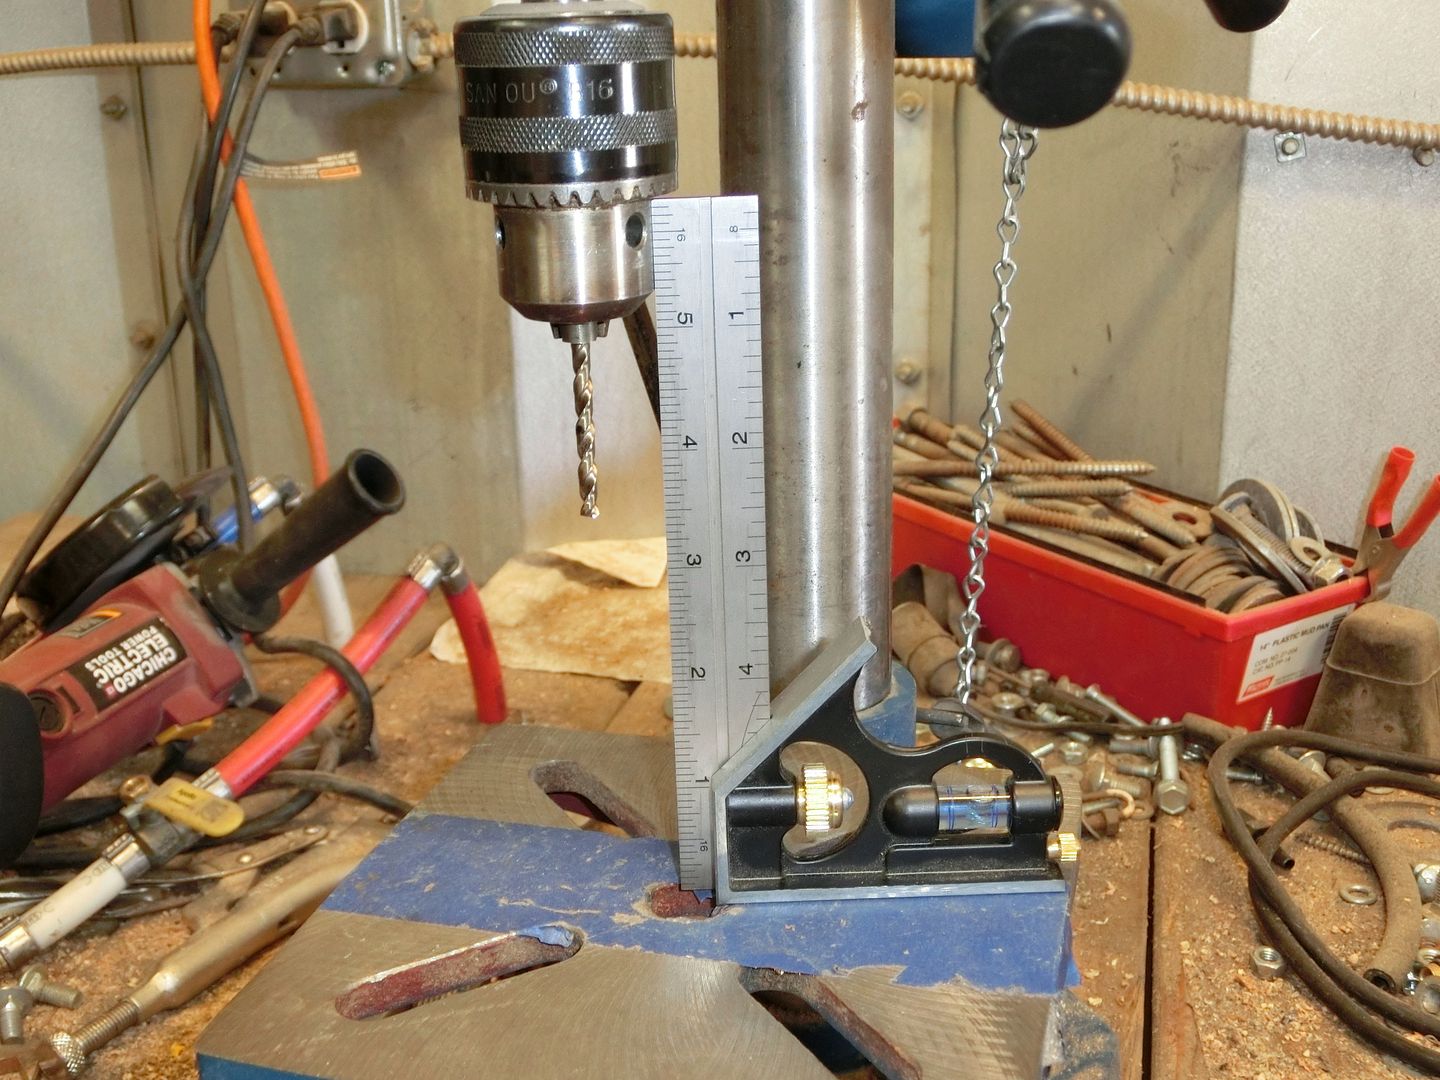
Off to the drill press. Check it for square and insert the bit.
I didn't take any pictures but I actually did do a test run, which is always a good idea. I drilled out a piece of pine and then threaded one of the screws into it and tightened it down. I figured, if the soft pine strips out, I might have to rethink my screw choice or go figure out another method.
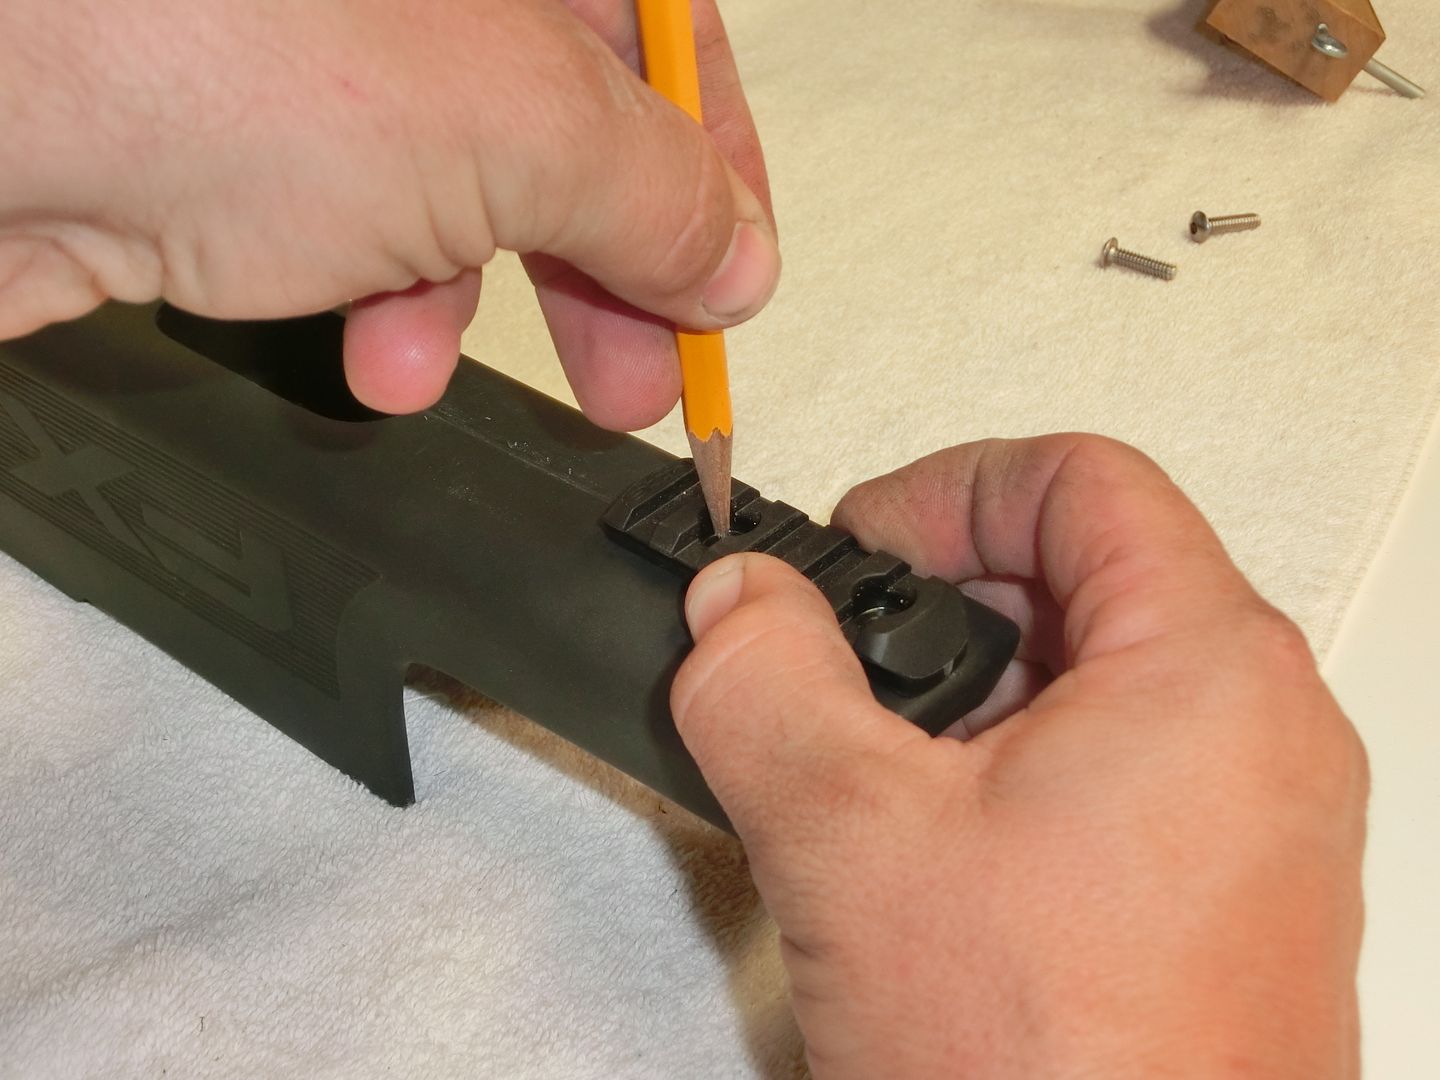
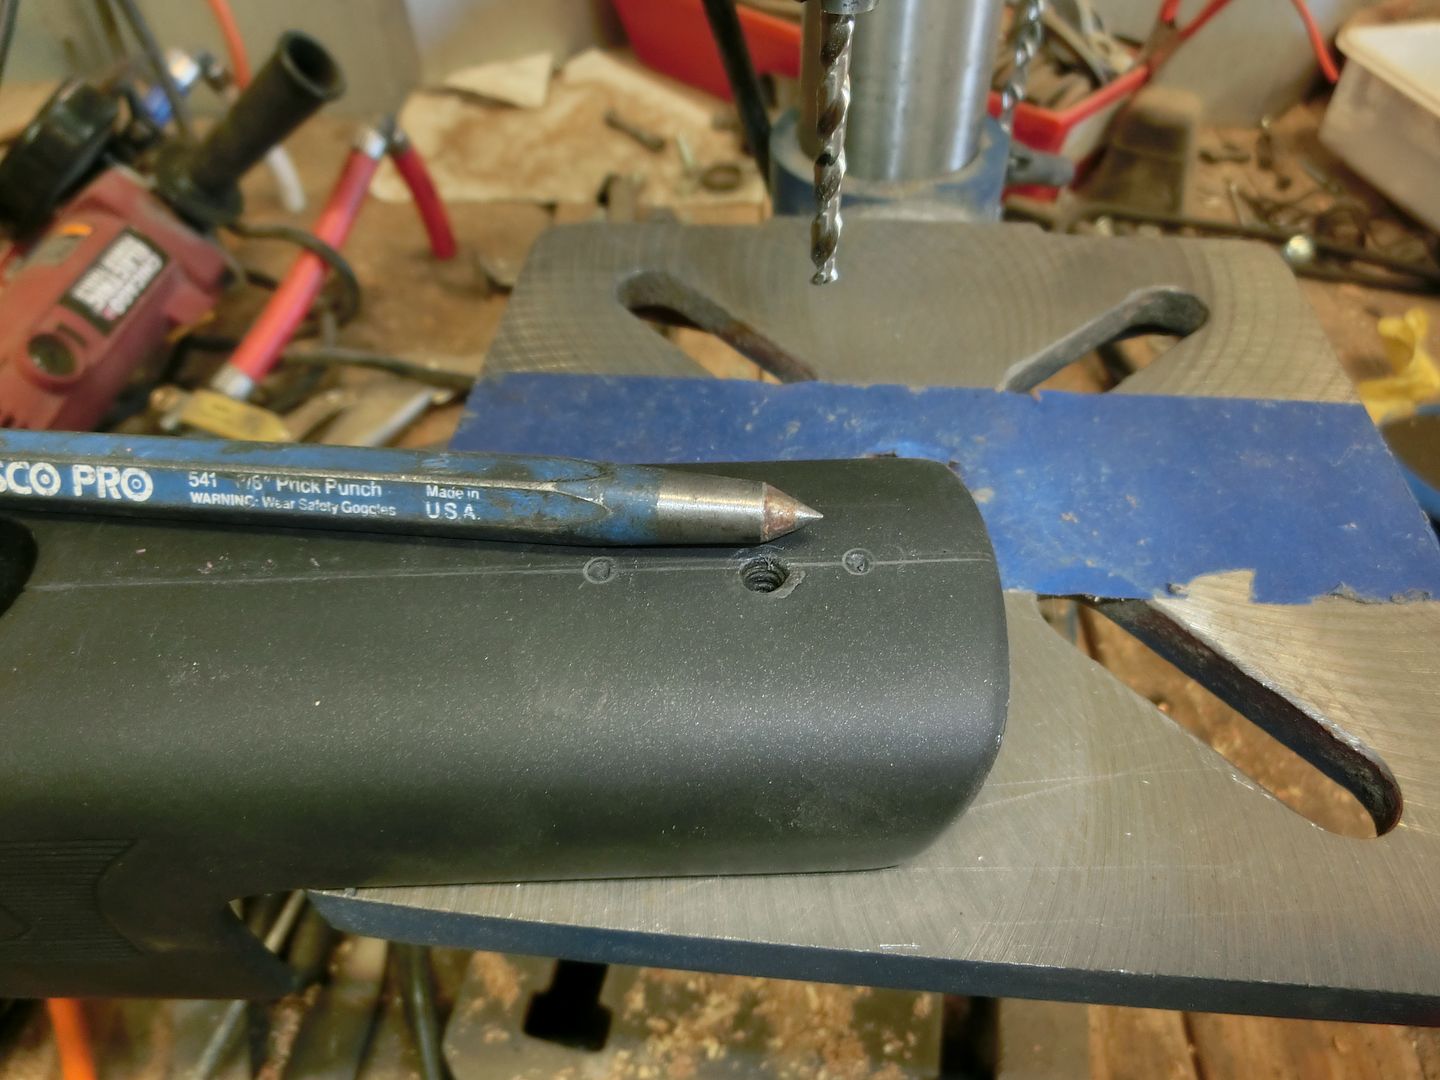
This is why it doesn't matter too much if your pencil marks for the holes are a little bit off. Center punch your holes on the center line. Once this is done, all the pencil marks can be erased if you want. I didn't actually "hit" my center punch with anything. I just pressed it into the stock and that was plenty. You could also do this with a nail or screw.
This is a good time to put some finish protection down. I used painters tape over the center punched holes and on the base of the drill press.
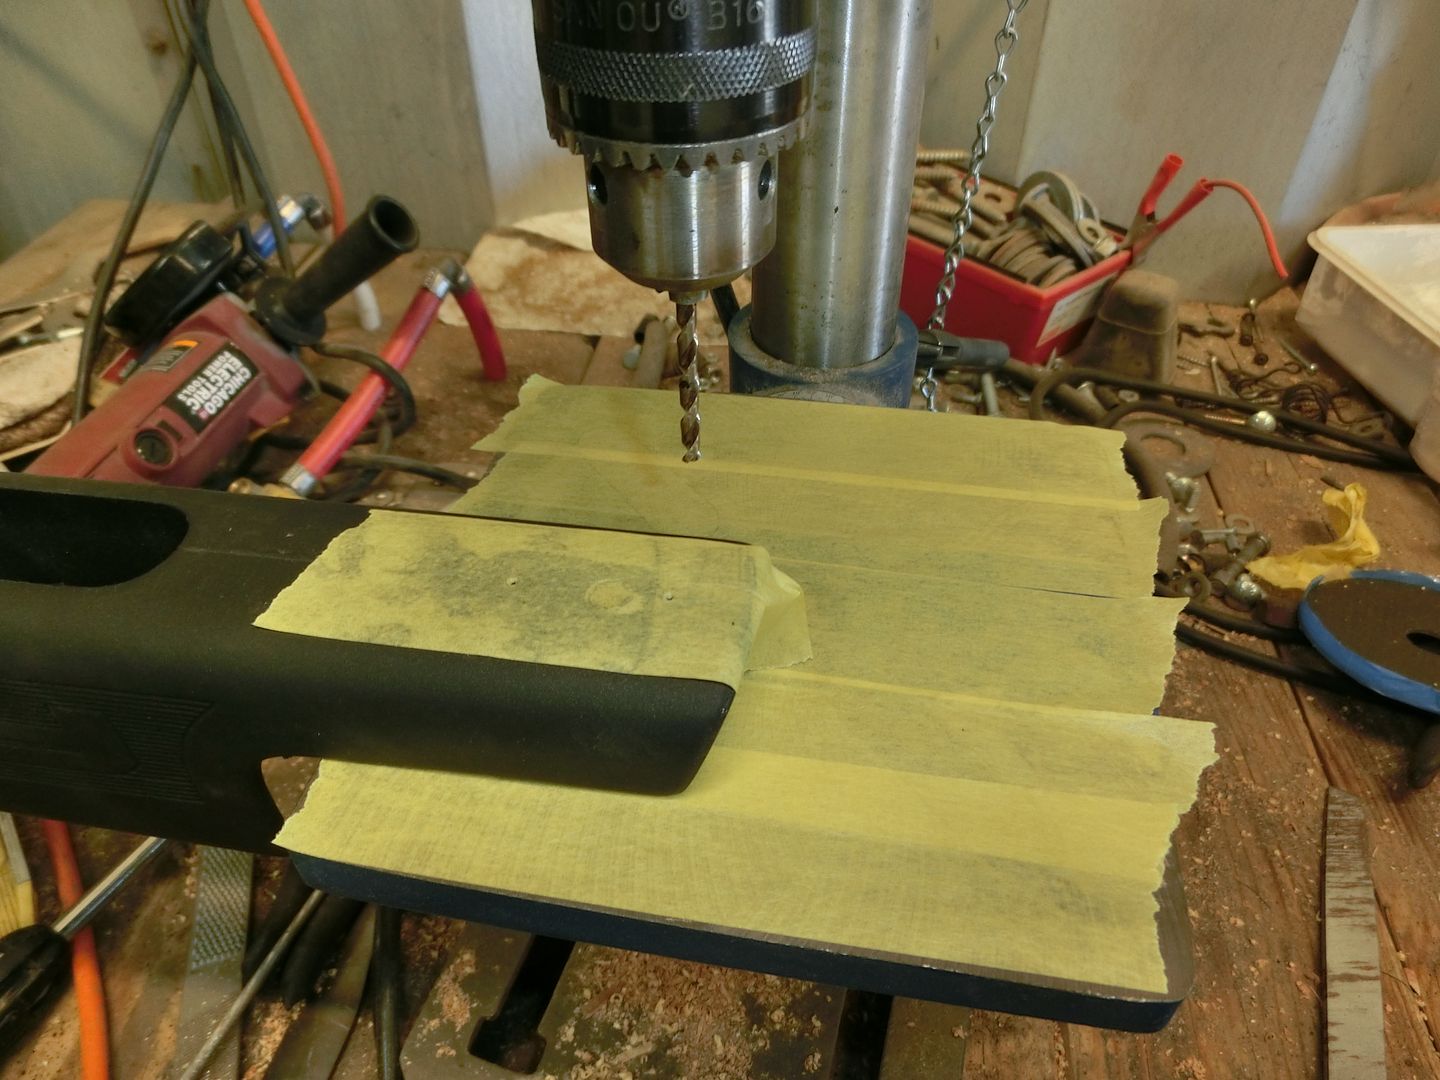
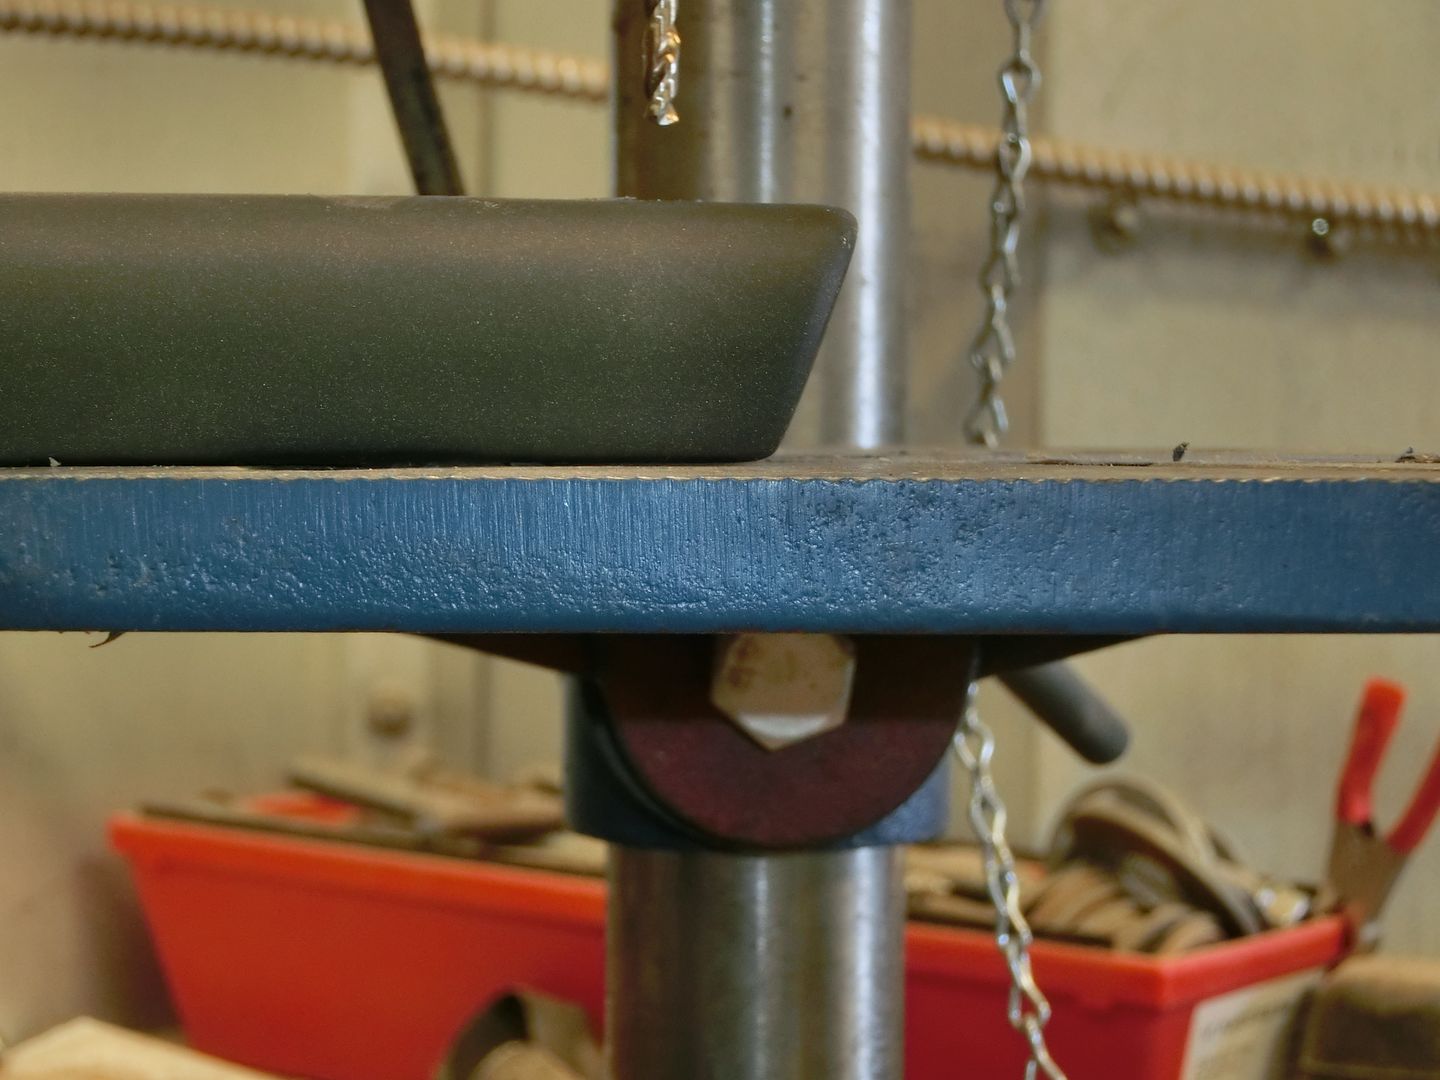
Set your stock on the drill press so that it lays flat. You may have to support the cheeckrest somehow. Blocks of wood and a towel works well.
I pushed the center punch through the tape so that I would know, for sure, I was in the right spot. Then I did a depth check by working the drill press in front of the stock.
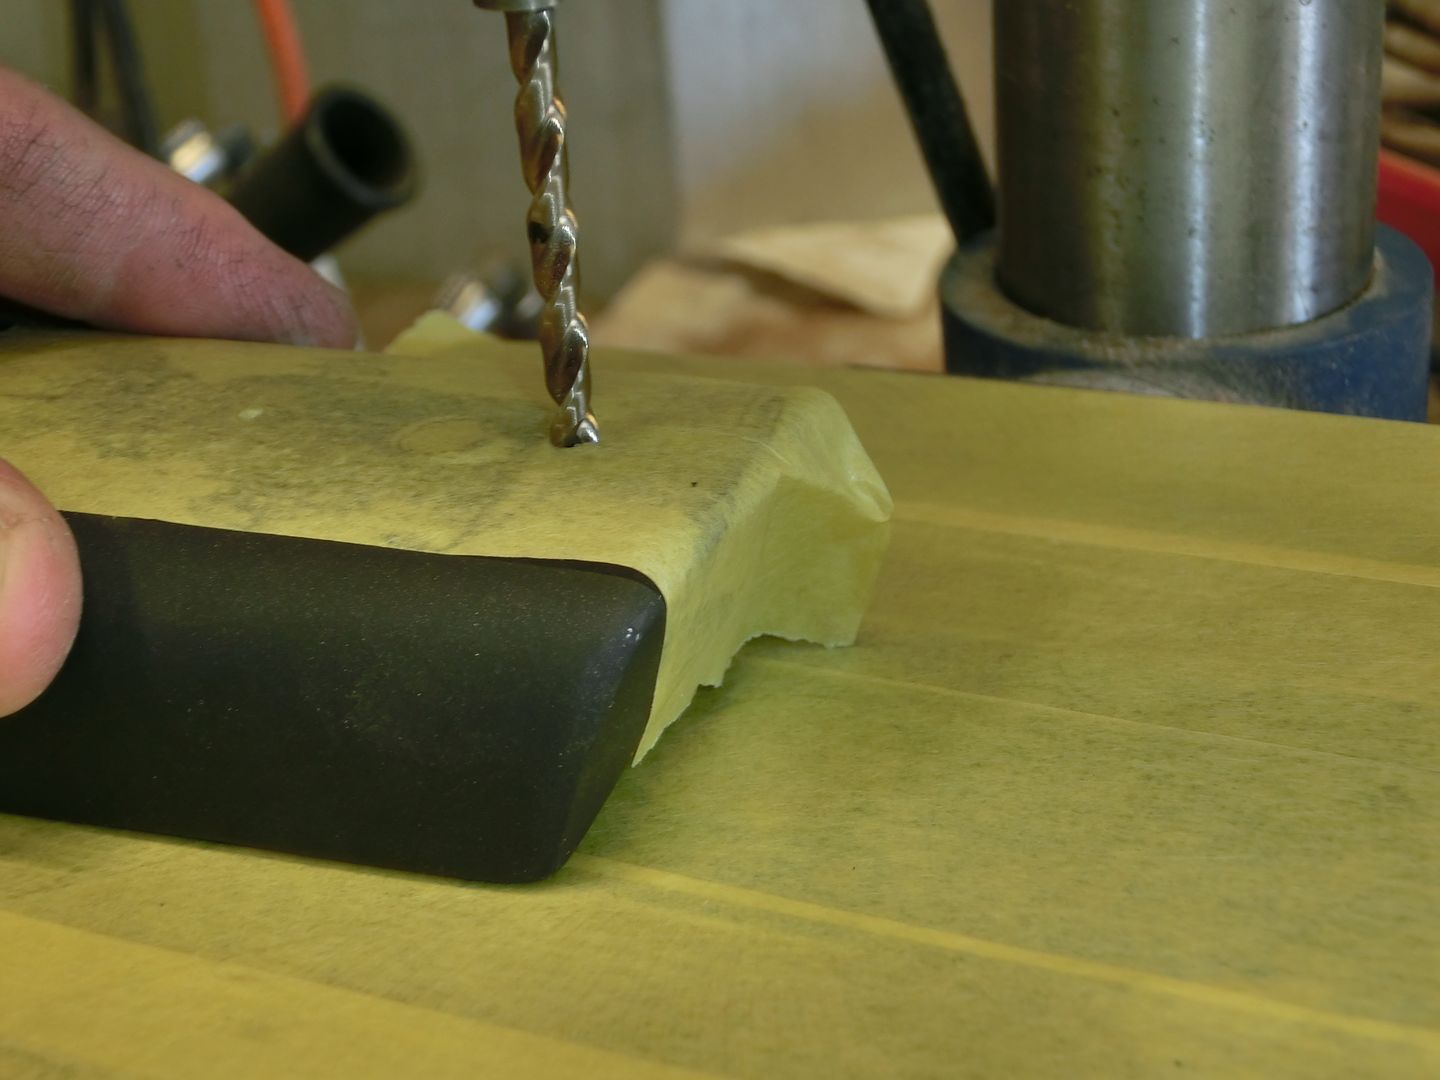
Time for drilling! Wear safety glasses. I like to just "touch" the hole I'm about to drill first and then check it to see that everything looks right before proceeding. This gives me one final chance to adjust if needed.
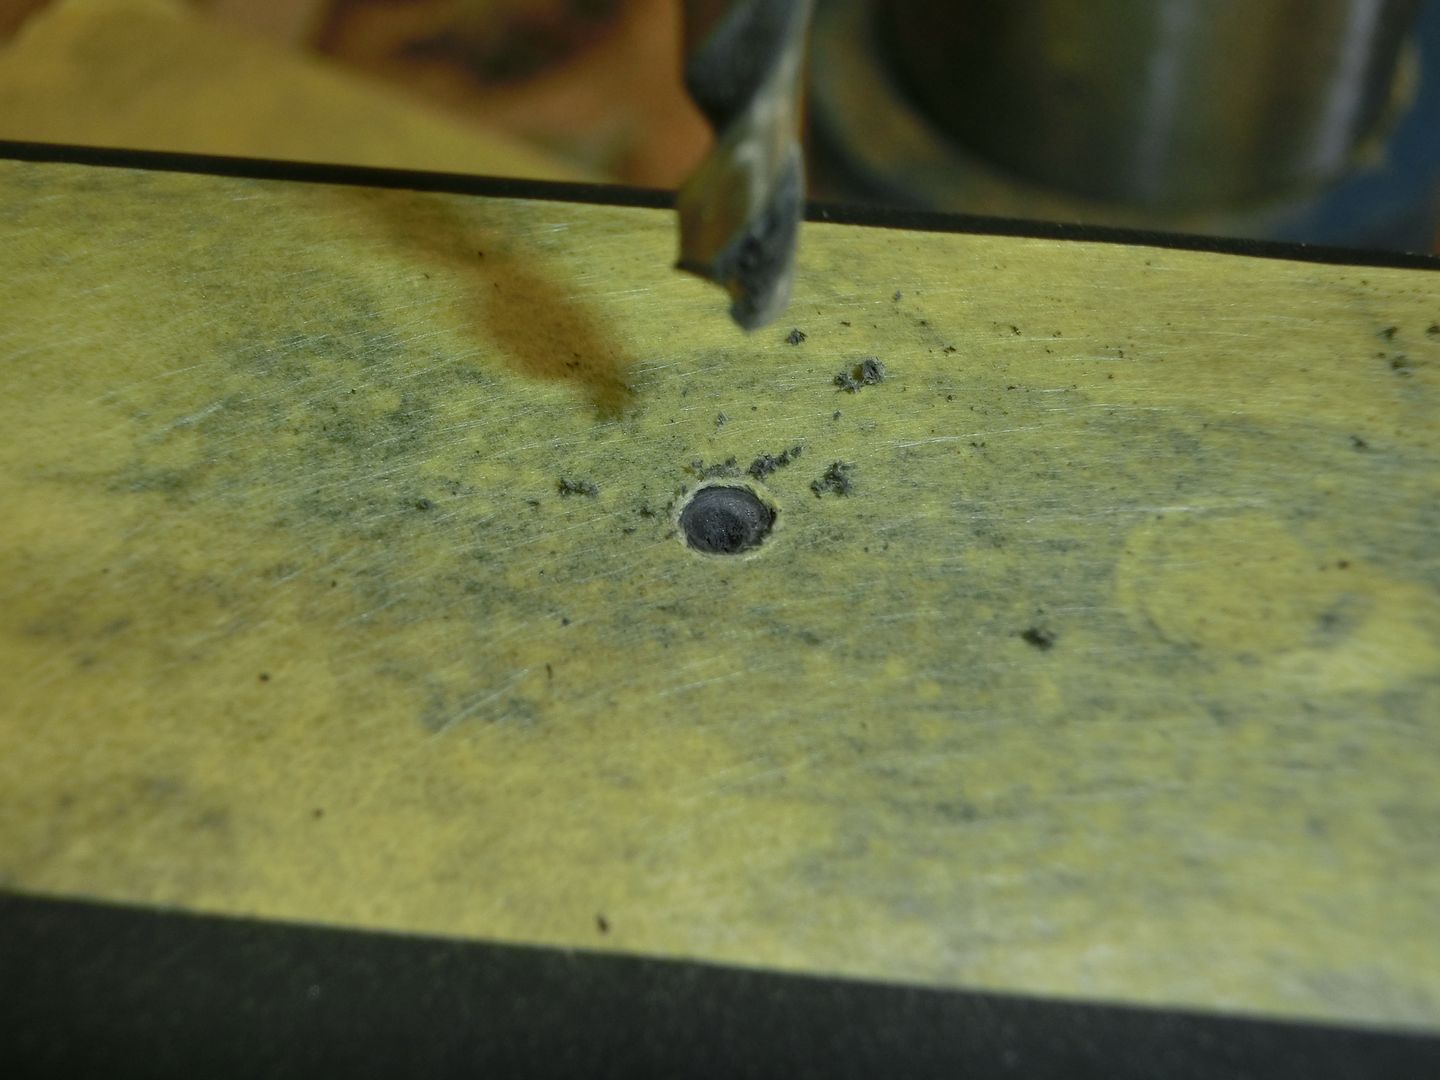
This is a better pic of what that initial "touch" should look like.
Go baby go!
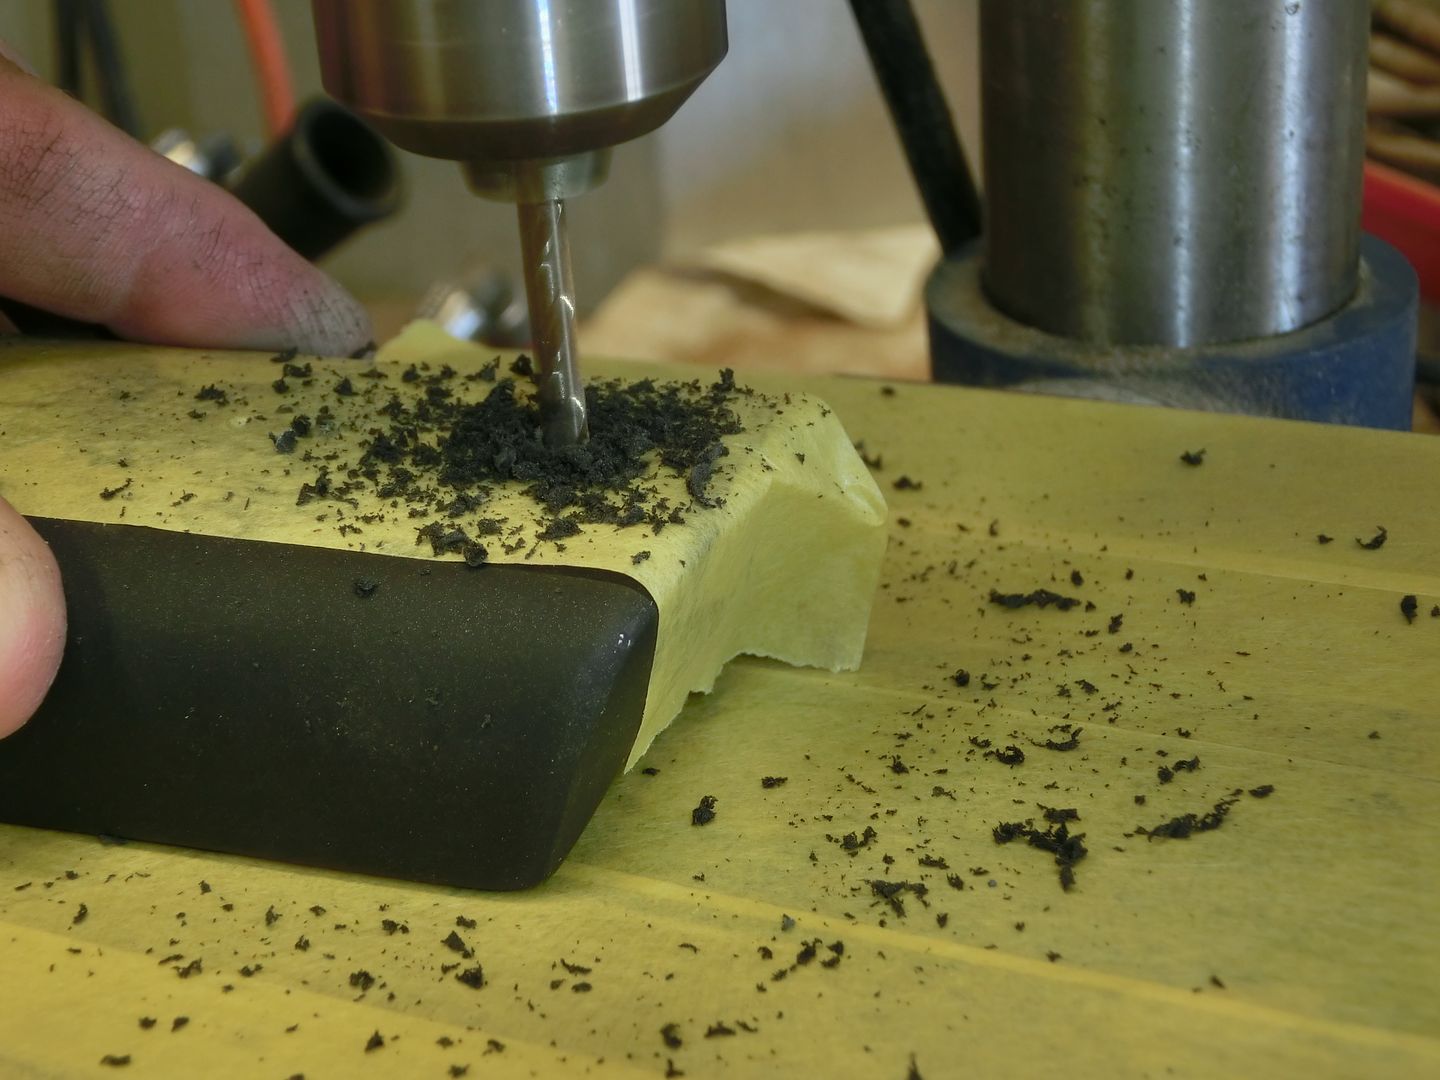

This is why you put the tape on the stock. It helps you retain a nice clean, crisp edge to your hole.

To tap or not to tap, that is the question. Harder woods, I would tap pretty deep. Softwood or synthetic, maybe not at all depending on the screw being used. I opted to tap just a little bit. That would help the screw to run in nicely. Then the screw threads would proceed to cut their own grooves deeper in the hole, adding strength.
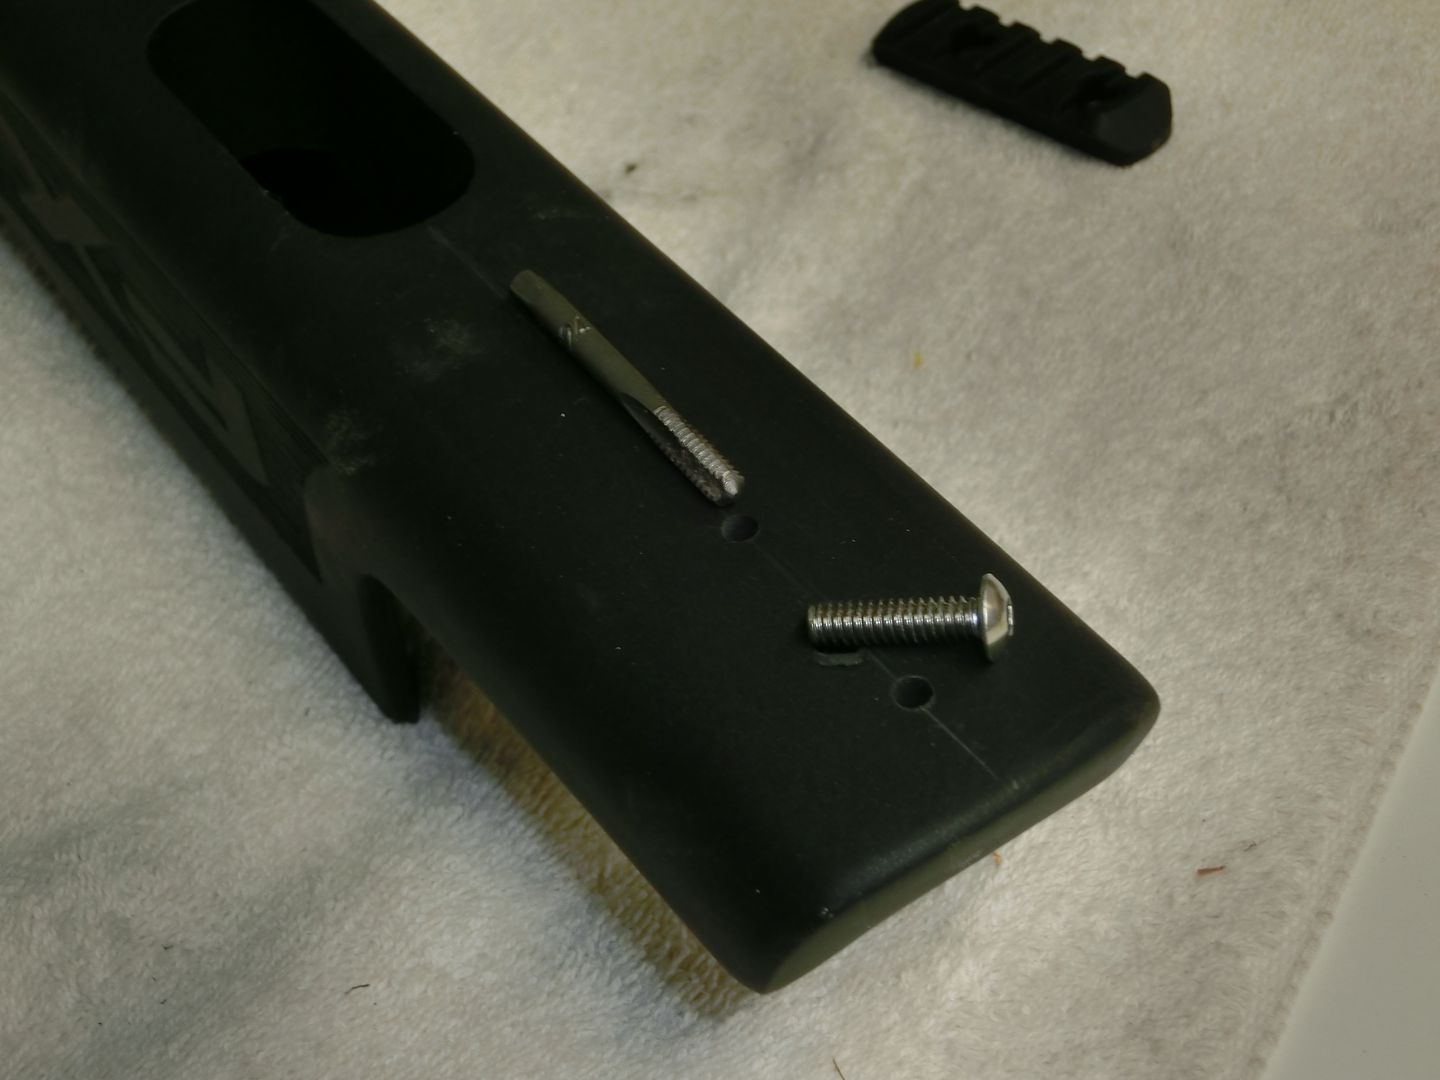
Here you can see the partially tapped holes. You've got to take your time with this part because it's pretty easy to tap a hole slightly off or slip and rip out the threads you just cut in. Was tapping necessary? I'm sure that could be an arguable discussion.
Install! Take you time with running the screws in. You want them to go in clean, smooth, and square, and engage as much of the stock material as possible.
These screws were 3/4" long. Which, by the measurements taken earlier, should have left me with about 1/16" clearance.
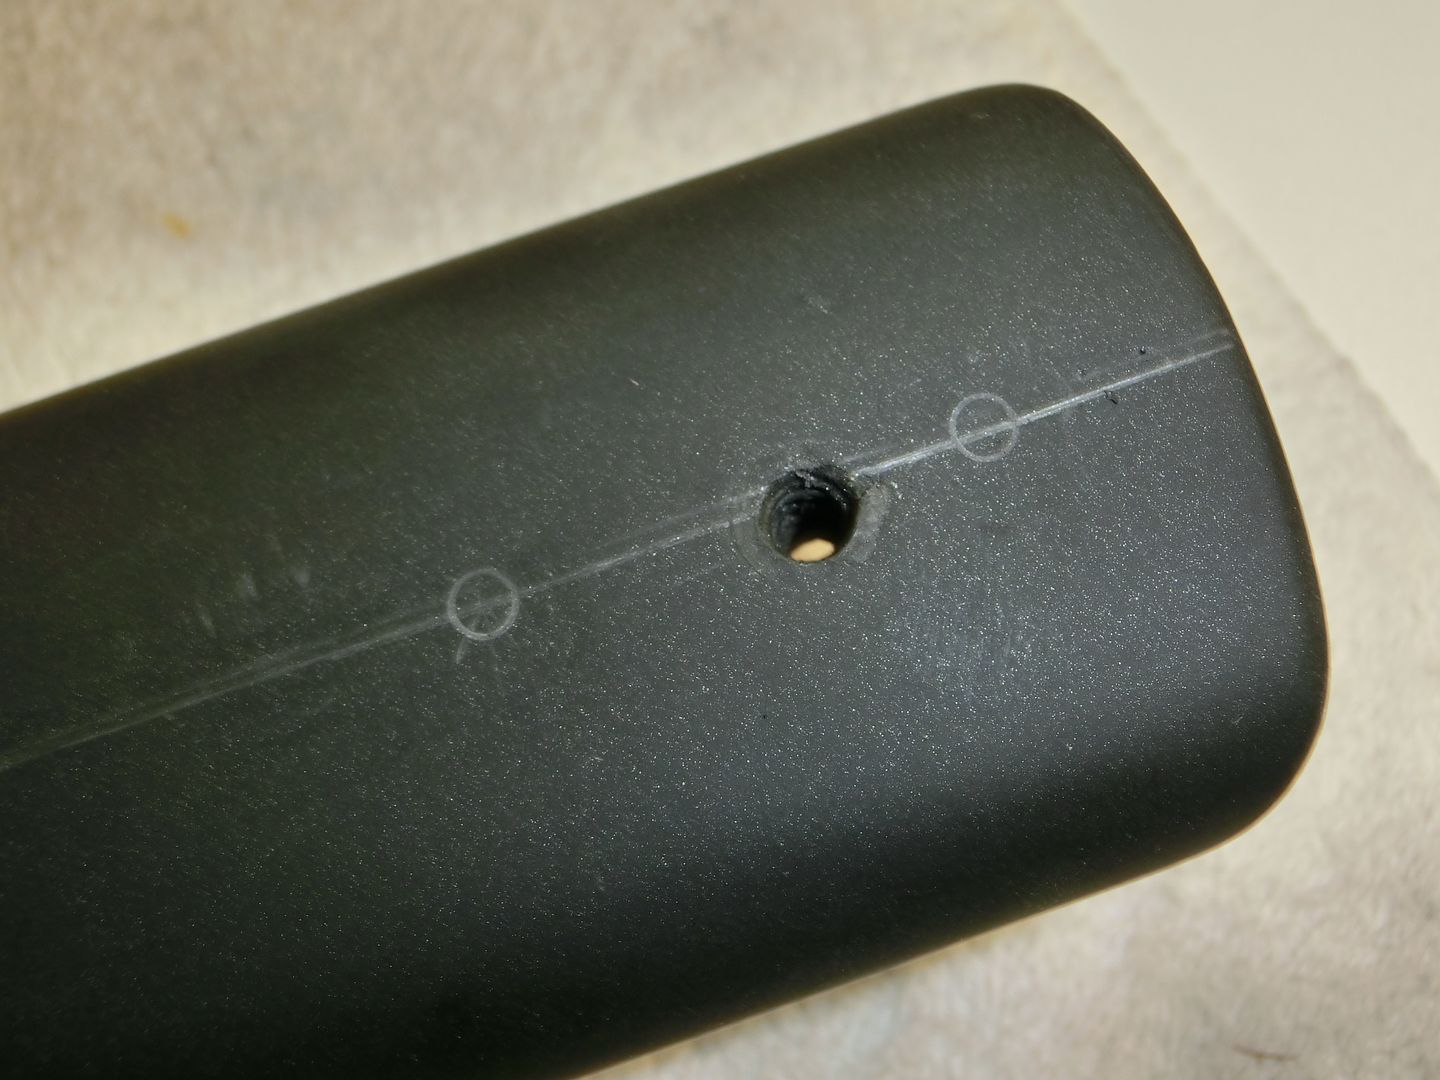
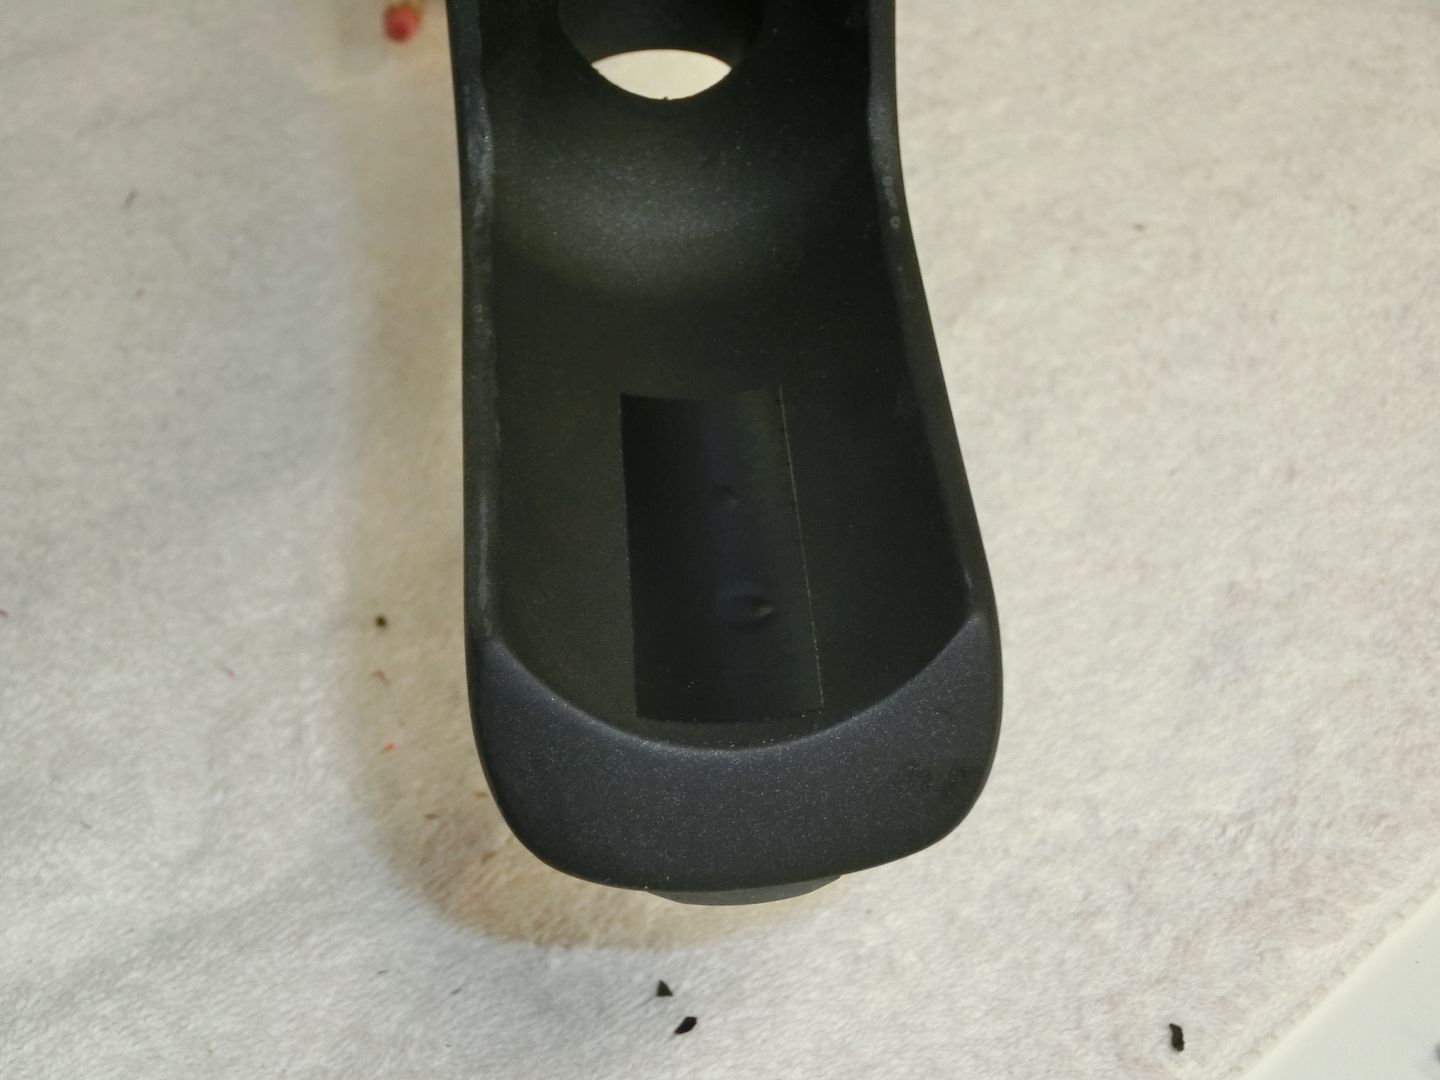
Well, it looks pretty darn close! You can see the bottoms of the screws just inside the holes.
As an extra precaution I put a piece of electrical tape over the bottoms of the holes. Heck, why not? It's cheap insurance.
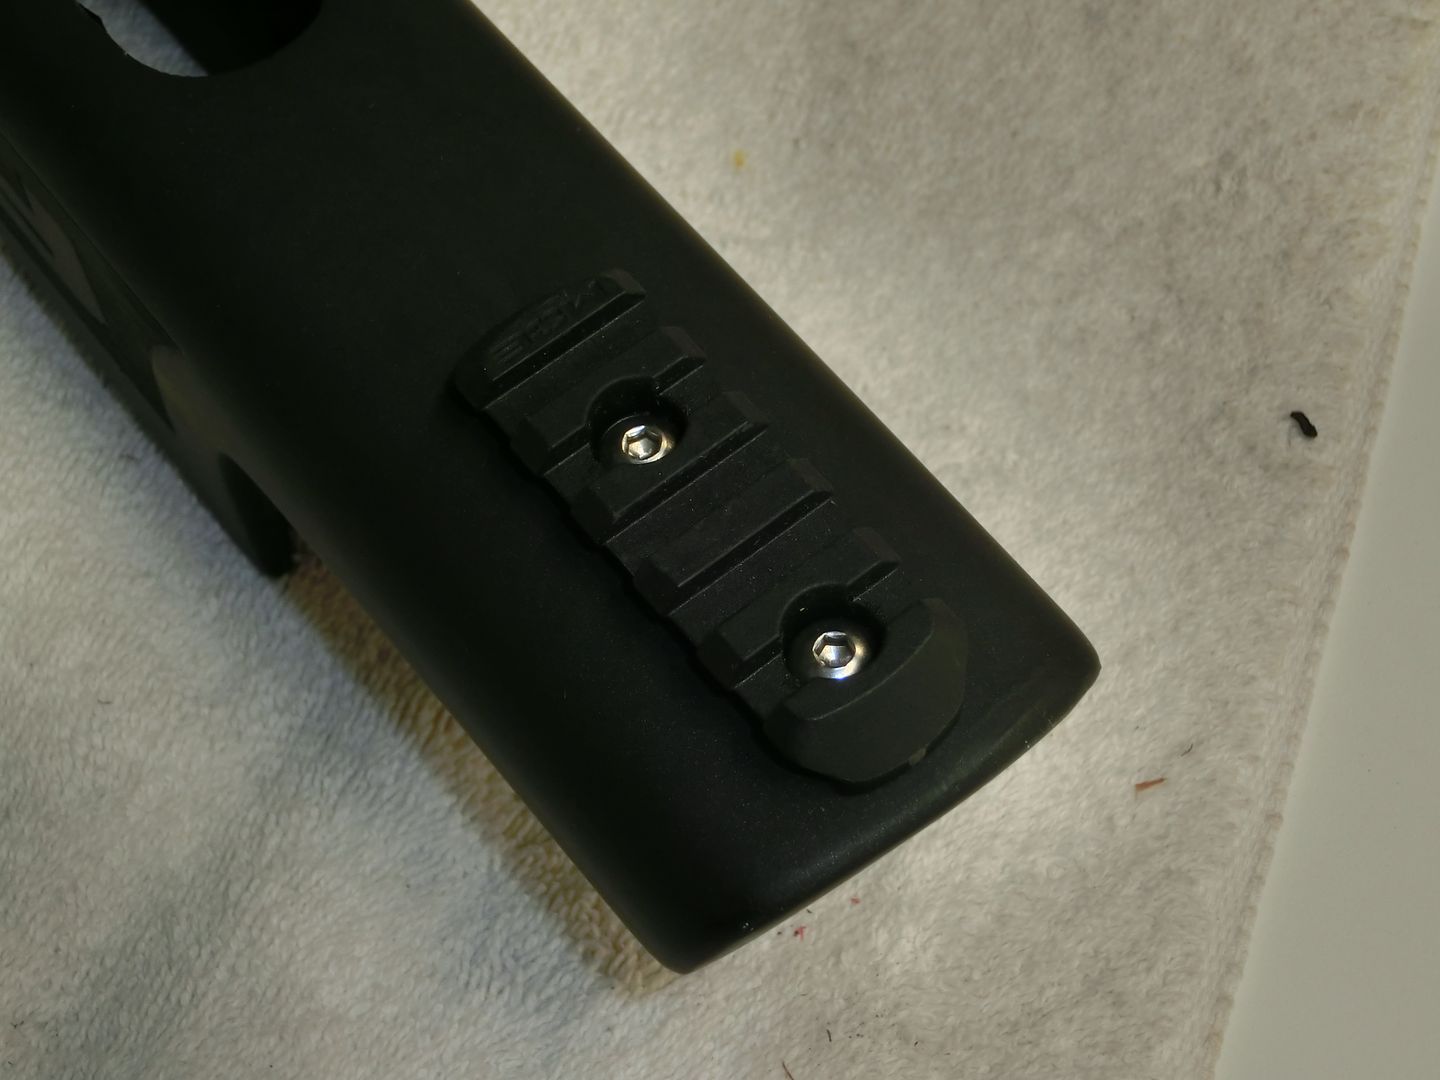
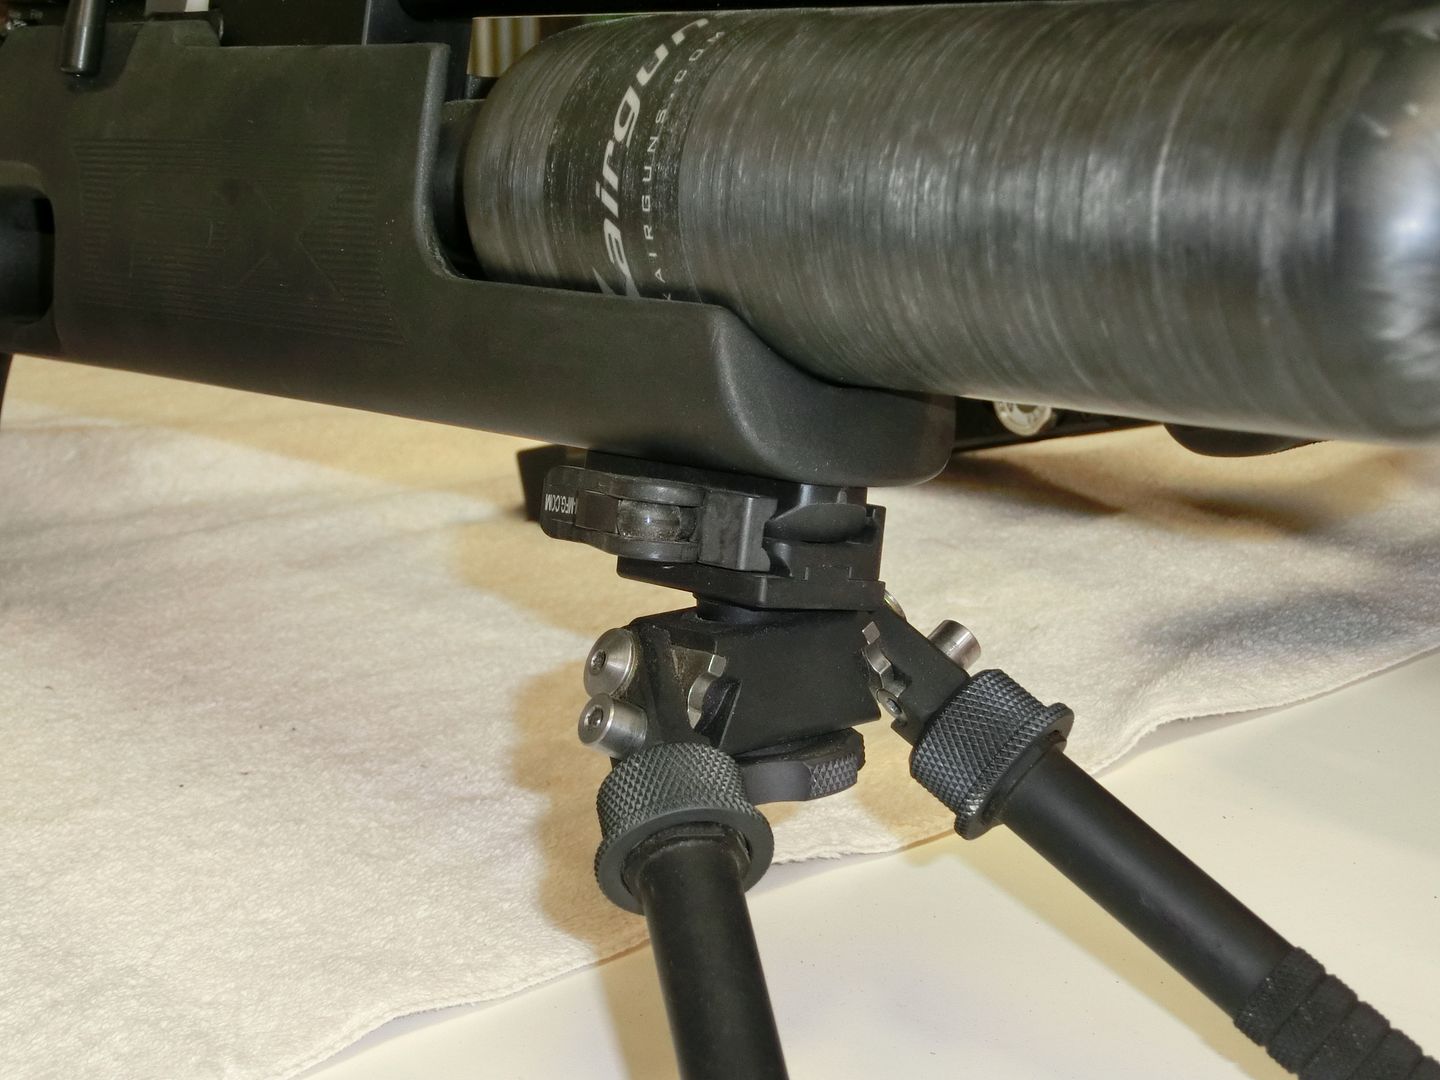
Test out the bipod to make sure everything fits.
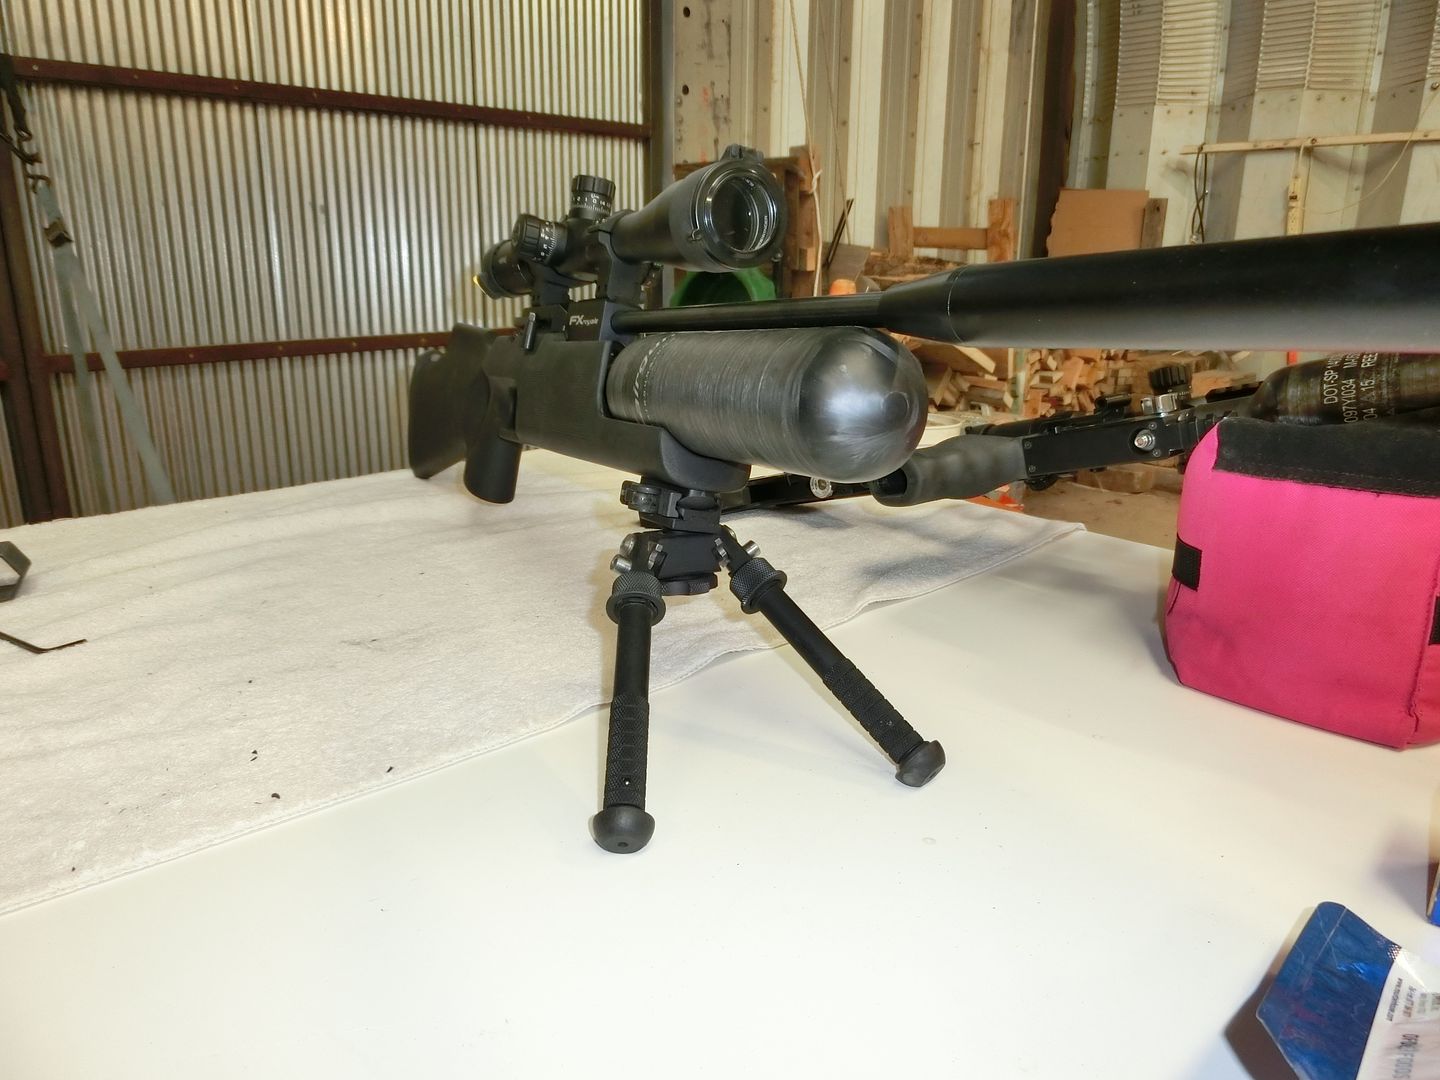
And... Put her to good use!")
Happy Shooting!
Tom
Don't for get to + me if you think this was valuable.
Before I get started, let me just say that T-nuts work VERY well and are a bit more secure than the system I used. However, with this stock and the carbon fiber bottle, there is very little room for the T-nuts and I didn't want to take a chance at damaging my bottle. Also, there was a hole already drilled into it when I got it that was just slightly off center.
Enjoy!
Edit: added video of this procedure....
The first thing I did was take a rough measurement of the thickness of the stock where I planned on mounting the rail. I got about 11/16". Then I measured about how much of the screw would be taken up by the rail, about another 1/8. Added up = 13/16 just shy of 3/4 inch.
Getting started with some of the tools I'll need laid out...
Visualizing where the rail will go...
One thing that some people struggle with is finding the center of the stock. This is a very simple tool I made that will help me to locate the center. It's a piece of hardwood with 3 holes drilled into it. It is critical to have exactly equal spacing between the center hole and the outside holes. The outside holes are drilled to accept a 1/8 rod and the center is drilled out to accept a pencil.
Bottom view shows the rods and tip of the pencil. The rods are epoxied in place. I made this jig large enough to find the center of the wide side of a 2x4. There are 2 eye hooks also. One is to hold the pencil in place, the other is just to hang the jig on the wall.
Turn the stock bottom side up. The jig goes on then simply turn it while keeping it perpendicular to the stock. Then, just slide it down the stock.
The jig won't work all the way to the end so, lay a ruler next to the line you made and finish it to the end.
Here's another method to find center and the way I used to double check my line. Using a combination square, set it on the side of the stock and check the measurement. Use a flat part of the stock.
I'm at the 4.5" mark...
Spin it around and check the other side in the same spot and in the same way. If it reads 4.5" your in the center. If it reads off at all, you need to make an adjustment. The adjustment should be 1/2 the distance to the first measurement. (I was actually off about 1/32" but fudged the ruler for illustrative purposes)
Now, set your rail in place. Try to center it on the lines as best you can but, don't worry too much if you're a little off.
This is what you should have at this point.
Time to pick out a drill bit. You want a bit that is going to be the same size as the center shank of the screw without the threads. An easy way to do this is to hold the screw and bit together and see if you can see the threads or not. Don't go too small because you stand a chance of splitting or cracking your stock. Too big, and you might not have enough material for the threads to grip.
Off to the drill press. Check it for square and insert the bit.
I didn't take any pictures but I actually did do a test run, which is always a good idea. I drilled out a piece of pine and then threaded one of the screws into it and tightened it down. I figured, if the soft pine strips out, I might have to rethink my screw choice or go figure out another method.
This is why it doesn't matter too much if your pencil marks for the holes are a little bit off. Center punch your holes on the center line. Once this is done, all the pencil marks can be erased if you want. I didn't actually "hit" my center punch with anything. I just pressed it into the stock and that was plenty. You could also do this with a nail or screw.
This is a good time to put some finish protection down. I used painters tape over the center punched holes and on the base of the drill press.
Set your stock on the drill press so that it lays flat. You may have to support the cheeckrest somehow. Blocks of wood and a towel works well.
I pushed the center punch through the tape so that I would know, for sure, I was in the right spot. Then I did a depth check by working the drill press in front of the stock.
Time for drilling! Wear safety glasses. I like to just "touch" the hole I'm about to drill first and then check it to see that everything looks right before proceeding. This gives me one final chance to adjust if needed.
This is a better pic of what that initial "touch" should look like.
Go baby go!
This is why you put the tape on the stock. It helps you retain a nice clean, crisp edge to your hole.
To tap or not to tap, that is the question. Harder woods, I would tap pretty deep. Softwood or synthetic, maybe not at all depending on the screw being used. I opted to tap just a little bit. That would help the screw to run in nicely. Then the screw threads would proceed to cut their own grooves deeper in the hole, adding strength.
Here you can see the partially tapped holes. You've got to take your time with this part because it's pretty easy to tap a hole slightly off or slip and rip out the threads you just cut in. Was tapping necessary? I'm sure that could be an arguable discussion.
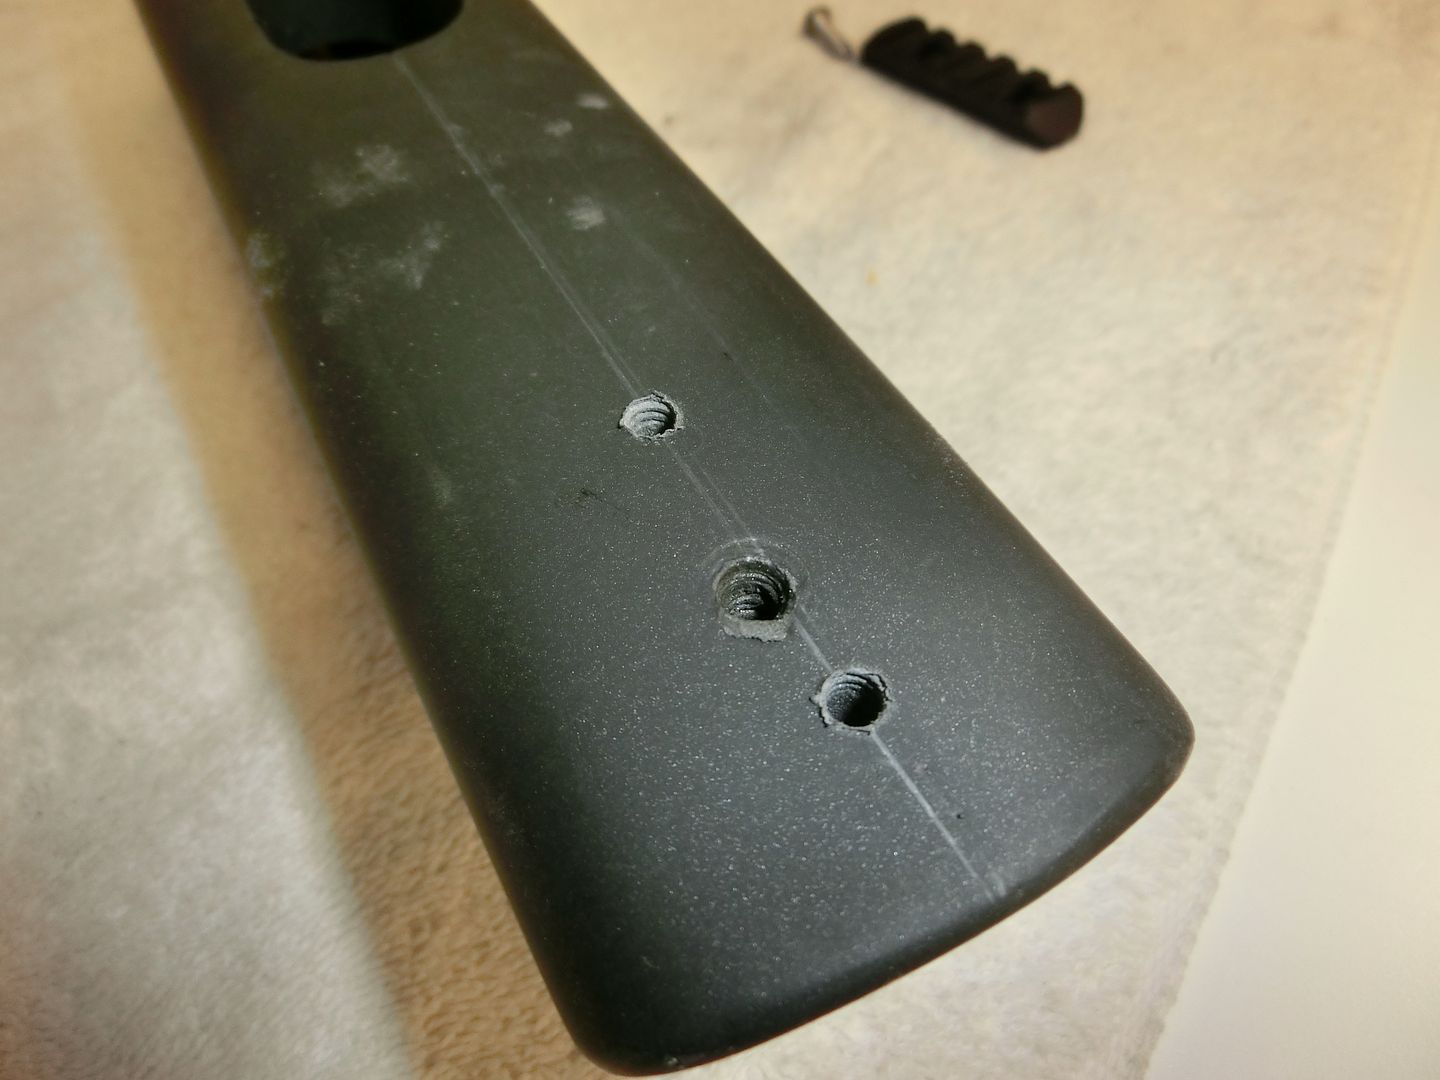
Install! Take you time with running the screws in. You want them to go in clean, smooth, and square, and engage as much of the stock material as possible.
These screws were 3/4" long. Which, by the measurements taken earlier, should have left me with about 1/16" clearance.
Well, it looks pretty darn close! You can see the bottoms of the screws just inside the holes.
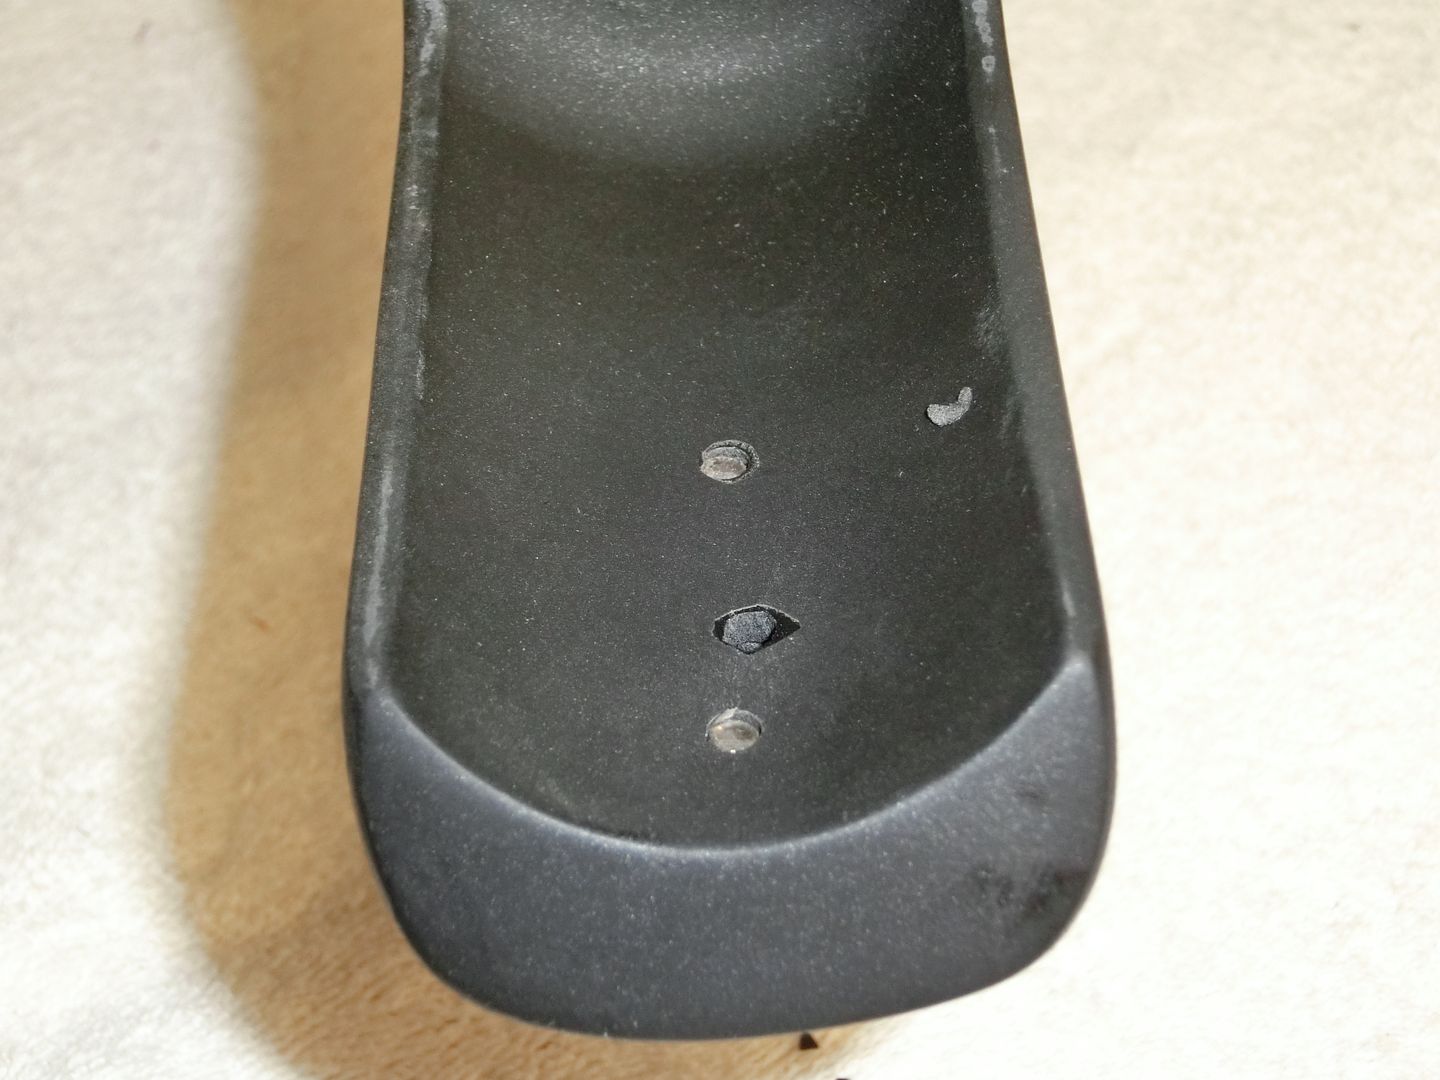
As an extra precaution I put a piece of electrical tape over the bottoms of the holes. Heck, why not? It's cheap insurance.
Test out the bipod to make sure everything fits.
And... Put her to good use!
Happy Shooting!
Tom
Don't for get to + me if you think this was valuable.