Some have shown some interest in this so I thought I'd share what I've learned on taking apart the Daystate Regal. Who knows it might save a trip back to AOA. I've had mine completely down to the valve and replaced a seat to stop a small leak I had a couple of years ago. Step one, remove the scope and action from the stock, Step two, to remove the upper receiver and barrel/shroud in one piece, loosen the three set screws on the barrel band (1.5mm) and slide the band off of the air tube. 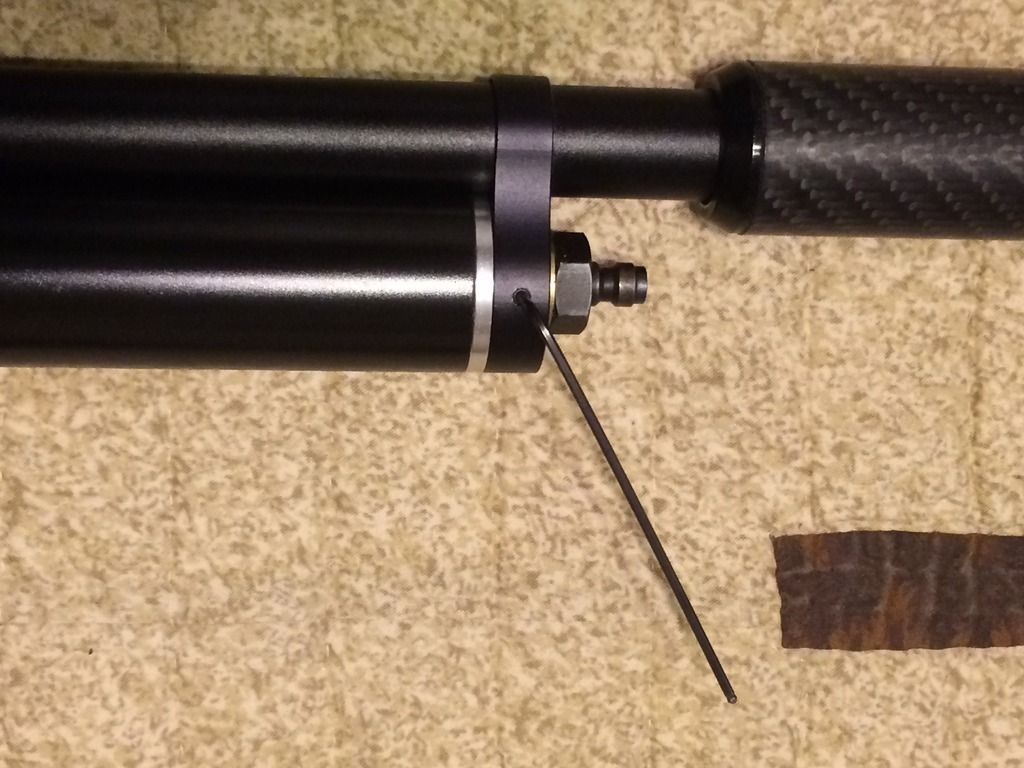 Now remove the six screws holding the upper receiver to the valve body. Four are hex screws the other two down in the recess of the breech where the pellet probe is visible are regular slotted screws. Here's a kicker though the two front hex screws nearest the muzzle are 2.5mm and the back two by the bolt handle are 3/32".
 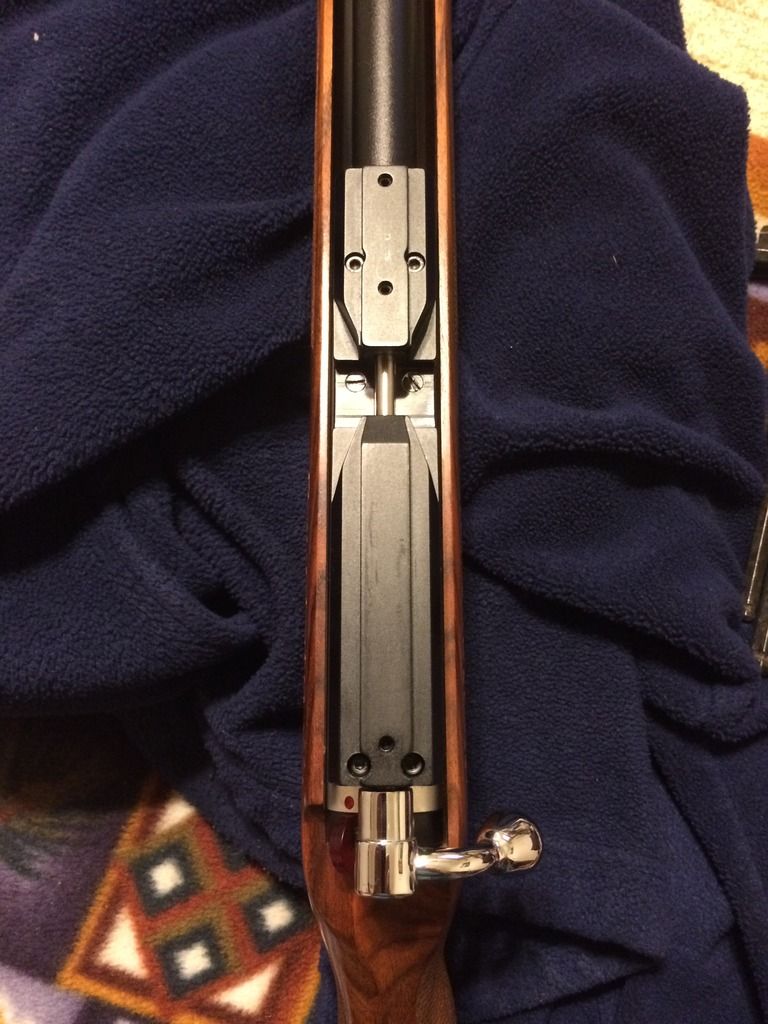 With the top half off you can re-lube the bolt and associated moving parts. There is also a transfer port there to keep tabs on.
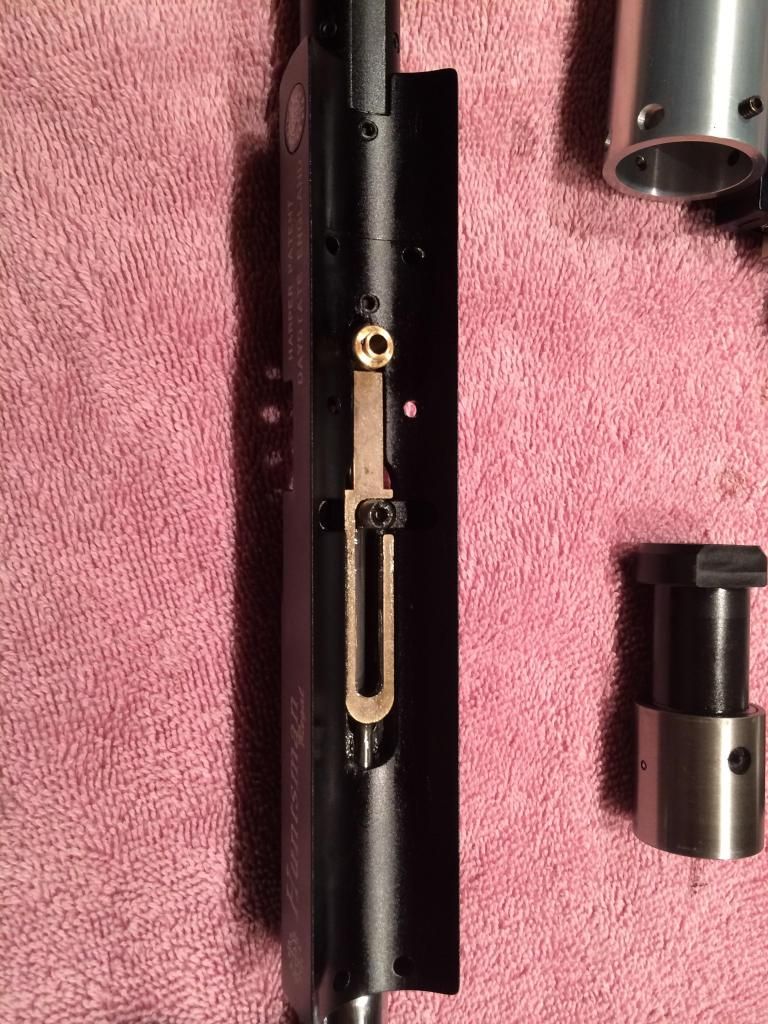 Step 3 to remove the hammer spring and the hammer the safety assemble needs to come off by removing the two 1.5mm set screws on the side of the valve body/trigger assembly. There will be some spring on it so beware.
 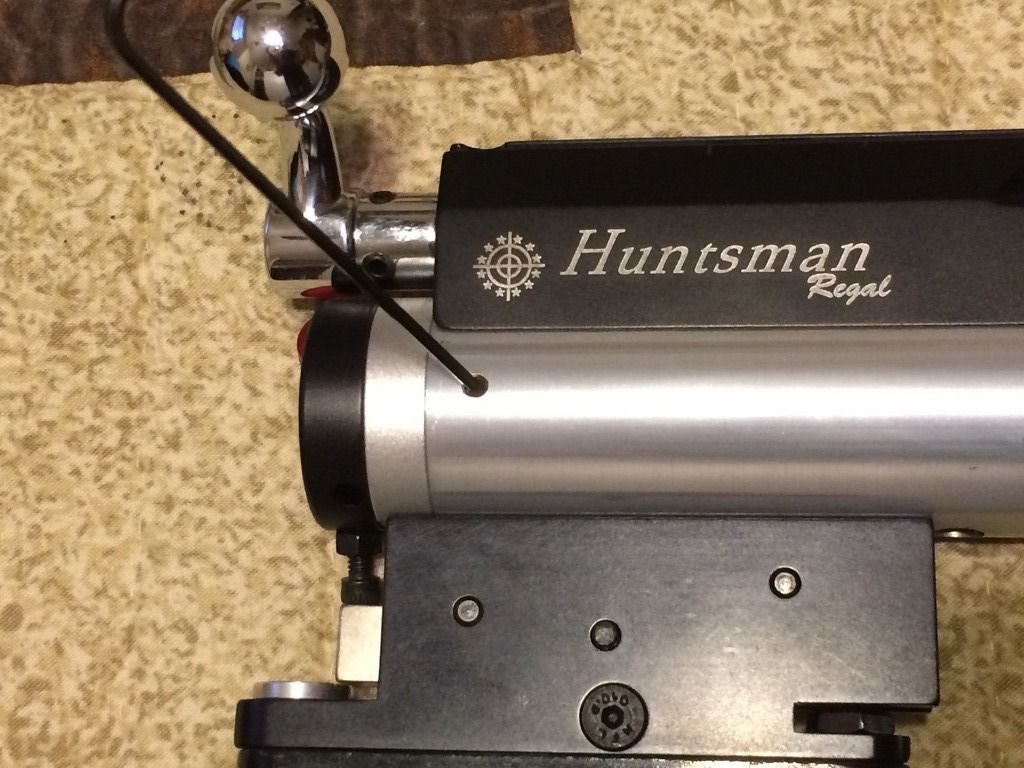 Step 4 to remove the hammer for inspection or polishing remove the cocking lug hex screw that is viewable on top of the hammer body. Sorry I don't have a photo of it. With the hex screw removed you might have to rotate the hammer and pull the trigger to let it slide out.
 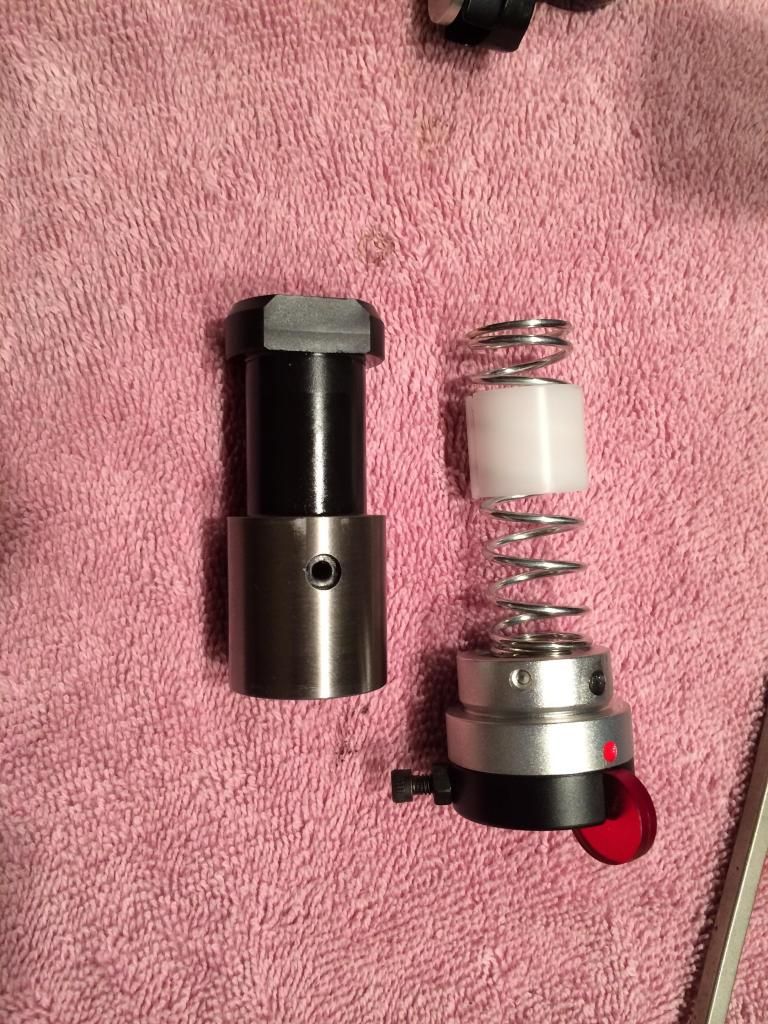 Step 5 to remove the air tube to gain access to the valve, poppet and seat the air has to be drained from the air tube by loosening the gauge slowly and allowing the air to escape. Once you've confirmed 100% that the pressure is zero you can unscrew the air tube from the valve body. This is what you should be down to, just the valve body and trigger assembly still attached with the two sealing O-rings.
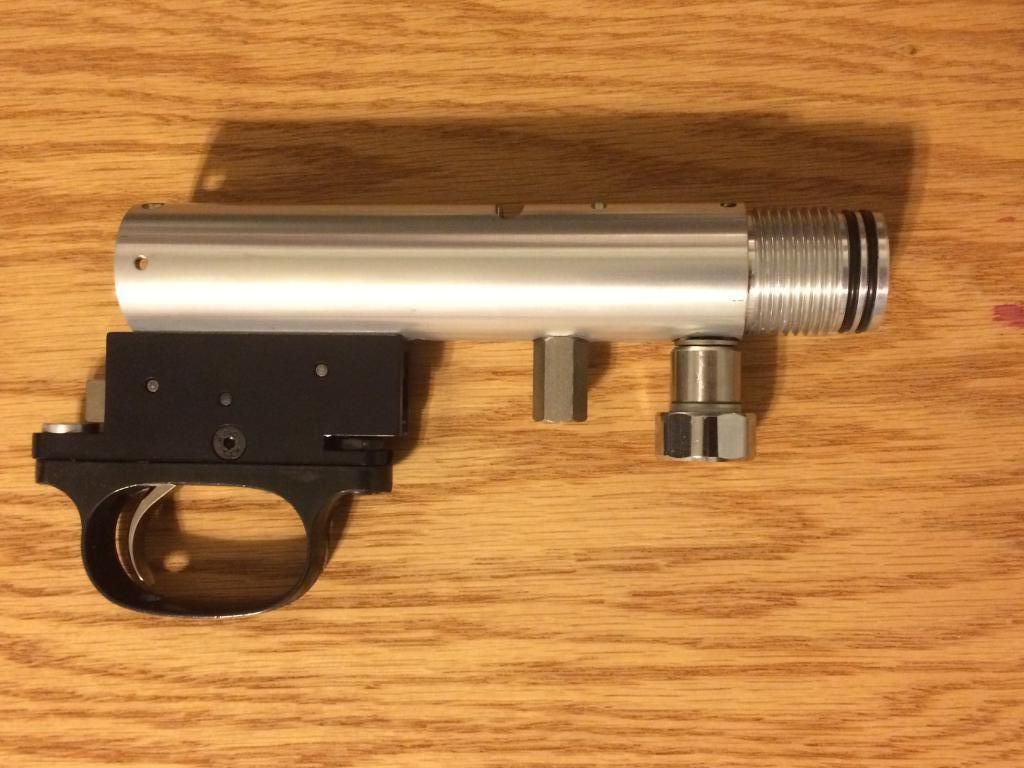 Step 6 to remove the valve seat and poppet, remove the valve by unscrewing the valve assembly from the valve body.
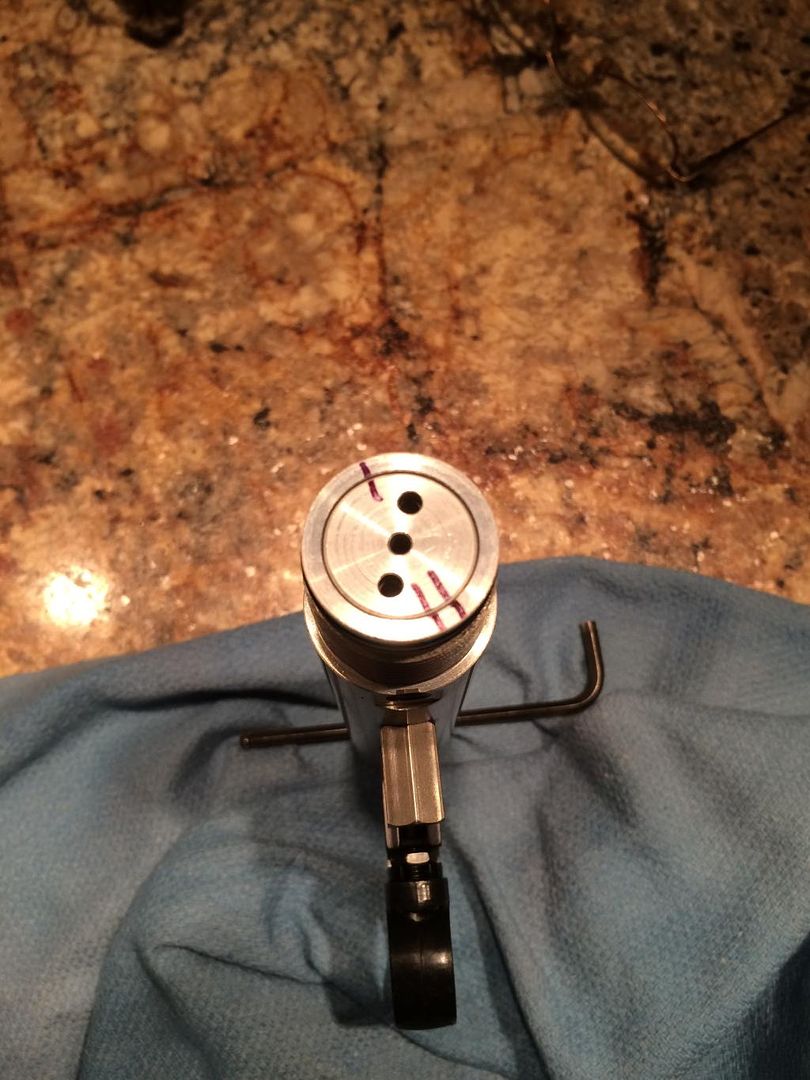
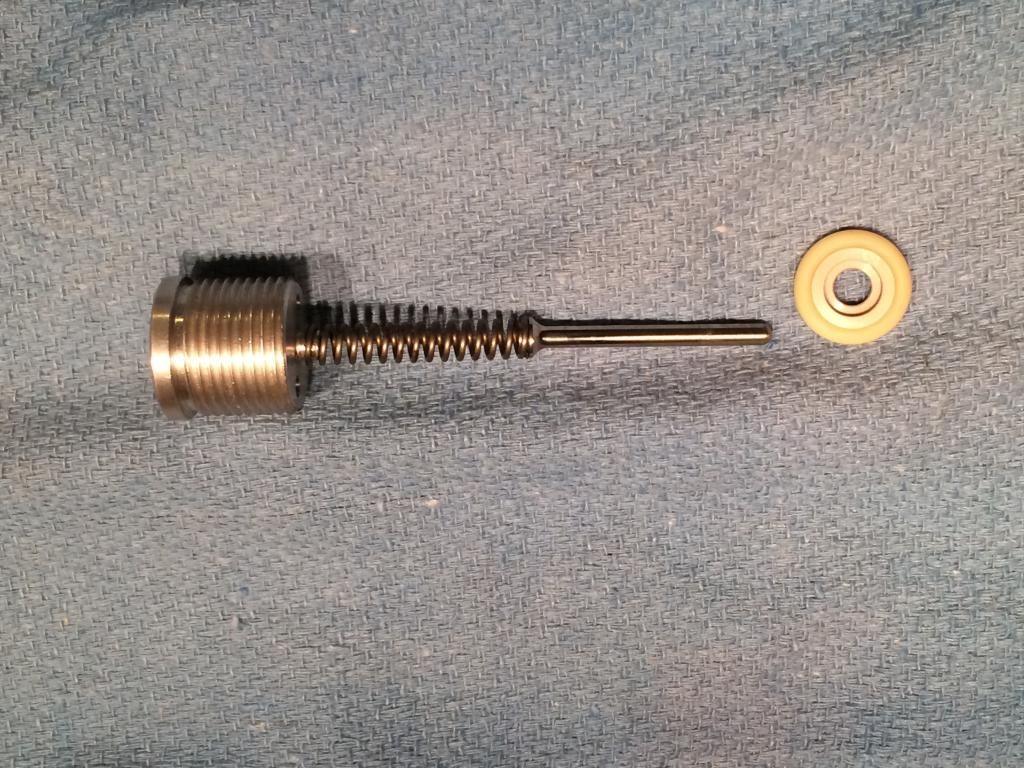 The little yellow donut which is the seat just sits in the bottom of the valve body. This is what was leaking on mine.
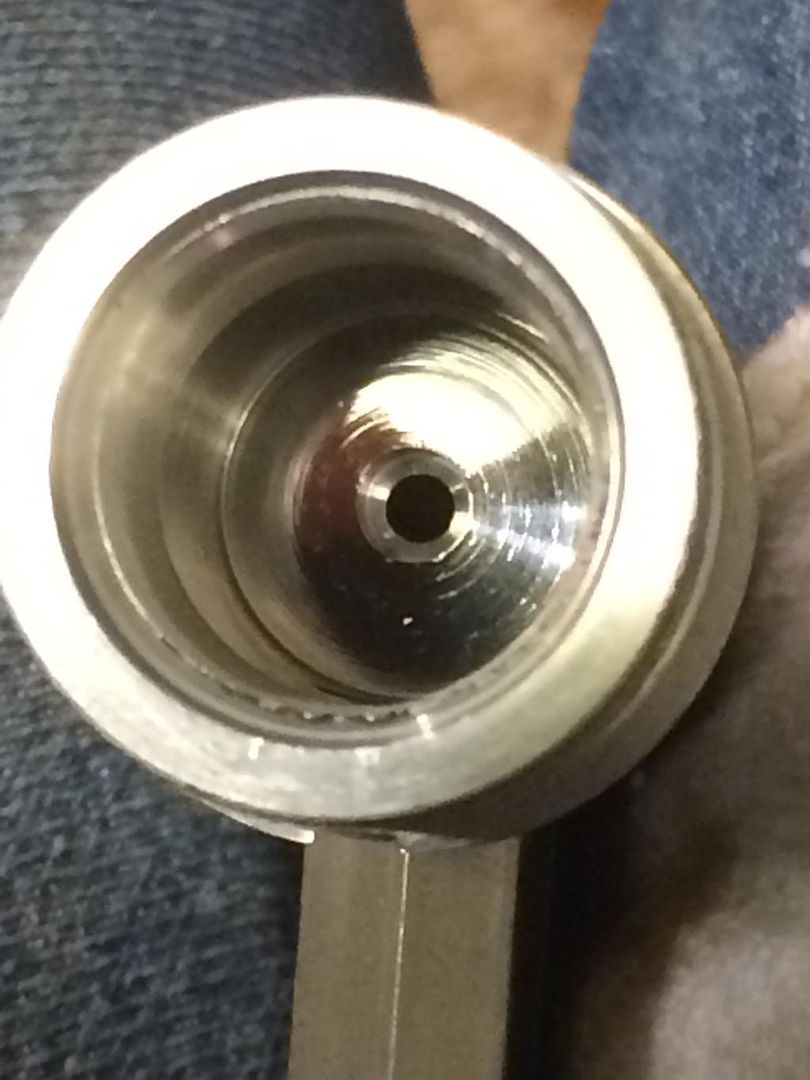 That's it in a nut shell, I ended up polishing the bottom of the valve body to get a good seal on the yellow seat.
 Now remove the six screws holding the upper receiver to the valve body. Four are hex screws the other two down in the recess of the breech where the pellet probe is visible are regular slotted screws. Here's a kicker though the two front hex screws nearest the muzzle are 2.5mm and the back two by the bolt handle are 3/32".
  With the top half off you can re-lube the bolt and associated moving parts. There is also a transfer port there to keep tabs on.
 Step 3 to remove the hammer spring and the hammer the safety assemble needs to come off by removing the two 1.5mm set screws on the side of the valve body/trigger assembly. There will be some spring on it so beware.
  Step 4 to remove the hammer for inspection or polishing remove the cocking lug hex screw that is viewable on top of the hammer body. Sorry I don't have a photo of it. With the hex screw removed you might have to rotate the hammer and pull the trigger to let it slide out.
  Step 5 to remove the air tube to gain access to the valve, poppet and seat the air has to be drained from the air tube by loosening the gauge slowly and allowing the air to escape. Once you've confirmed 100% that the pressure is zero you can unscrew the air tube from the valve body. This is what you should be down to, just the valve body and trigger assembly still attached with the two sealing O-rings.
 Step 6 to remove the valve seat and poppet, remove the valve by unscrewing the valve assembly from the valve body.
 The little yellow donut which is the seat just sits in the bottom of the valve body. This is what was leaking on mine.
 That's it in a nut shell, I ended up polishing the bottom of the valve body to get a good seal on the yellow seat.