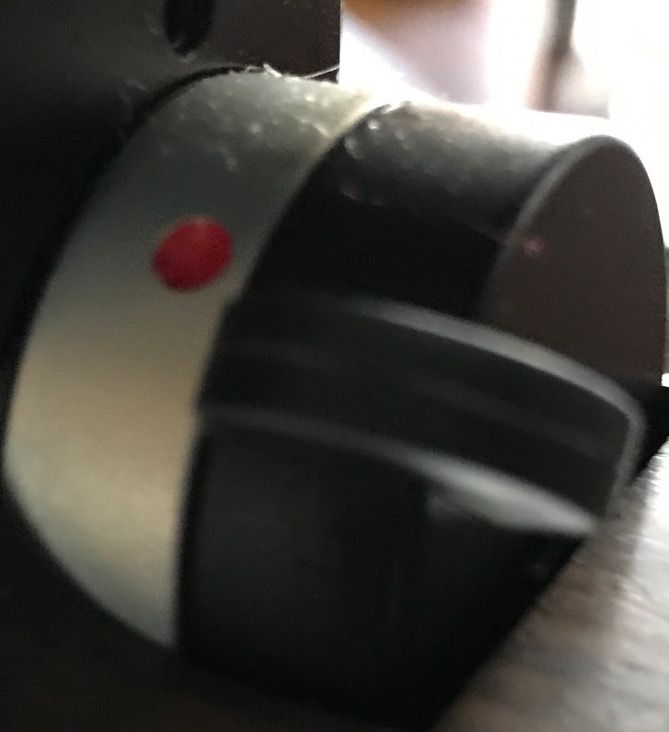
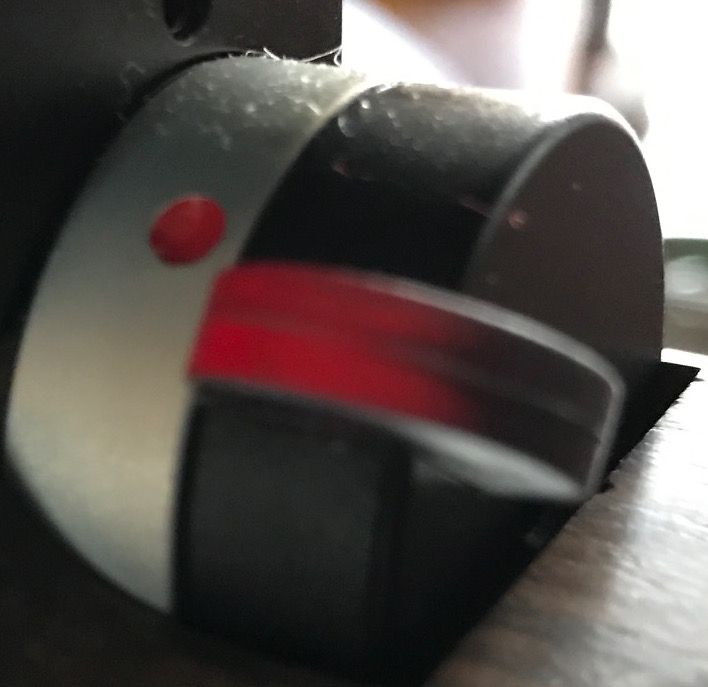
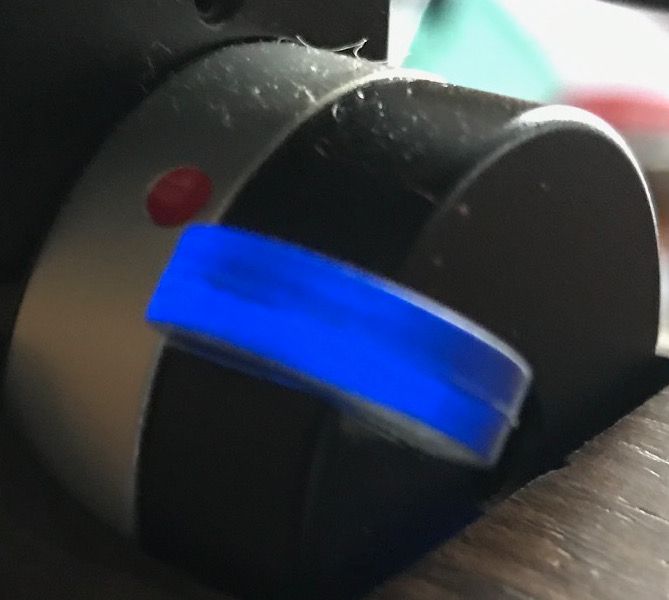
My board http://www.ebay.com/itm/Daystate-mk4IS-mk4-IS-Airwolf-MCT-electronic-board-/322266466401?hash=item4b08940861:g:hs8AAOSw-W5Us~tg arrived yesterday and is now installed in my Airwolf MCT.
If you follow the instruction book the seller emails to you after purchase, installation goes quickly and smoothly. The hardest part was getting the ribbon cable connected to the new main board (you no longer use the daughter board). Hint for anyone trying this swap: Have a long thin set of needle nose pliers handy to hold / insert the ribbon cable. Without those, you may be playing with the ribbon cable for a while trying to get it into the connector. Also, be careful not to break the ribbon cable clamp on the board - it is fragile.
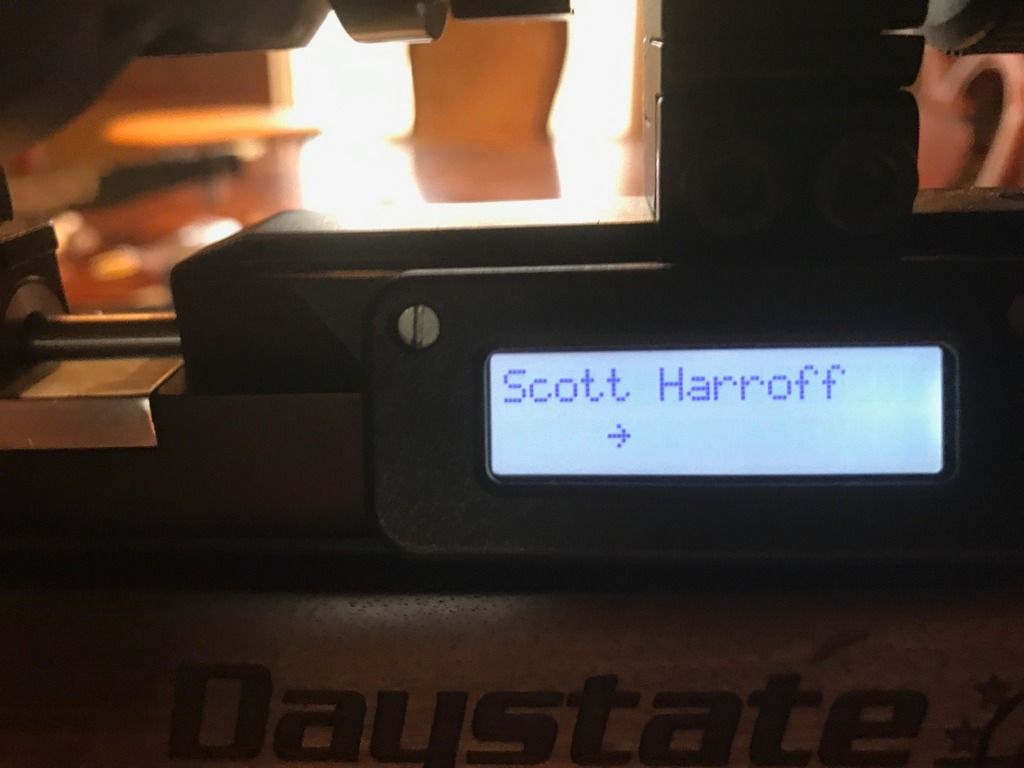
I have already gone though all the settings and fully tested the board. When I power up the rifle, it now displays my name for two seconds before going to the information screen. How cool is that")
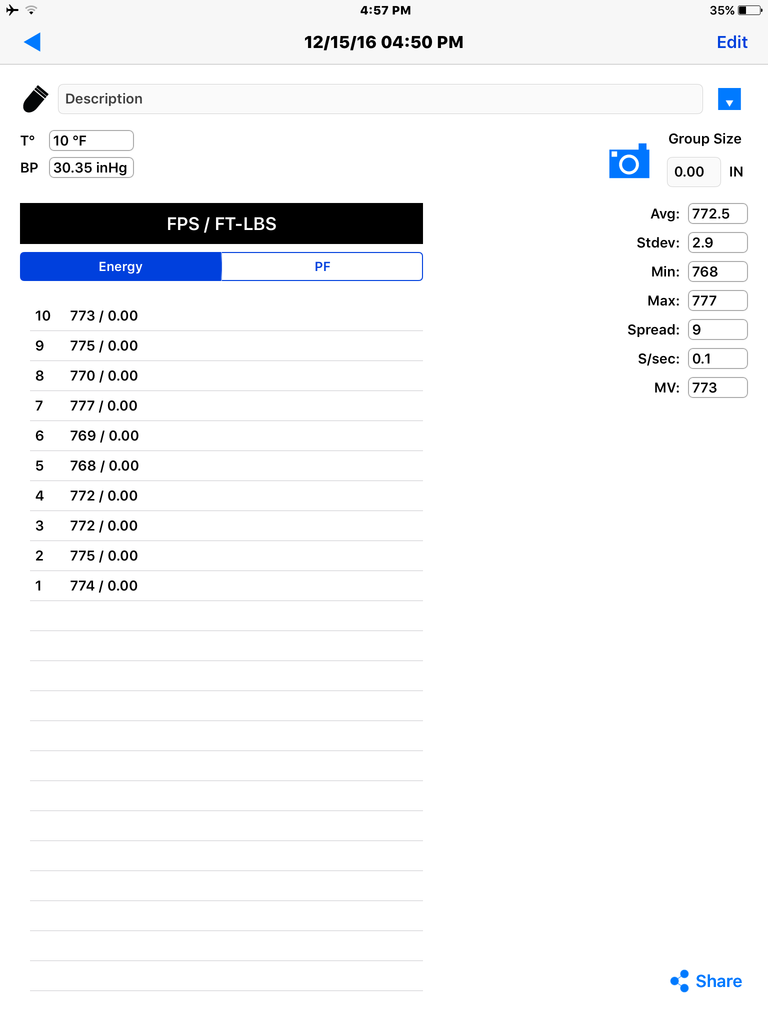
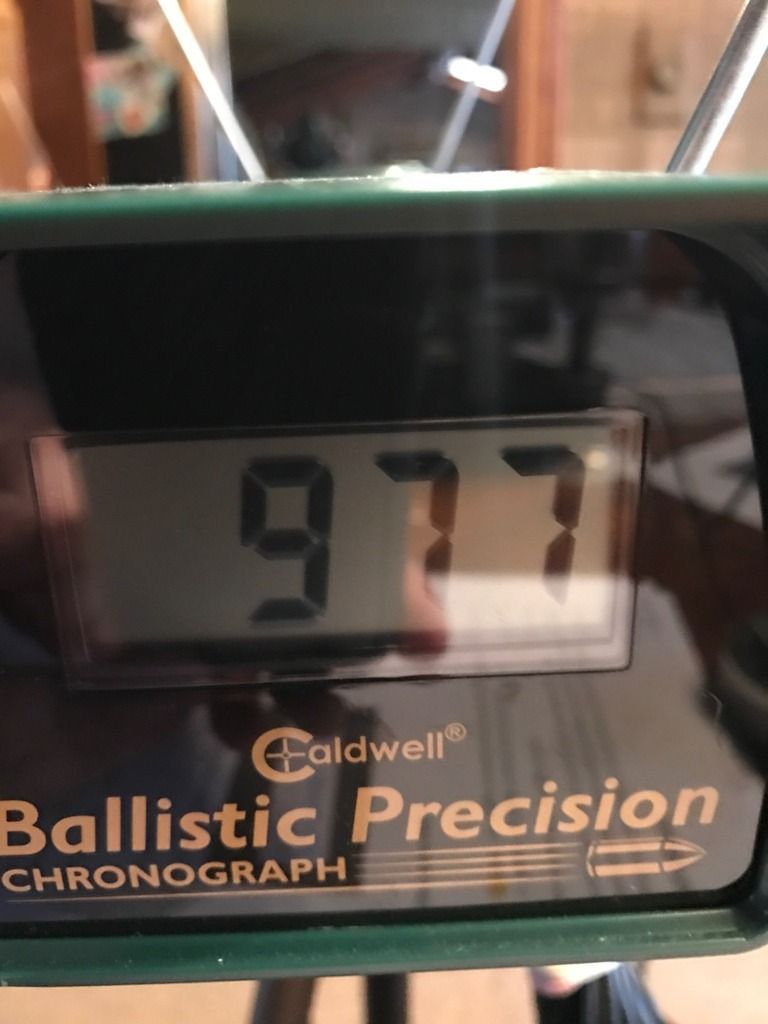
I presently have the gun set at power level 11, which is 945 fps (very close to factory high power setting of 935 fps) do my scope and elevation tape isn't off.
Although changing the pressure to pulse width maps (that controls the FPS) are easy to do, I haven't found a reason to tinker with those yet. My current power level to fps map is below. I'm shooting JSB 18.13s
Power Level FPS FPE
1 385 6.0
2 450 8.2
3 540 11.7
4 640 16.5
5 680 18.6
6 720 20.9
7 775 24.2
8 825 27.4
9 880 31.2
10 920 34.1
11 945 36.0
12 975 37.9
If you want the fps slightly higher or lower, there is a Power Shift Px menu. On that menu you can add or remove power in pressure pulse widths of 1%. There is even a PX calibration setting where you can fill the bottle to a specific pressure, and see the raw data from the computer which lets you set the speed to the pressure in .25 bar increments. Talk about being able to tweak this thing to extremes!
When I have some time to shoot at 50 yards and check accuracy, I may step the power up to level 12 and get my MCT up to 975 fps
The extreme spread from the factory setting are running around 5 feet per second. There were several times when three shots in a row were exactly the same speed!
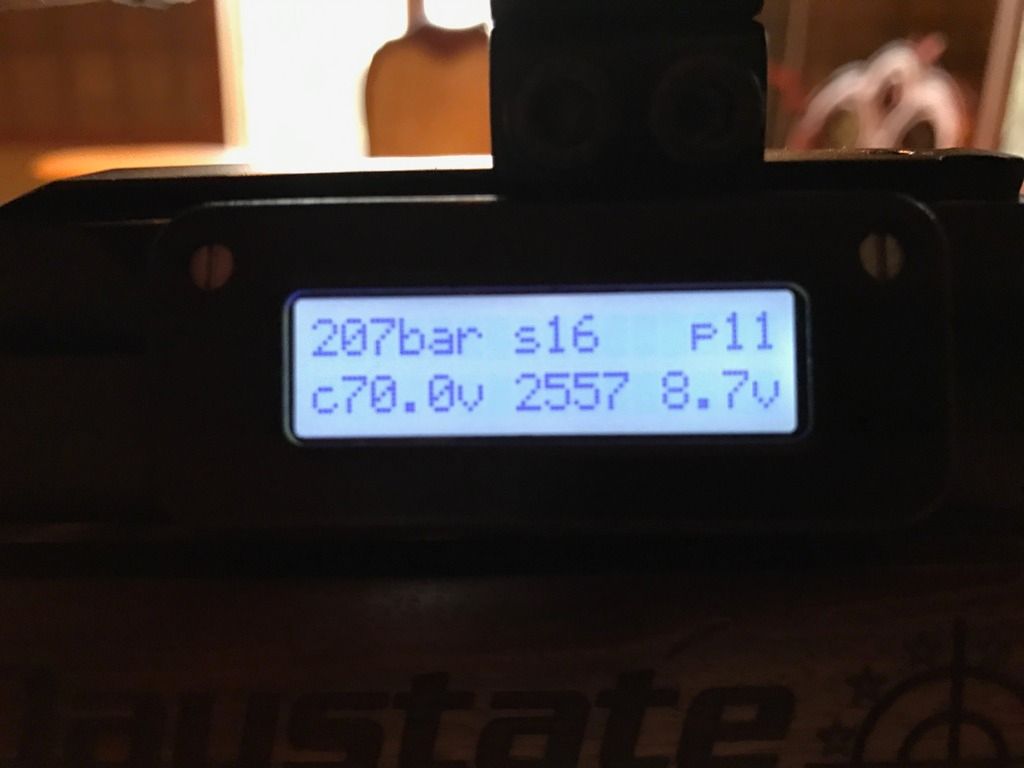
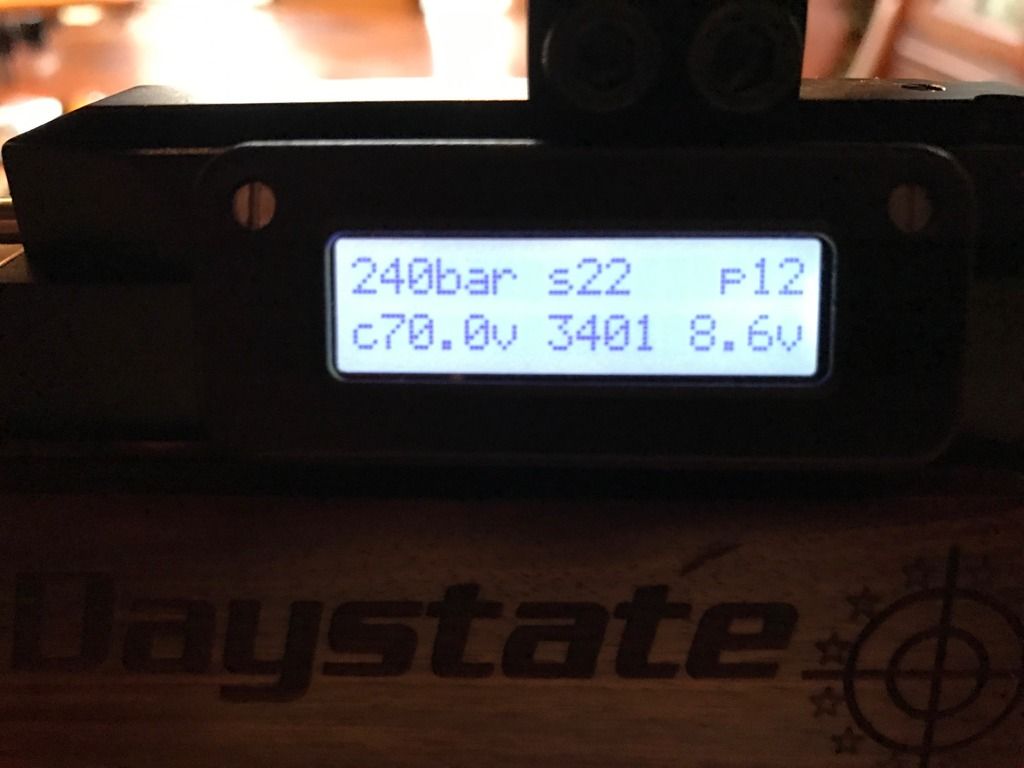
On the highest power setting (12) I get 22 shots in a 5 fps window. That doesn't mean you only have 22 shots, it is just that when the board counts down to 0, the fps is going to start dropping by a couple or few fps from that point on. Of note, the shot counter adjusts after each shot based on the current bottle pressure. So, it might go 22, 21, 20, 19, 19, 18, 17, 17, 16, 15 , etc. I fill to 240 bar and am running my capacitor at 70 volts. You can power it up to 76 volts, but I don't see the reason to go past 70 volts given the velocities I am seeing.
Here is the shot count estimations (from the board) at all the power levels:
Power level Shot Count
1 1893
2 1127
3 580
4 458
5 372
6 327
7 259
8 175
9 137
10 89
11 39
12 22
I've checked power levels 10, 11, and 12 and the numbers are right on. So if you wanted to plink cans or whatever, dial it down to power 3 (11.7 foot pounds) and shoot through a full 500 pellet tin without adding any air! If the shot count doesn't come out exactly right for your rifle, there is a Px Remaining shot calculator menu items (of course) that let's you re calibrate how the shot count is calculated so you can tweak it for your gun / pellet.
Changing power levels is super easy. Hold the trigger, turn on the gun, and Set Power Level appears on the menu. Let go of the trigger and it displays the current power level. Pull the trigger again and it goes up to the next power level. When you get to where you want, pull and hold the trigger, the gun displays that it saved the setting. Toggle the power switch and you are shooting at the new power level.
One of my favorite new features is the "Reduce Shots" setting. Here you can set it to unlimited (will shoot continuously), or set it to 1 (single shot, then turn off / on) or any number you want (3 for 3 shot group, 5 for 5 shots, 10 for just shoot a full magazine then stop, etc).
After working with this board for a half day, I can say I'd never go back to the factory board. Update: I know have a viewing angle where I can tell when the gun is charging. I leave the rifle off and flip it on every now and then to see the voltage (target is 10 volts) then turn it back off to continue charging. This board is a fantastic addition to an Air Wolf. I'd say it just took my AirWolf MCT Hi Lite to an Ultimate Airwolf!! The adjustability of the rifle by simply changing power levels and their maps makes the Impacts adjustments look rudimentary and unrefined in comparison.
Bottle pressure (bar) and pulse width updates on the display in the same period (about 1 sec). Cap voltage is updated 5-6 times / sec. The remaining shots and battery voltage update after each shot.
This board has already given me an idea for my next rifle. And it's not going be be cheap!! I think the Daystate CR-X I bought from Allen Zasadny may be up for sale soon.
If you follow the instruction book the seller emails to you after purchase, installation goes quickly and smoothly. The hardest part was getting the ribbon cable connected to the new main board (you no longer use the daughter board). Hint for anyone trying this swap: Have a long thin set of needle nose pliers handy to hold / insert the ribbon cable. Without those, you may be playing with the ribbon cable for a while trying to get it into the connector. Also, be careful not to break the ribbon cable clamp on the board - it is fragile.
I have already gone though all the settings and fully tested the board. When I power up the rifle, it now displays my name for two seconds before going to the information screen. How cool is that
I presently have the gun set at power level 11, which is 945 fps (very close to factory high power setting of 935 fps) do my scope and elevation tape isn't off.
Although changing the pressure to pulse width maps (that controls the FPS) are easy to do, I haven't found a reason to tinker with those yet. My current power level to fps map is below. I'm shooting JSB 18.13s
Power Level FPS FPE
1 385 6.0
2 450 8.2
3 540 11.7
4 640 16.5
5 680 18.6
6 720 20.9
7 775 24.2
8 825 27.4
9 880 31.2
10 920 34.1
11 945 36.0
12 975 37.9
If you want the fps slightly higher or lower, there is a Power Shift Px menu. On that menu you can add or remove power in pressure pulse widths of 1%. There is even a PX calibration setting where you can fill the bottle to a specific pressure, and see the raw data from the computer which lets you set the speed to the pressure in .25 bar increments. Talk about being able to tweak this thing to extremes!
When I have some time to shoot at 50 yards and check accuracy, I may step the power up to level 12 and get my MCT up to 975 fps
The extreme spread from the factory setting are running around 5 feet per second. There were several times when three shots in a row were exactly the same speed!
On the highest power setting (12) I get 22 shots in a 5 fps window. That doesn't mean you only have 22 shots, it is just that when the board counts down to 0, the fps is going to start dropping by a couple or few fps from that point on. Of note, the shot counter adjusts after each shot based on the current bottle pressure. So, it might go 22, 21, 20, 19, 19, 18, 17, 17, 16, 15 , etc. I fill to 240 bar and am running my capacitor at 70 volts. You can power it up to 76 volts, but I don't see the reason to go past 70 volts given the velocities I am seeing.
Here is the shot count estimations (from the board) at all the power levels:
Power level Shot Count
1 1893
2 1127
3 580
4 458
5 372
6 327
7 259
8 175
9 137
10 89
11 39
12 22
I've checked power levels 10, 11, and 12 and the numbers are right on. So if you wanted to plink cans or whatever, dial it down to power 3 (11.7 foot pounds) and shoot through a full 500 pellet tin without adding any air! If the shot count doesn't come out exactly right for your rifle, there is a Px Remaining shot calculator menu items (of course) that let's you re calibrate how the shot count is calculated so you can tweak it for your gun / pellet.
Changing power levels is super easy. Hold the trigger, turn on the gun, and Set Power Level appears on the menu. Let go of the trigger and it displays the current power level. Pull the trigger again and it goes up to the next power level. When you get to where you want, pull and hold the trigger, the gun displays that it saved the setting. Toggle the power switch and you are shooting at the new power level.
One of my favorite new features is the "Reduce Shots" setting. Here you can set it to unlimited (will shoot continuously), or set it to 1 (single shot, then turn off / on) or any number you want (3 for 3 shot group, 5 for 5 shots, 10 for just shoot a full magazine then stop, etc).
After working with this board for a half day, I can say I'd never go back to the factory board. Update: I know have a viewing angle where I can tell when the gun is charging. I leave the rifle off and flip it on every now and then to see the voltage (target is 10 volts) then turn it back off to continue charging. This board is a fantastic addition to an Air Wolf. I'd say it just took my AirWolf MCT Hi Lite to an Ultimate Airwolf!! The adjustability of the rifle by simply changing power levels and their maps makes the Impacts adjustments look rudimentary and unrefined in comparison.
Bottle pressure (bar) and pulse width updates on the display in the same period (about 1 sec). Cap voltage is updated 5-6 times / sec. The remaining shots and battery voltage update after each shot.
This board has already given me an idea for my next rifle. And it's not going be be cheap!! I think the Daystate CR-X I bought from Allen Zasadny may be up for sale soon.