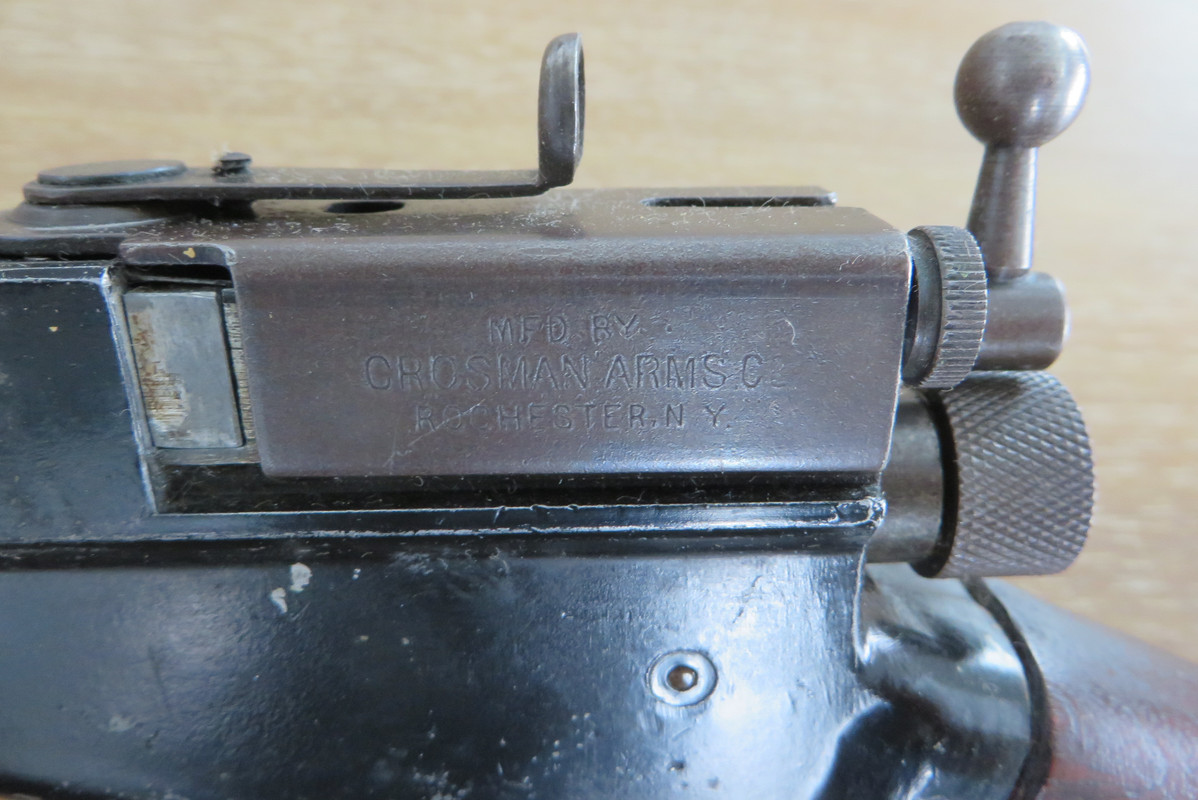
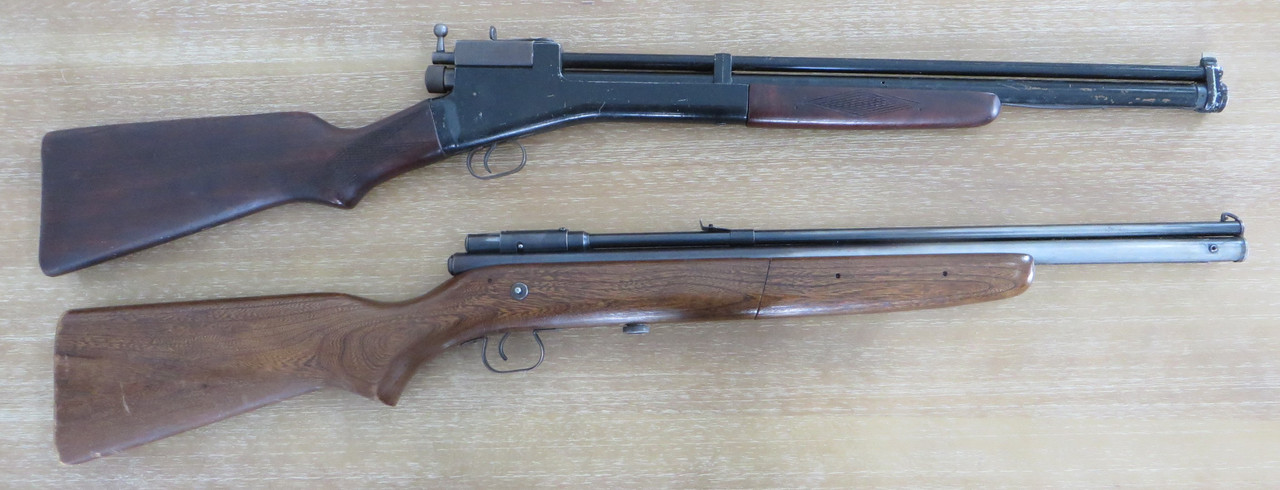
I have been discussing a couple of Crosman's on this forum lately and have determined that the Model 102 is in need of a rebuild.
The Model 140 seems to function perfectly.
I ordered a seal kit for the 102 from Baker and will have it in a week or so.
I have done a search on YouTube for a video on this project, but no luck.
However, I did find this video, but it's for the models 100 & 101 which is obviously slightly different.
Anyone have a good instruction sheet or link to a video that may be of help??
Last edited: