Optics Part I Obviously, optics are a huge point of discussion, hence the entire forum devoted to them. I am about to tread into deep deep water, and here my inexperience is definitely going to become apparent. For my first look at optics on the GK1, my goal was simple. Let’s get something on there besides the iron sights.
The dovetail mount on the pistol only extends down the front ¾ of the pistol. This introduces several problems. For mounting a Red Dot sight, it feels a little too forward. I don’t know if there are functional problems with mounting a Red Dot sight slightly forward, but it does make focusing on the red dot a little more difficult and makes the field of view within the confines of the rim of the optic smaller.
Also, it is a dovetail mount. Most optics are going to be based on a picatinny mount. Or Red Dot pistol specific (the most common footprints being RMR and Docter).
Once you add an optic with magnification, the forward mounting rail really becomes a problem. Magnified optics have a very specific eye-relief distance--that is the distance that your eye must sit behind the lens. If your eye is not at that distance, then you see nothing thru the scope. Having the scope too far forward leads to very awkward shooting positions, with you essentially kissing the pistol grip.
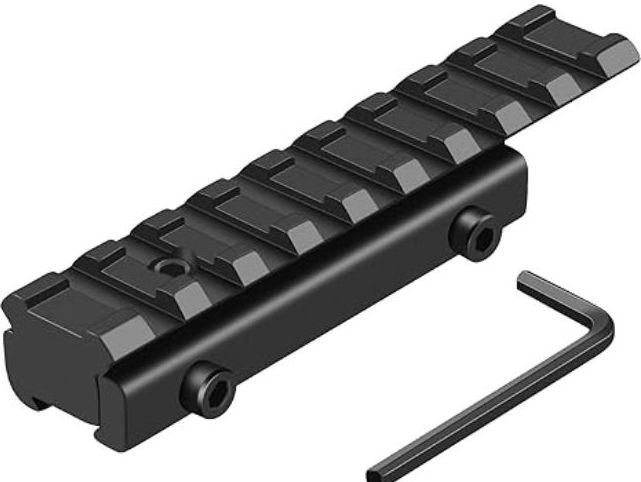
To get start on mounting optics, I threw on this dovetail offset adapter I had laying around, to try and move the optics backwards.
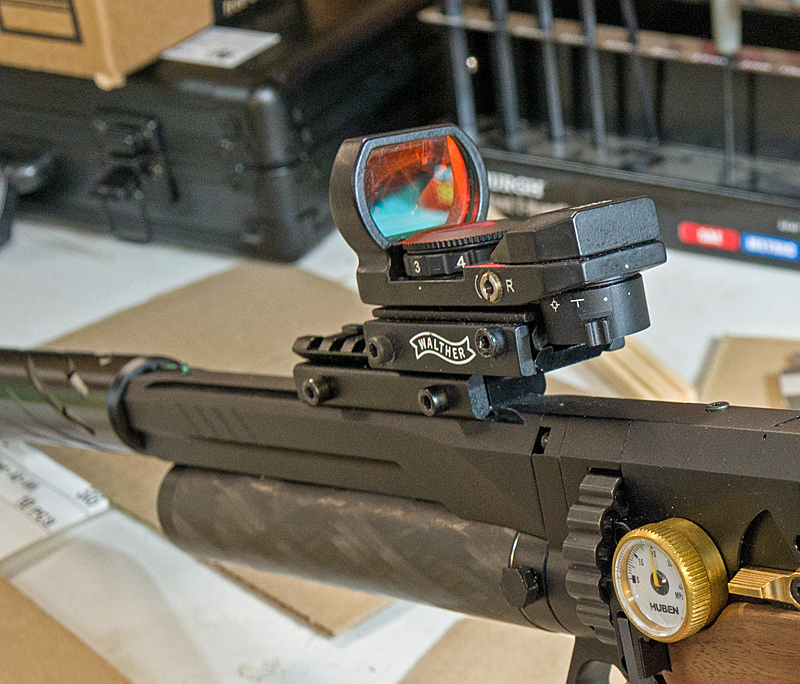
And the first thing I threw on there was this pic rail mount cheap Walther red dot. It’s pretty fun and plenty accurate. As mentioned above, I did run into the Height-over-bore issue with close range shooting. Now that I look at the picture, it’s pretty obvious as the scope is sitting quite high due to the adapter.
If I were to keep the red dot scope, I would develop (or just purchase from
Huben3dparts) a rear mount low profile adapter.
But I decided against keeping the red dot for a few specific reasons: I am lazy and have older vision. I found that when I have to zero a red dot scope, at any useful range, I could not make out the impacts on my target. I would have to walk over to the target to check it out, maybe even take a picture of my target, as the target paper filled up with holes, At one point, I tried to hack the situation by positioning a spare Ring camera I had around pointed at the target, but then I was constantly having to check my phone to find the POI.
So I quickly changed out to a ranged scope (Bugbuster side parallax), I could fire-adjust-fire, no need to walk over--as long as I put it somewhere on the box.
I like the idea of a red dot--super quick to put on target. But also perhaps since I’ve used scopes from the start, and scopes with close focus parallax adjustment (UTG Bugbuster and Hawke Airmax Touch), I prefer to have magnification. I probably won’t even revisit this, as I don’t own any RMR mount optics, and don’t really have any plans to, and there is a great inexpensive product out there already.
I will however, develop a dovetail-to-picatinny rail that will extend all the way to the rear of the pistol (and beyond).