Hey Guys,
This is the second part of installing QF's on a Rapid MKII
For Part 1
Now on to the RAW QF kit. It replaces your Reg adapter. It comes with a new reg/bottle adapter and banjo fitting with gauge and QF nipple.
This one I had to make a custom banjo fitting.
Since the stock one with the Gauge would not fit with my shroud.
So I had to fire up my little CNC mill and cut some 7071 aluminum.

Next, I chucked up the new banjo fitting in my lathe to contour and bore it.
Cut the internal O-ring grooves.
Then drill it to fit the QF nipple.


After looking at the Raw unit…I decided I didn’t need a Reg.
So, I chucked up a spare Fast-flow into the old lathe and did some cutting.
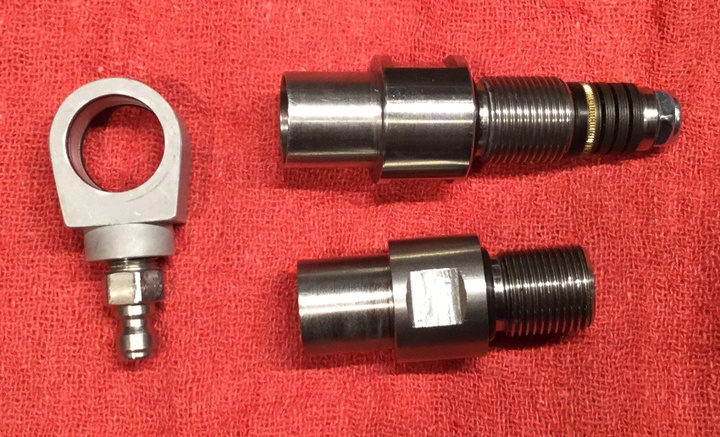

So now I have a couple of options now……
Now comes the sweat palms…I need to drill my Custom Laminate DaveG Stock.
First I had to modify my QF Stock Drilling Jig.
I added a 2nd hole to match the new position of the QF nipple.
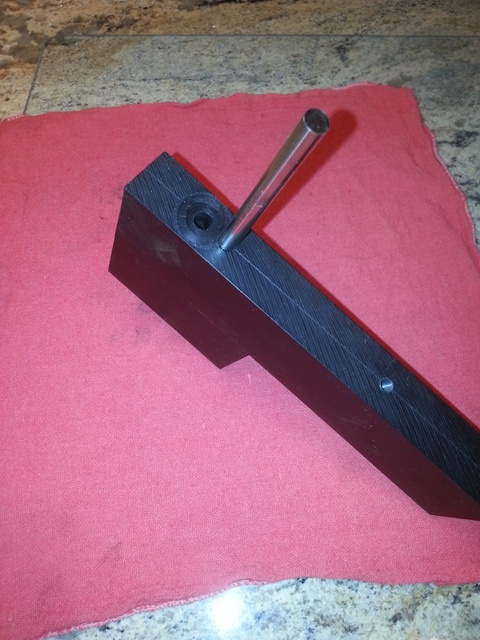
Now using the same 1 inch Forstner Bit, I drilled the hole through my stock.
Next I had to decide how I would dress up this hole.
Delrin just didn’t look right. So I decided on brass.
Also what to do about a cover…..
This is what I came up with!
I Threaded the brass liner and made a threaded cover to match.


I use the same QF socket with the Delrin extension I made for the Dr Bob’s QF to inflate my Rapid.
I hope you enjoyed this as much I did doing it!!
Atb,
Stuart
This is the second part of installing QF's on a Rapid MKII
For Part 1
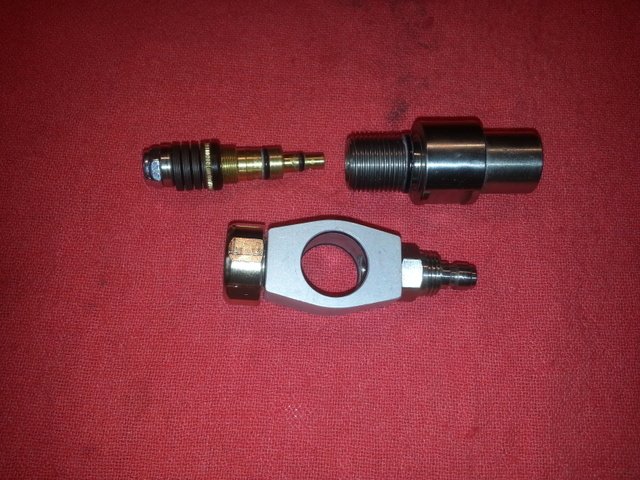
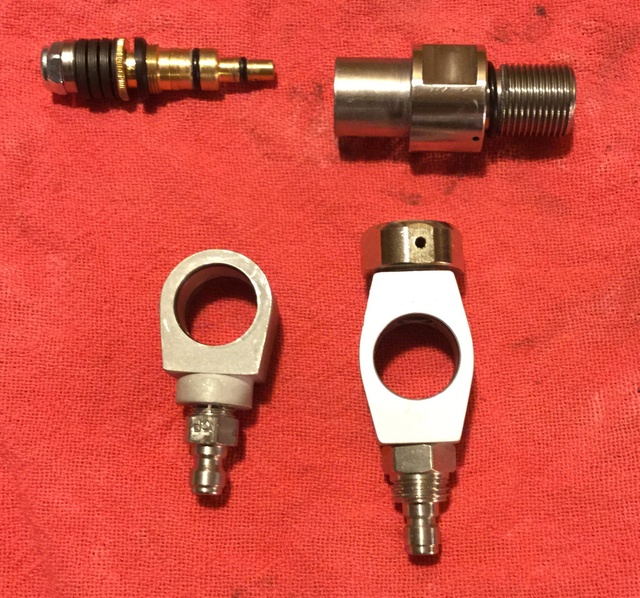
Now on to the RAW QF kit. It replaces your Reg adapter. It comes with a new reg/bottle adapter and banjo fitting with gauge and QF nipple.
This one I had to make a custom banjo fitting.
Since the stock one with the Gauge would not fit with my shroud.
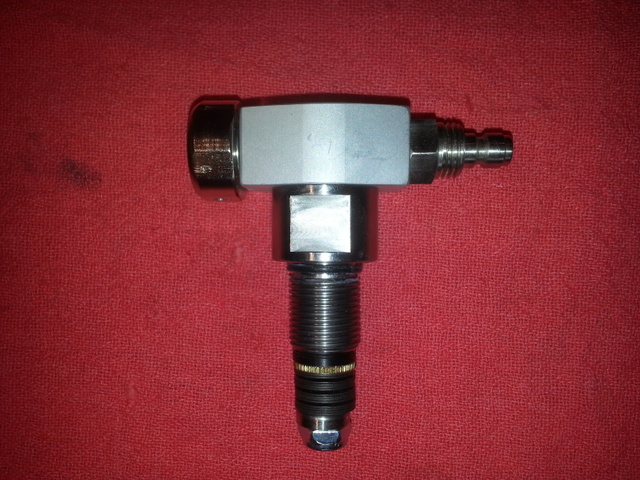
So I had to fire up my little CNC mill and cut some 7071 aluminum.
Next, I chucked up the new banjo fitting in my lathe to contour and bore it.
Cut the internal O-ring grooves.
Then drill it to fit the QF nipple.
After looking at the Raw unit…I decided I didn’t need a Reg.
So, I chucked up a spare Fast-flow into the old lathe and did some cutting.
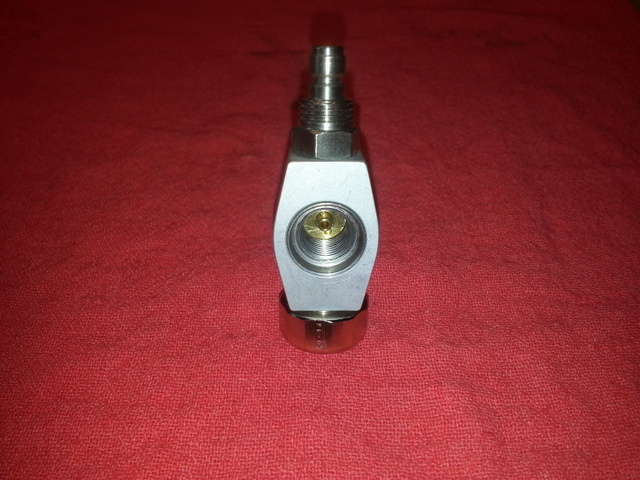
So now I have a couple of options now……
Now comes the sweat palms…I need to drill my Custom Laminate DaveG Stock.
First I had to modify my QF Stock Drilling Jig.
I added a 2nd hole to match the new position of the QF nipple.
Now using the same 1 inch Forstner Bit, I drilled the hole through my stock.
Next I had to decide how I would dress up this hole.
Delrin just didn’t look right. So I decided on brass.
Also what to do about a cover…..
This is what I came up with!
I Threaded the brass liner and made a threaded cover to match.
I use the same QF socket with the Delrin extension I made for the Dr Bob’s QF to inflate my Rapid.
I hope you enjoyed this as much I did doing it!!
Atb,
Stuart
