Right.
So i was told that for this particular model Hatsan had gotten their *hit together.
Well.
Spoiler alert, not so.
As sorts of a review then, i guess.
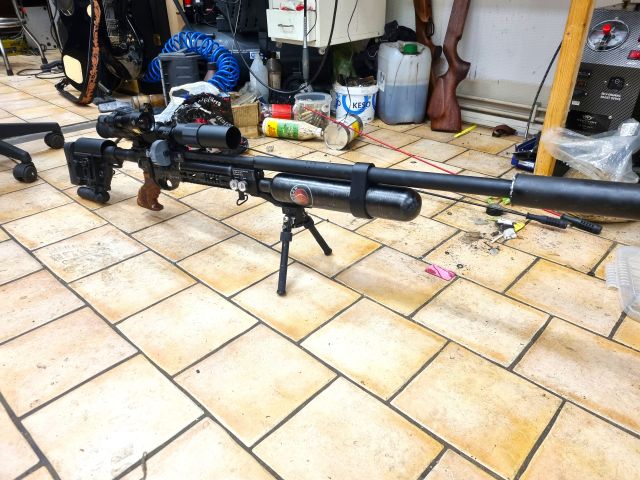
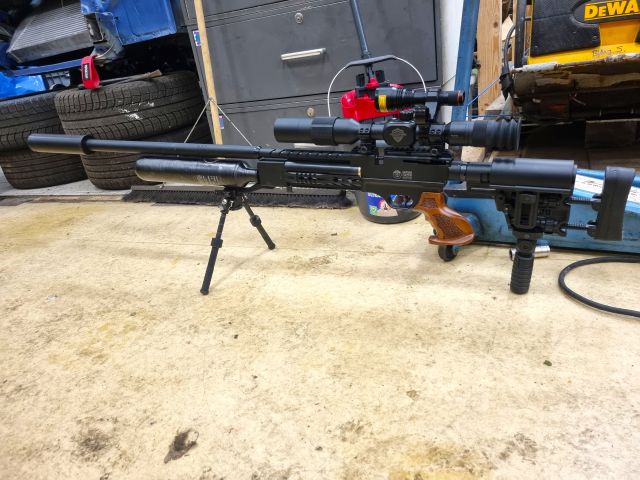
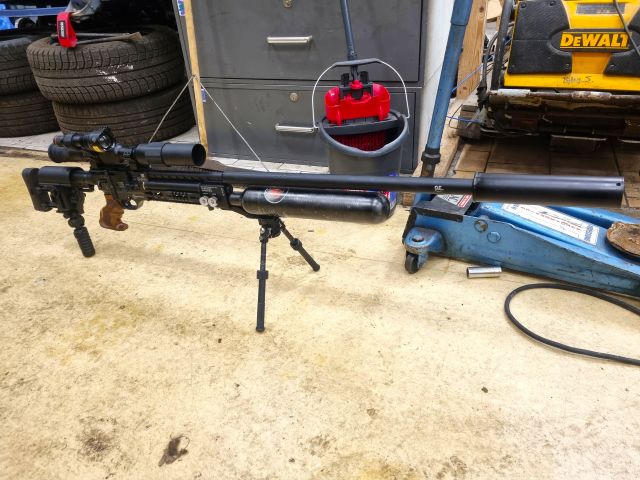
Sniper Long. As in a loooooooong gun, make no mistake. Flaw or a feature? Well, i guess it´s massive size will increase sales? You tell me.
As most other Turkish made guns, heavy at that.
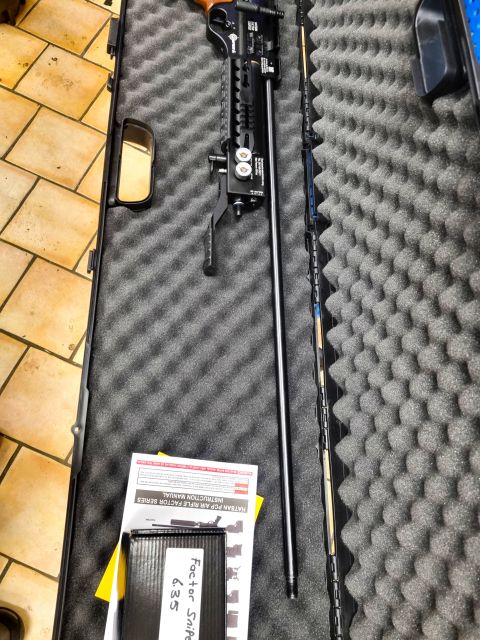
Uhu. As you undress the barrel from its shroud and diffusor out front, yes. That´s a full 760mm worth of it. 25cal as can be seen on the goodies box.
Unit carries a few "neat thoughts" to boot. Like these small rubber protectors for the Pic rails when not in use. Yep. A sling swiwel, right there. Correct. Now, why anyone would want to carry this behemoth around.... whatever.
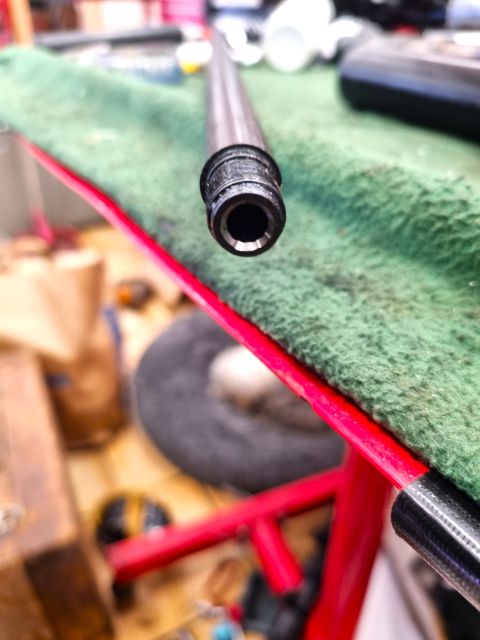
"Taking one for the team". Hatsans barrel crap shoot. This time out though someone at least spent more than 30s on the barrel as can be seen from the machining on the muzzle end. Sorry to say using dull tools, wrong rpms and so forth why it´s full of chatter marks.
Yep. Barrel got a go around on my lathe to get rid of that, no surprise.
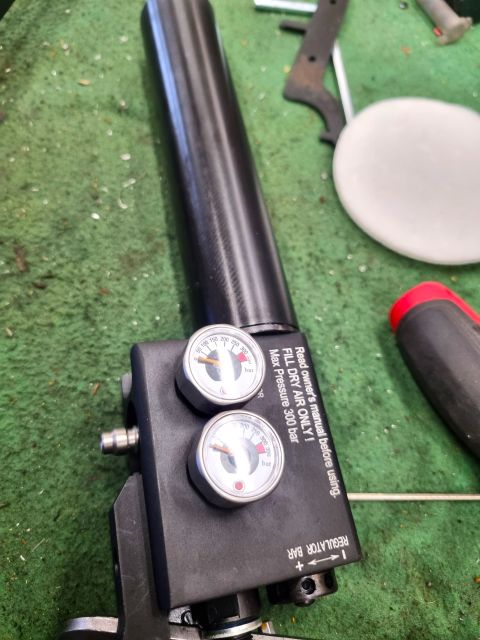
Bottle and reg pressure gauge. Have referenced them vs a known good one and they are reasonably on the mark. Plenum size is by Hatsan on 100cc´s. To my findings it´s actually a tad beyond that. Regulator capable of being adjusted from the outside. Sorry to say the adjuster on mine wasn´t even put on there, it was even set in skewed. Easy fix though.
However.
Doing so the spindle for said adjuster of course came to seat different vs the housing rednering a leak. Again, simple enough to cater to.
Btw. Also be aware that this is a 300 bar fill unit.
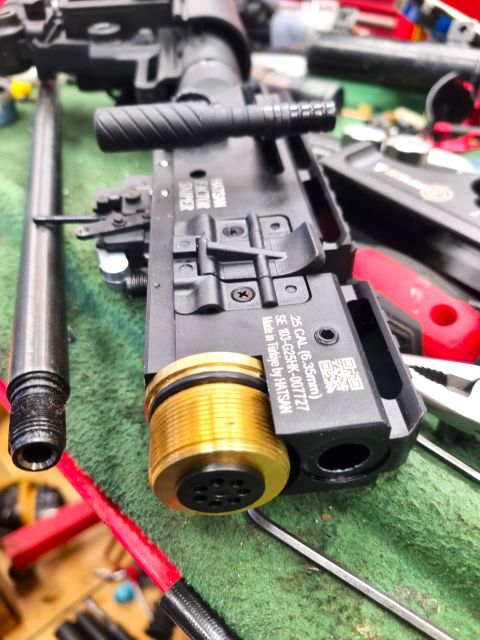
Then for this. Why Hatsan insists on using the same valve body with all them exhaust ports around the circumferance is just beyond me, and as it turned out.. this became an issue.
To note is that in contrast to any other Hatsan the openings are now on 6mm dia, 5 of them per usual.
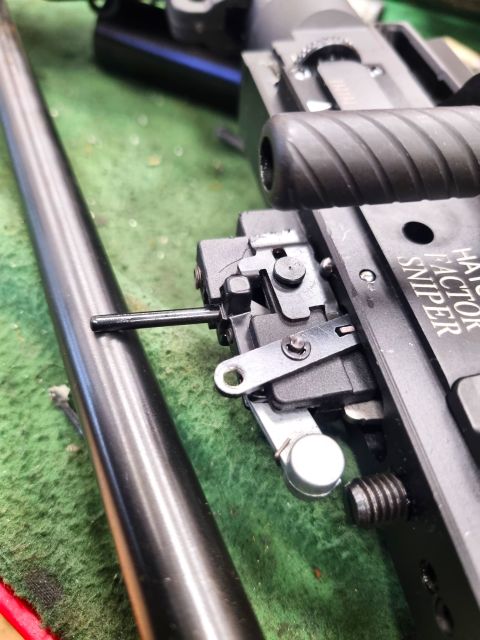
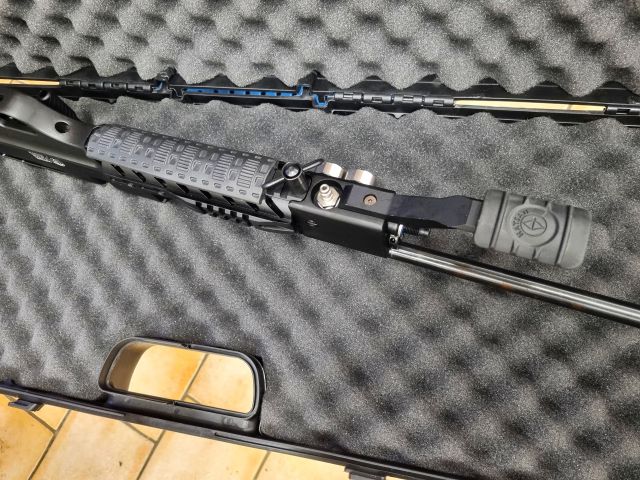
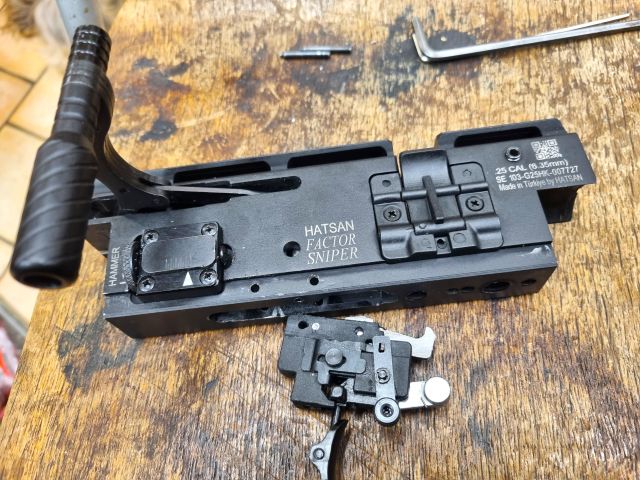
Trigger assy per usual Hatsans "Quattro" trigger. Nothing special to report really. There´s a few design points here though where the SL differs from the Factor, charging handle being one such.
That large screw closest in the picture btw is one of them "ball pen" ones, which i presume is intended as an anti bounce device. Works, what can i say?

Knowing all to well what i was getting into though i redid the poppet setup right off the bat. Nope. Hadn´t fired as much as a shot before tearing into it. The 2mm poppet spindle stunt always helps in my opinion so..
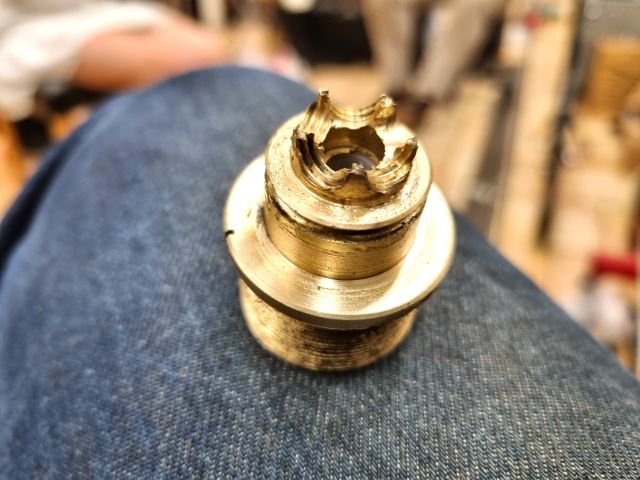
Yeah. At first i thought this was just my bad as i had weakened the valve body at the ports by threading the holes and installing inserts. However, having looked around a bit this had happened more than one why..
To add insult to injury, i was sitting there with the unit on my lap adjusting the trigger, as that thing ruptured the forward piece ran back vs the hammer with such force that the sear on the trigger assy broke as did the "fork" on the hammer spring adjuster.
FWIW a "hidden" tidbit here. As the AT series guns the SL also sports an adjuster screw within the hammer. In other words you can dial that AND the hammer spring adjuster that´s visable to hearts content really.
None the less i came to replace the stock HS with one for an FX Impact. Did for a rather profound difference all said.
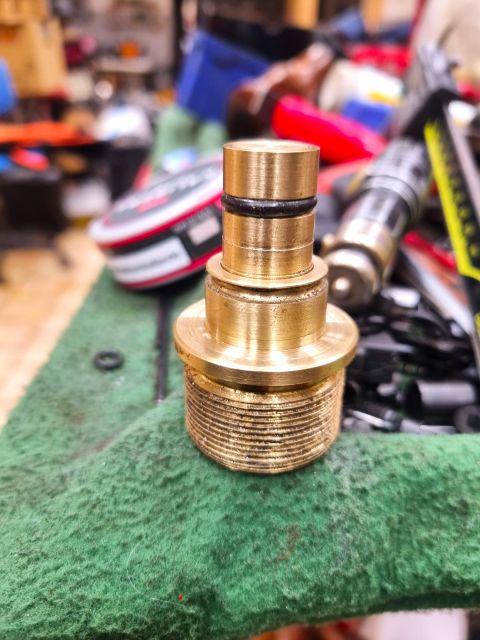
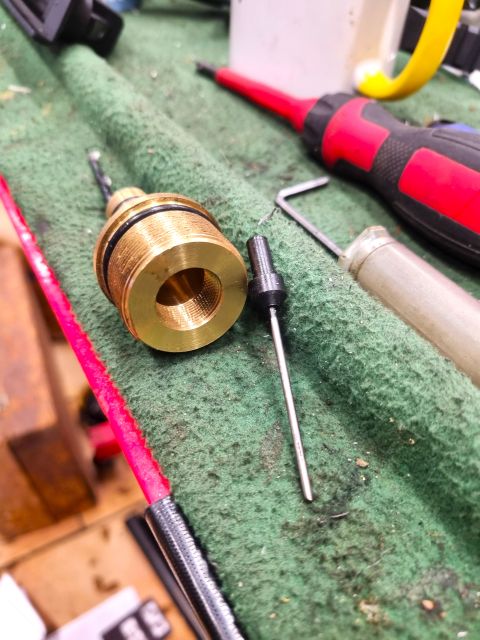
So yeah. A new "top hat" was turned and then brazed to the stock lower part. Did so by what´s known as "sweating". Ie; silver solder on both parts, the jig it up and add heat until solder melts.. a tad of force and the two parts flow together. Makes for a very strong bond.
Now of course with an indexed exhaust port and what not, so a WAY stronger solution vs stock.
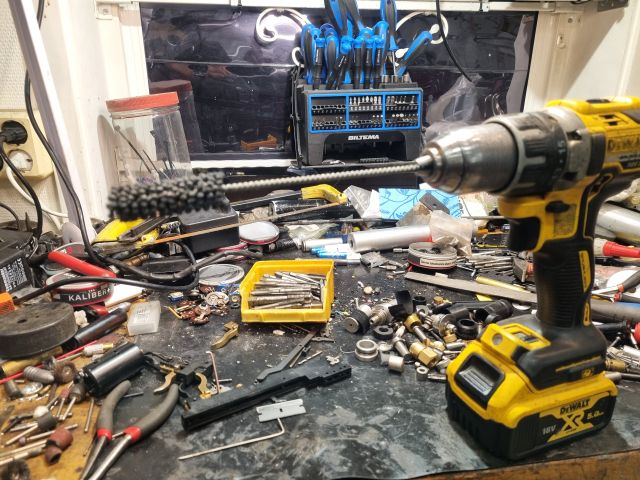
Seeing the mishap i of course spent a wee bit of time checking the other ends n bits of the setup too. As it turned out the hammer and so forth ran on a rather coarse surface why i first up opted to hone the hammer bore out using one of them simple dingle hones (see pic) and then handing the hammer as well as plunger for the closing spring and in turn pellet probe a trip on the lathe at 2000rpms using 240 grit and light oil.
This made for a rather profound difference in hammer flight and action, let me tell you.
I was down on the actual sear though as it broke into three pieces. Lo n behold though as i two days later found the one missing bit right there on the floor! So out the TIG welder came and done deal.
Works as it should once again.
So this was a bit of a bumpy ride then huh?
Yes, and then some i´d say. In short i do NOT think Hatsan got it right even with this unit, that as far as i know is to be regarded as their flagship. In short the SL too needs to be picked apart to be all it can be.
Oh! On that note!
There´s a bracket that runs between the HPA part of the unit and the receiver, and this bracket together with the trigger guard/stock is removed to adjust the trigger. Do NOT run the unit as such!! Note do NOT!!
The few allen stoppies that keep the HPA part of the gun to the receiever is NOT enough to keep it on there upon firing!
As you are to adjust the trigger remove the HPA part entirely and THEN adjust the trigger to your liking. Then reassemble the gun.
But.
..and this is the BIG but...
Will it shoot? In short, is it worth the effort?
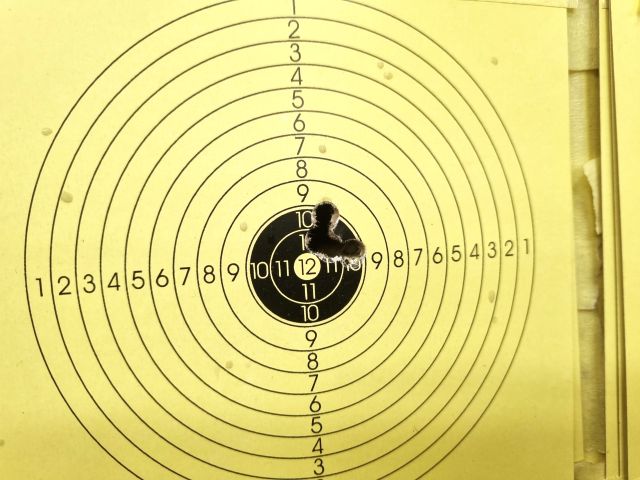
Yes. Yes it will shoot. All said it´s actually quite accurate and will no doubt hand what´s needed. Doesn´t really seem to care if pellets or slugs.
So i was told that for this particular model Hatsan had gotten their *hit together.
Well.
Spoiler alert, not so.
As sorts of a review then, i guess.
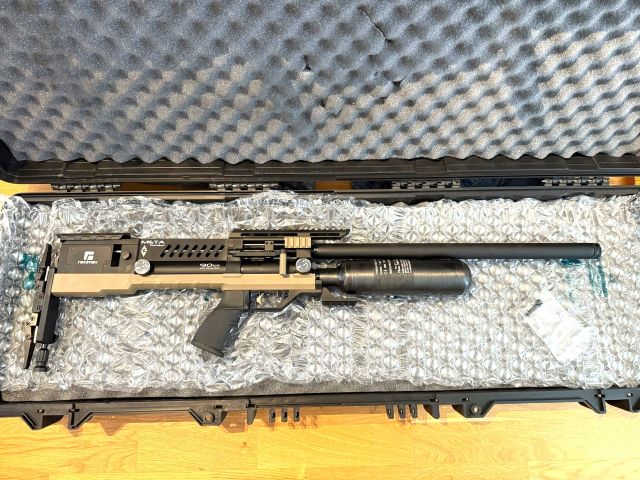
Sniper Long. As in a loooooooong gun, make no mistake. Flaw or a feature? Well, i guess it´s massive size will increase sales? You tell me.
As most other Turkish made guns, heavy at that.
Uhu. As you undress the barrel from its shroud and diffusor out front, yes. That´s a full 760mm worth of it. 25cal as can be seen on the goodies box.
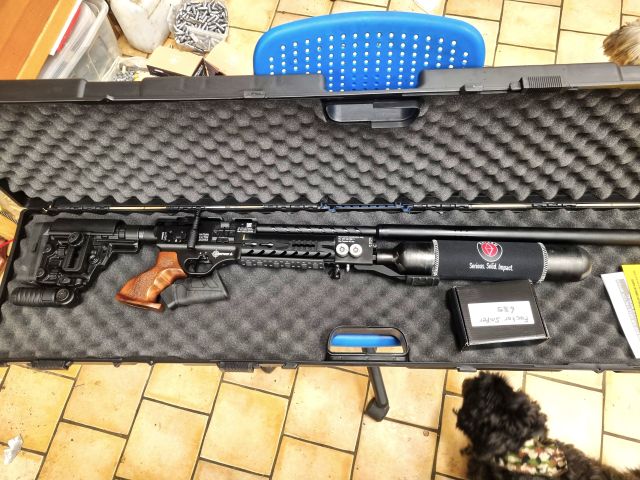
Unit carries a few "neat thoughts" to boot. Like these small rubber protectors for the Pic rails when not in use. Yep. A sling swiwel, right there. Correct. Now, why anyone would want to carry this behemoth around.... whatever.
"Taking one for the team". Hatsans barrel crap shoot. This time out though someone at least spent more than 30s on the barrel as can be seen from the machining on the muzzle end. Sorry to say using dull tools, wrong rpms and so forth why it´s full of chatter marks.
Yep. Barrel got a go around on my lathe to get rid of that, no surprise.
Bottle and reg pressure gauge. Have referenced them vs a known good one and they are reasonably on the mark. Plenum size is by Hatsan on 100cc´s. To my findings it´s actually a tad beyond that. Regulator capable of being adjusted from the outside. Sorry to say the adjuster on mine wasn´t even put on there, it was even set in skewed. Easy fix though.
However.
Doing so the spindle for said adjuster of course came to seat different vs the housing rednering a leak. Again, simple enough to cater to.
Btw. Also be aware that this is a 300 bar fill unit.
Then for this. Why Hatsan insists on using the same valve body with all them exhaust ports around the circumferance is just beyond me, and as it turned out.. this became an issue.
To note is that in contrast to any other Hatsan the openings are now on 6mm dia, 5 of them per usual.
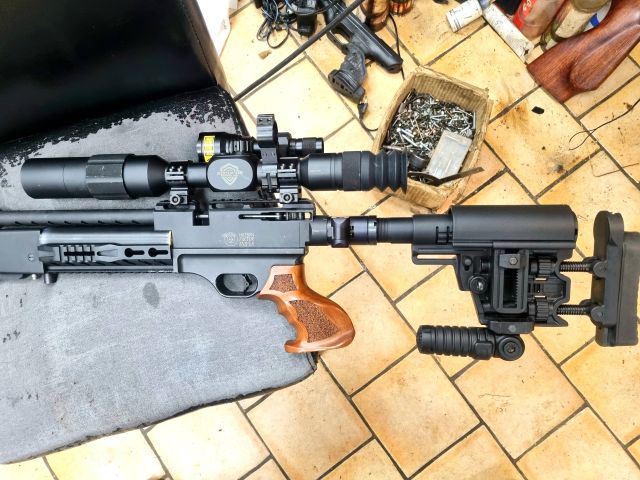
Trigger assy per usual Hatsans "Quattro" trigger. Nothing special to report really. There´s a few design points here though where the SL differs from the Factor, charging handle being one such.
That large screw closest in the picture btw is one of them "ball pen" ones, which i presume is intended as an anti bounce device. Works, what can i say?
Knowing all to well what i was getting into though i redid the poppet setup right off the bat. Nope. Hadn´t fired as much as a shot before tearing into it. The 2mm poppet spindle stunt always helps in my opinion so..
Yeah. At first i thought this was just my bad as i had weakened the valve body at the ports by threading the holes and installing inserts. However, having looked around a bit this had happened more than one why..
To add insult to injury, i was sitting there with the unit on my lap adjusting the trigger, as that thing ruptured the forward piece ran back vs the hammer with such force that the sear on the trigger assy broke as did the "fork" on the hammer spring adjuster.
FWIW a "hidden" tidbit here. As the AT series guns the SL also sports an adjuster screw within the hammer. In other words you can dial that AND the hammer spring adjuster that´s visable to hearts content really.
None the less i came to replace the stock HS with one for an FX Impact. Did for a rather profound difference all said.
So yeah. A new "top hat" was turned and then brazed to the stock lower part. Did so by what´s known as "sweating". Ie; silver solder on both parts, the jig it up and add heat until solder melts.. a tad of force and the two parts flow together. Makes for a very strong bond.
Now of course with an indexed exhaust port and what not, so a WAY stronger solution vs stock.
Seeing the mishap i of course spent a wee bit of time checking the other ends n bits of the setup too. As it turned out the hammer and so forth ran on a rather coarse surface why i first up opted to hone the hammer bore out using one of them simple dingle hones (see pic) and then handing the hammer as well as plunger for the closing spring and in turn pellet probe a trip on the lathe at 2000rpms using 240 grit and light oil.
This made for a rather profound difference in hammer flight and action, let me tell you.
I was down on the actual sear though as it broke into three pieces. Lo n behold though as i two days later found the one missing bit right there on the floor! So out the TIG welder came and done deal.
Works as it should once again.
So this was a bit of a bumpy ride then huh?
Yes, and then some i´d say. In short i do NOT think Hatsan got it right even with this unit, that as far as i know is to be regarded as their flagship. In short the SL too needs to be picked apart to be all it can be.
Oh! On that note!
There´s a bracket that runs between the HPA part of the unit and the receiver, and this bracket together with the trigger guard/stock is removed to adjust the trigger. Do NOT run the unit as such!! Note do NOT!!
The few allen stoppies that keep the HPA part of the gun to the receiever is NOT enough to keep it on there upon firing!
As you are to adjust the trigger remove the HPA part entirely and THEN adjust the trigger to your liking. Then reassemble the gun.
But.
..and this is the BIG but...
Will it shoot? In short, is it worth the effort?
Yes. Yes it will shoot. All said it´s actually quite accurate and will no doubt hand what´s needed. Doesn´t really seem to care if pellets or slugs.