Diana And so it begins..The 333/65 rebuild. The conclusion...

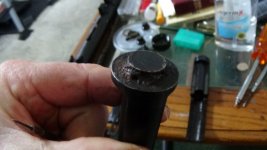
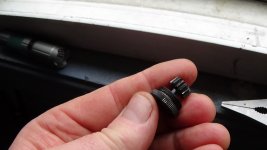
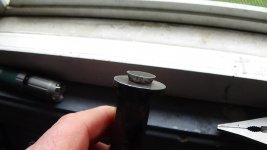
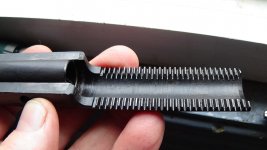
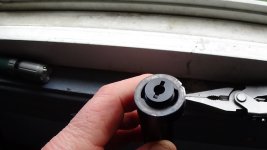
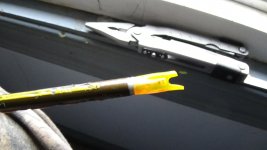
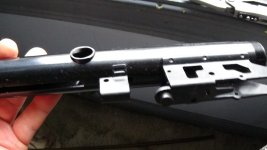
Finally decided today to get the ball rolling on this win333/d65. The seals were pretty much non existent, but everything else looks perfect. I don't think this outfit was used much by the wear and tear. It came apart fairly easy. I just ordered seals for it though so now i;ll have to wait on them. Cleaning the old front seal out looks like it might be a pita but it'll get done. Took some pictures as i went so when i forget how something went in (and i will) i'll have the pics to fall back on. Can't wait to shoot it.
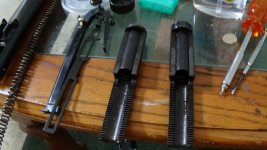
DSC02481.JPGDSC02482.JPG
 
Last edited:
am wood dowel with a 1/4 slot cut in the middle for down the tube cleaning if you have a Dremel tool use it with brass brushes if it has a cable you can use a brass cup brush down the tube
it is clean and clean some more and when you think you are done do it one more time
the pistol seals are a SOB to put on and you maybe need to make a tool to slide the seal down and over the piston top
a clamp and socket can be handy and a use glue dot the hole the piece you use to side the seal down if you get it on the first try damn good luck but it could take several and you have 2 to do
i have been using Ultimox 226and remember that dowel, i put a clean new sponge in the slot and just lightly coat the inside of the tube
that dowel also works as your cleaning tool by putting clean lint free cloth in the slot
that is enough for now but some ideas that you can use or others reading the thread
there are many tricks from the tools you use to even the clamps
i will be following along

mike in Washington state
 
  • Like
Reactions: muddydogz
Thanks for the advise marflow, if it goes together half as easy as it came apart i'll be happy. That's usually the case though. The rear seal was just a pile of rubble and the front is still in there. Not looking forward to tackling that but i have plenty of time before the new seals get here. What do you use to lube the cogs and the rails? I'm assuming nothing to thick but the slicker the better.
 
the spring need very little lube with the 3 spring set up they don't act as a one big spring and seeing that they are being compress from both ends and react differently and hell it is a low power rifle
but the spring is very long and you will have to make a guide for the reassembly and that is why the rear piston has a hole in it
 
  • Like
Reactions: muddydogz
the spring need very little lube with the 3 spring set up they don't act as a one big spring and seeing that they are being compress from both ends and react differently and hell it is a low power rifle
but the spring is very long and you will have to make a guide for the reassembly and that is why the rear piston has a hole in it
Like marflow mentions, I use a 1/8" carbon rod, cut to length, to support the triple spring while removing and installing, so as not to kink it.
Also as mentioned, to press on the seals, I use an electrical red wire nut to push on (spread) the seal. The red wire nuts larger end, has the perfect OD to match the raised round capture portion of the piston, and tapers down in diameter to easily start the seal.
I use the right size socket to push the seal on, while the piston is held in a vise. Put the seals in hot water first to soften them a little, and a little silicone on the piston to facilitate slipping it on.
It takes longer to write this, than actually doing it.
here's a pic.....
HTH
IMG_20240401_081339889.jpg
 
you see that the Giss System guns are not hard to work on BUT you have to have the tricks to make it so
without that wire nut or something like that you will not get the seals on the pistons, something that simple will frustrate you and stop your progress
there is enough of here that can help and that is what we are here for at least i am is to help
there is a point that when you have everything ready to be installed there are some tricks
 
one thing the tubes in the pistons come out they are a part and they can be stuck in there fairly tight and you can leave them or remove them and clean what is under them if you haven't already or leave them your call
i have been tell people that the cleanup is some things the hardest part and it is now confirmed by you
so this is the old handle that i use on my Model 6 Diana's
and i like to use old Boxers because they are lint free

it makes a great cleaning swab
thumbnail_IMG_4152.jpg
thumbnail_IMG_4153.jpg
 
and for those just reading allow that is the perfect setup and with you can get the gears in and the cap on and i will say the side caps can be finger tight at this point and with that the guts stays in place because you next chore is putting the rear cap back on and that is another process
and then with the rear cap on you can take the caps back off add your grease and do a finial install and what is left all the trigger parts and the stock a test and a few cold beverages LOL
 
Make sure to inspect the cogs on the pistons and cam wheels very closely for damage or deformities. It looks like one of yours has a broken cog on the very end. Could be just a weird photo angle making it appear that way, but that is the spot they seem to break at when the seals crumble and the timing gets off. Major reason not to test fire one unless you know for a fact it has been resealed recently.


possible broken cog.jpg
 
Make sure to inspect the cogs on the pistons and cam wheels very closely for damage or deformities. It looks like one of yours has a broken cog on the very end. Could be just a weird photo angle making it appear that way, but that is the spot they seem to break at when the seals crumble and the timing gets off. Major reason not to test fire one unless you know for a fact it has been resealed recently.


View attachment 451871
Can you please discuss what you mean by recent reseal?
My gun was resealed in 2019 by Umarex. Do I need to worry about redoing it, and do you think the replacement seals from 2019 would be of the later type?
Is there any way to suspect if the timing is off without taking the gun apart?