Machining Plastics - How to Make a Poppet, Regulator Piston Seat, etc

No need for coolant when cutting Delrin. Plastics fall into two broad categories: thermoset (won't melt) and thermoplastics (will melt). For some thermoplastics you might want coolant, but because they melt they are usually used for injection molding and not in machined parts.

GsT
You don't gotta run coolant, but it will be much easier to hold tolerances if you do. I think it gets a better surface finish as well when i run coolant vs not. I flood delrin to keep it cool, if i cant use coolant, i have a cold gun with a nozzle i use.
 
After cutting a piece of (black) delrin to length, I installed it in this collet chuck. Some might say a collet chuck is the ideal way to hold this, but I'm really using it because it is what is on the lathe at the moment and I see no reason to change. If I'd had my 3-jaw or 4-jaw chuck installed on the lathe, both of those would have been fine for this job.

Generally speaking a collet chuck should work with a high degree of accuracy. Similarly a 4-jaw chuck (among other features) is capable of being adjusted very precisely. Most 3-jaw chucks are self-centering, so you don't have to adjust anything, but there's usually some loss of precision and you kind of get what you get. In this case it doesn't matter. Because I'll be turning the outside of the part to begin with, the cut part will end up being "perfectly" centered with the axis of rotation even if the outside of the raw material were off several thousandths.

A general rule of thumb is that you don't want the workpiece to stick out of the chuck more than about 3 diameters. This is a 0.25" (1/4") rod, so I wouldn't want to hang it out more than 3/4". BUT, less is always better in terms of rigidity. Since this is a thin part (0.135" thick), I'm sticking it out only far enough to be able to cut that much off, with some allowance for material that will be removed from either end as I make the piece.

View attachment 433034
Great informative postings in this thread. Very generous of you to put your time and thought into this like you have here. Thank you for this contribution.
 
The first thing I want to do is 'face' the end of the material. That will make it flat and square. I might actually face it a couple of times. This is the first cut with this cutter , so it's a good time to look at surface finish and the 'chip' (cut material) to see if everything looks, feels, and sounds right.

The cutter is adjusted to 'center height' - the tip is at the center of the axis of rotation. I move it close to the end of the material, then set it in position to take a light cut from outside to inside across the end of the part. I'm not measuring anything yet, but as soon as I make my final cut, I'll want to zero that axis, because that's how I'll know exactly where I am for future operations.

The pic is pretty crappy, but hopefully you can see the cutter is in the plastic moving across the end of the work.

04face.jpg
 
Next, I want to turn the outside diameter to the correct size. In this case it's only 0.010" smaller than the stock material, so I'm going to take it in one pass. I should mention that typically you would "touch off" on the work - finding an approximate zero at the full diameter. Then you'd make a cut, measure, and adjust your dials or digital readout (DRO) to the measured value. From there you can make accurate adjustments. If high precision is required you'd probably make a measurement or two before your final cut as well, just to verify that everything is as you think it should be. In this case, my tolerance is loose (+0.001" - 0.005") and I was within 0.0005" measured with calipers. If I really wanted to measure as close as 0.0005" I would use a micrometer. Another rule of thumb is that you shouldn't trust calipers for more precision than 0.002", though I think that's pessimistic. In this case I'm just reporting what the calipers said, which is certainly close enough for my needs here.

06turn.jpg
 
Next I have what amounts to three drilling operations. And I got caught up in the moment and only caught the first on camera. No matter - they all look pretty much the same. Here I'm preparing to 'spot' the hole with a spotting drill. Technically this is called a "combination drill and countersink", but the important part is that it's a short, very rigid drill that will hold on center. A long skinny drill might wobble and start the hole off-center. This is completely unnecessary here, but it's good practice. In steel the nipple left by my sloppy facing job might interfere with a long drill, but plastic probably wouldn't in any case.

The step after this was just drilling deeper than the thickness of the part with a drill for the through hole. If you needed that hole to be a very exact size you would drill it slightly undersized, then ream it. A reamer ("chucking reamer" in this case) is a different type of tool. When drilling plastics there are two things to worry about - the material can grab if you're using a standard point drill and if you go too fast the material will push out of the way and your hole will be slightly undersized. Go slow if the exact size is important - drilling or reaming.

The last unshown step was cutting the counter-bore, which I did the same way, but, since it doesn't go through, I had to use the dial on the tailstock to measure depth. I used a regular drill, which is "cheating" - that is my counterbore didn't really have a flat bottom. I did this because I knew it didn't matter here. If it did, I would have ground what's called a 'D bit', probably on the back of an appropriately sized drill. There are probably a dozen other ways to do the same thing, but they're all more time than this part is worth to me.

07spot.jpg
 
This picture might be a little confusing. There's a lip on the collet nut (part of the collet chuck) that appears to be part of the work or the tool. Here I'm touching the face of the workpiece with the side of a parting tool, sometimes called a cutoff tool. Once done, I'll zero the dials (your zero changes when you change tools, so the previous zero is no longer good), then move over by the thickness of the part PLUS the thickness of the blade on the parting tool.

08part1.jpg
 
Having moved over the correct amount, you slowly feed 'in' with the cross-slide to cut the part free from the stock. I should have mentioned in the last post that the tool must be absolutely square to the work. Again, Delrin is very forgiving, but it'll cost you accuracy even if it doesn't break your tool like it might in steel.

I stopped the lathe for a moment, mid-cut, to catch this picture due to lack of a third arm.

09part2.jpg
 
For some thermoplastics you might want coolant, but because they melt they are usually used for injection molding and not in machined parts
I agree with this statement (thermoplastics primarily for injection molding) but it is also true that all of the common plastics we use for machining poppets and regulator seats are thermoplastics. And like you, I find they machine nicely without the need for coolant.

In a little over a decade of tinkering with airguns, I think I have encountered only one example of a thermoset...it was a Chinese-made paintball regulator with what appeared to be a phenolic seat.

Anyway, excellent pictures and tutorial you are stitching together here! I don’t want to derail it. Please carry on.
 
  • Like
Reactions: DonkeyHote
That's the dime tour of some basic lathe operations. There's a lot more to learn! I've been doing this for 25+ years and I still learn new stuff all the time.

I tried to avoid a lot of terminology and I completely ignored the controls on the lathe (on purpose). Ultimately you'll want to pick up on the terminology, if only so you can understand what you might read or see. Lathe controls are another matter, and I ignored them because they're not very standard. Having a clutch lever (the thing that starts the lathe and determines the direction the chuck will spin) is about the only constant (and there's probably something out there that does it another way). But speed and feed and threading settings can look a lot different on different machines.

If you have specific questions, I'd be happy to answer as I can.

YMMV, I have taken a single formal machining class and didn't get a lot out of it. I'll reiterate that eventually you really just need 'seat time' - the more you practice, the better you'll get. You can learn theory until you're blue in the face and still not be able to do anything with that information if you haven't put in the hours ruining perfectly good pieces of material. ;-)

While I recognize the point @Firewalker was making, I strongly disagree for a hobbyist. HSS has almost no place in a professional setting, or only a very, very, specialized place. In the home shop, however, labor is "free" and being able to grind your own cutters gives you a versatility that you will not achieve any other way. I probably have more quality insert tooling than most home shops and I still grind HSS all the time. I see hobby machinists on other boards frequently ask about how to do something that would be simple if they knew how to make a cutter. I think about grinding the same way I think about threading (there are a lot of lathe owners that are terrified of threading) - they're giving up half of their capabilities.

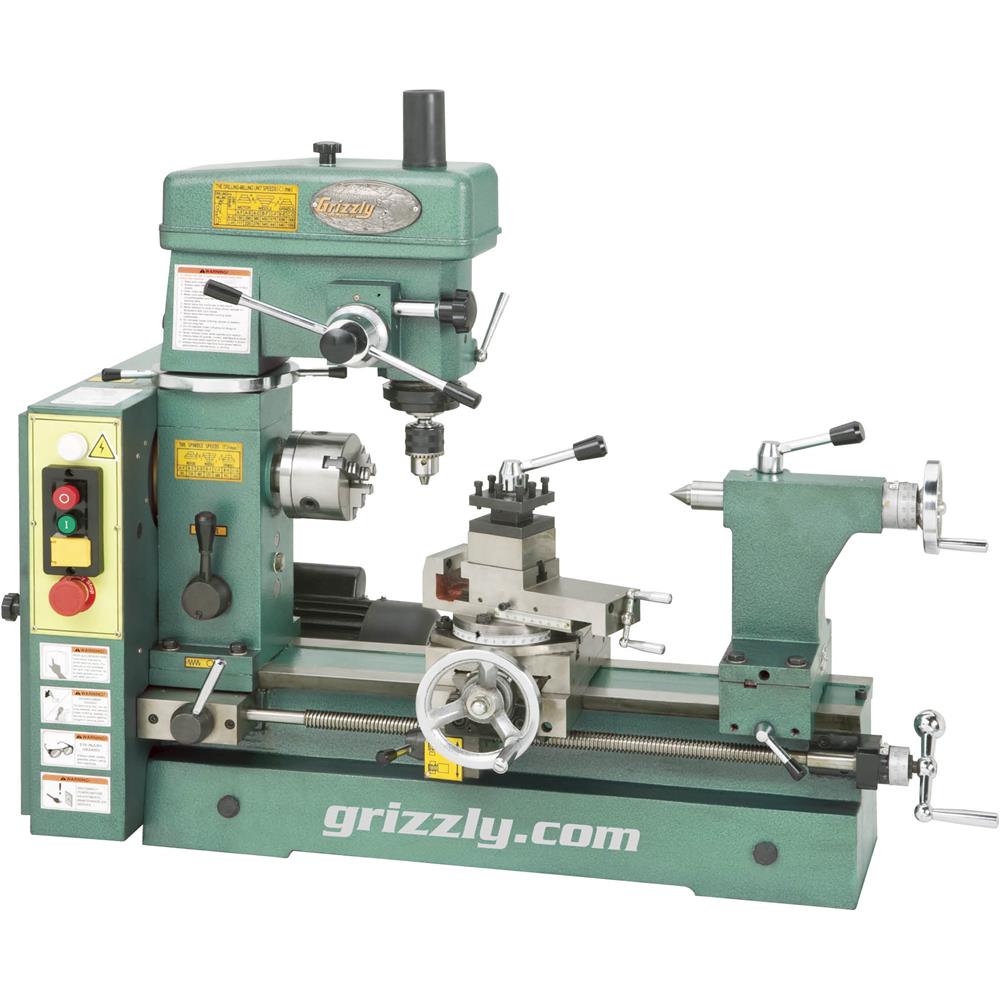
Tools. I'd steer clear of Harbor Freight or Vevor for the machine itself. Grizzly is a minefield of varying quality levels. I have known several people that own the Grizzly G4003 and it seems like a good machine. Generally, the bigger the Grizzly machine, the better the quality. Precision Mathews has a very good reputation, but I can't vouch for them personally. Old US iron is great, but can be hard to find depending on your location, and buying used is always risky until you have some experience. There are a lot of pretty trashed machines out there. I started out with a 3-in-1 machine (Smithy) and while I don't entirely regret it, I was upgrading within a couple of years. I'd suggest avoiding combo machines and starting with a lathe, then adding a mill. The book "The Amateur's Lathe" by Sparey is excellent and will show you a lot of ways to do milling type operations on a lathe.

Much of this is *my* opinion, and I'm not going to engage in any heated debates on the subject - I've said my piece. I am happy to clarify or answer questions. Rest assured someone will come along and disagree with everything I've said. That's fine. These are my thoughts.

GsT
 
FWIW, a simple lathe can transform airgun tuning .... the $799 Harbor Freight is the price of a plain AA Springer or a very middle of the road PCP.
I have literally saved $3K-$5K over the last 10 years doing all my own work. If you haven't done some tasks on a lathe, there is much information out there to help you ... not to mention some great GTA/AGN members.

I simply would not be tuning airguns if I didn't purchase a lathe .......... (y)
 
Last edited:
Machines. I just realized that I've been remiss. If you're only going to work on small (e.g. airgun) parts, look at Myford, Taig, Unimat, and Sherline. Expect to pay a king's ransom for a Myford (a shrunk down version of a bigger lathe), but less for the others. The Sherline, in particular, is a great machine for these tiny parts. This is especially true if your space is super limited. Some of these machines are small enough to put away in a closet when you're not using them. Smaller machines mean smaller cuts, but I've seen some impressive work done by all of the aforementioned.

GsT
 
I've got a gunsmithing lathe, it's very nice but I rarely use it.

My 30 plus year old Harbor Freight 9X19 gets used nearly every day because it's easy, quick, accurate enough for airguns.

Sure, I could change the 4 jaw but it's got to be hoisted in/out, it's just too big.

Kids got a 8x30 Vevor lathe and it does just fine.
It all boils down to what you do. My current lathe is a 14x40 with a huge ( ~2-3/4") spindle bore. It weighs somewhere around 4500 lbs. Huge by hobby standards. That said, I'd have a hard time going smaller. The things I work on and the manner in which I do my work have evolved around a large machine. If you're used to a small machine, and it accommodates your work, you may never miss it. This is an even more important point with tooling. You can spend much, much, more than the price of a lathe on tooling. Some people run out and buy stuff that they see others using, without considering what they will use it for. I'm guilty of this. I have a few tools, which, while excellent I simply don't use. They'd be great for someone doing different work, or doing their work in a different fashion, but they don't fit the way I work.

Which leads me to yet another recommendation: don't go buying tools willy-nilly. It'll slow you down, but when you think you need a new tool, carefully consider what you need and how often you're likely to use it. If it's something you're going to use regularly, then by all means go for it. If it's just a cool tool that you saw someone else use, or it's something that would help you out this one time, consider improvising or farming out the task. No point in having a $1500 rotary table or $600 Taster indicator collecting dust because you thought it would be handy...

GsT
 
This one but a little older, same part number through.