Reseal of Hunter #95 This was the first time I've disassembled a USFT, and it was pretty cool to see how it works. My take-away was that LD's naming his baby the "Simple Simon" was spot-on, cuz there's just not a whole lot complicated about them. Simply not a lot of rings, and no complicated parts. Elegant in their simplicity.
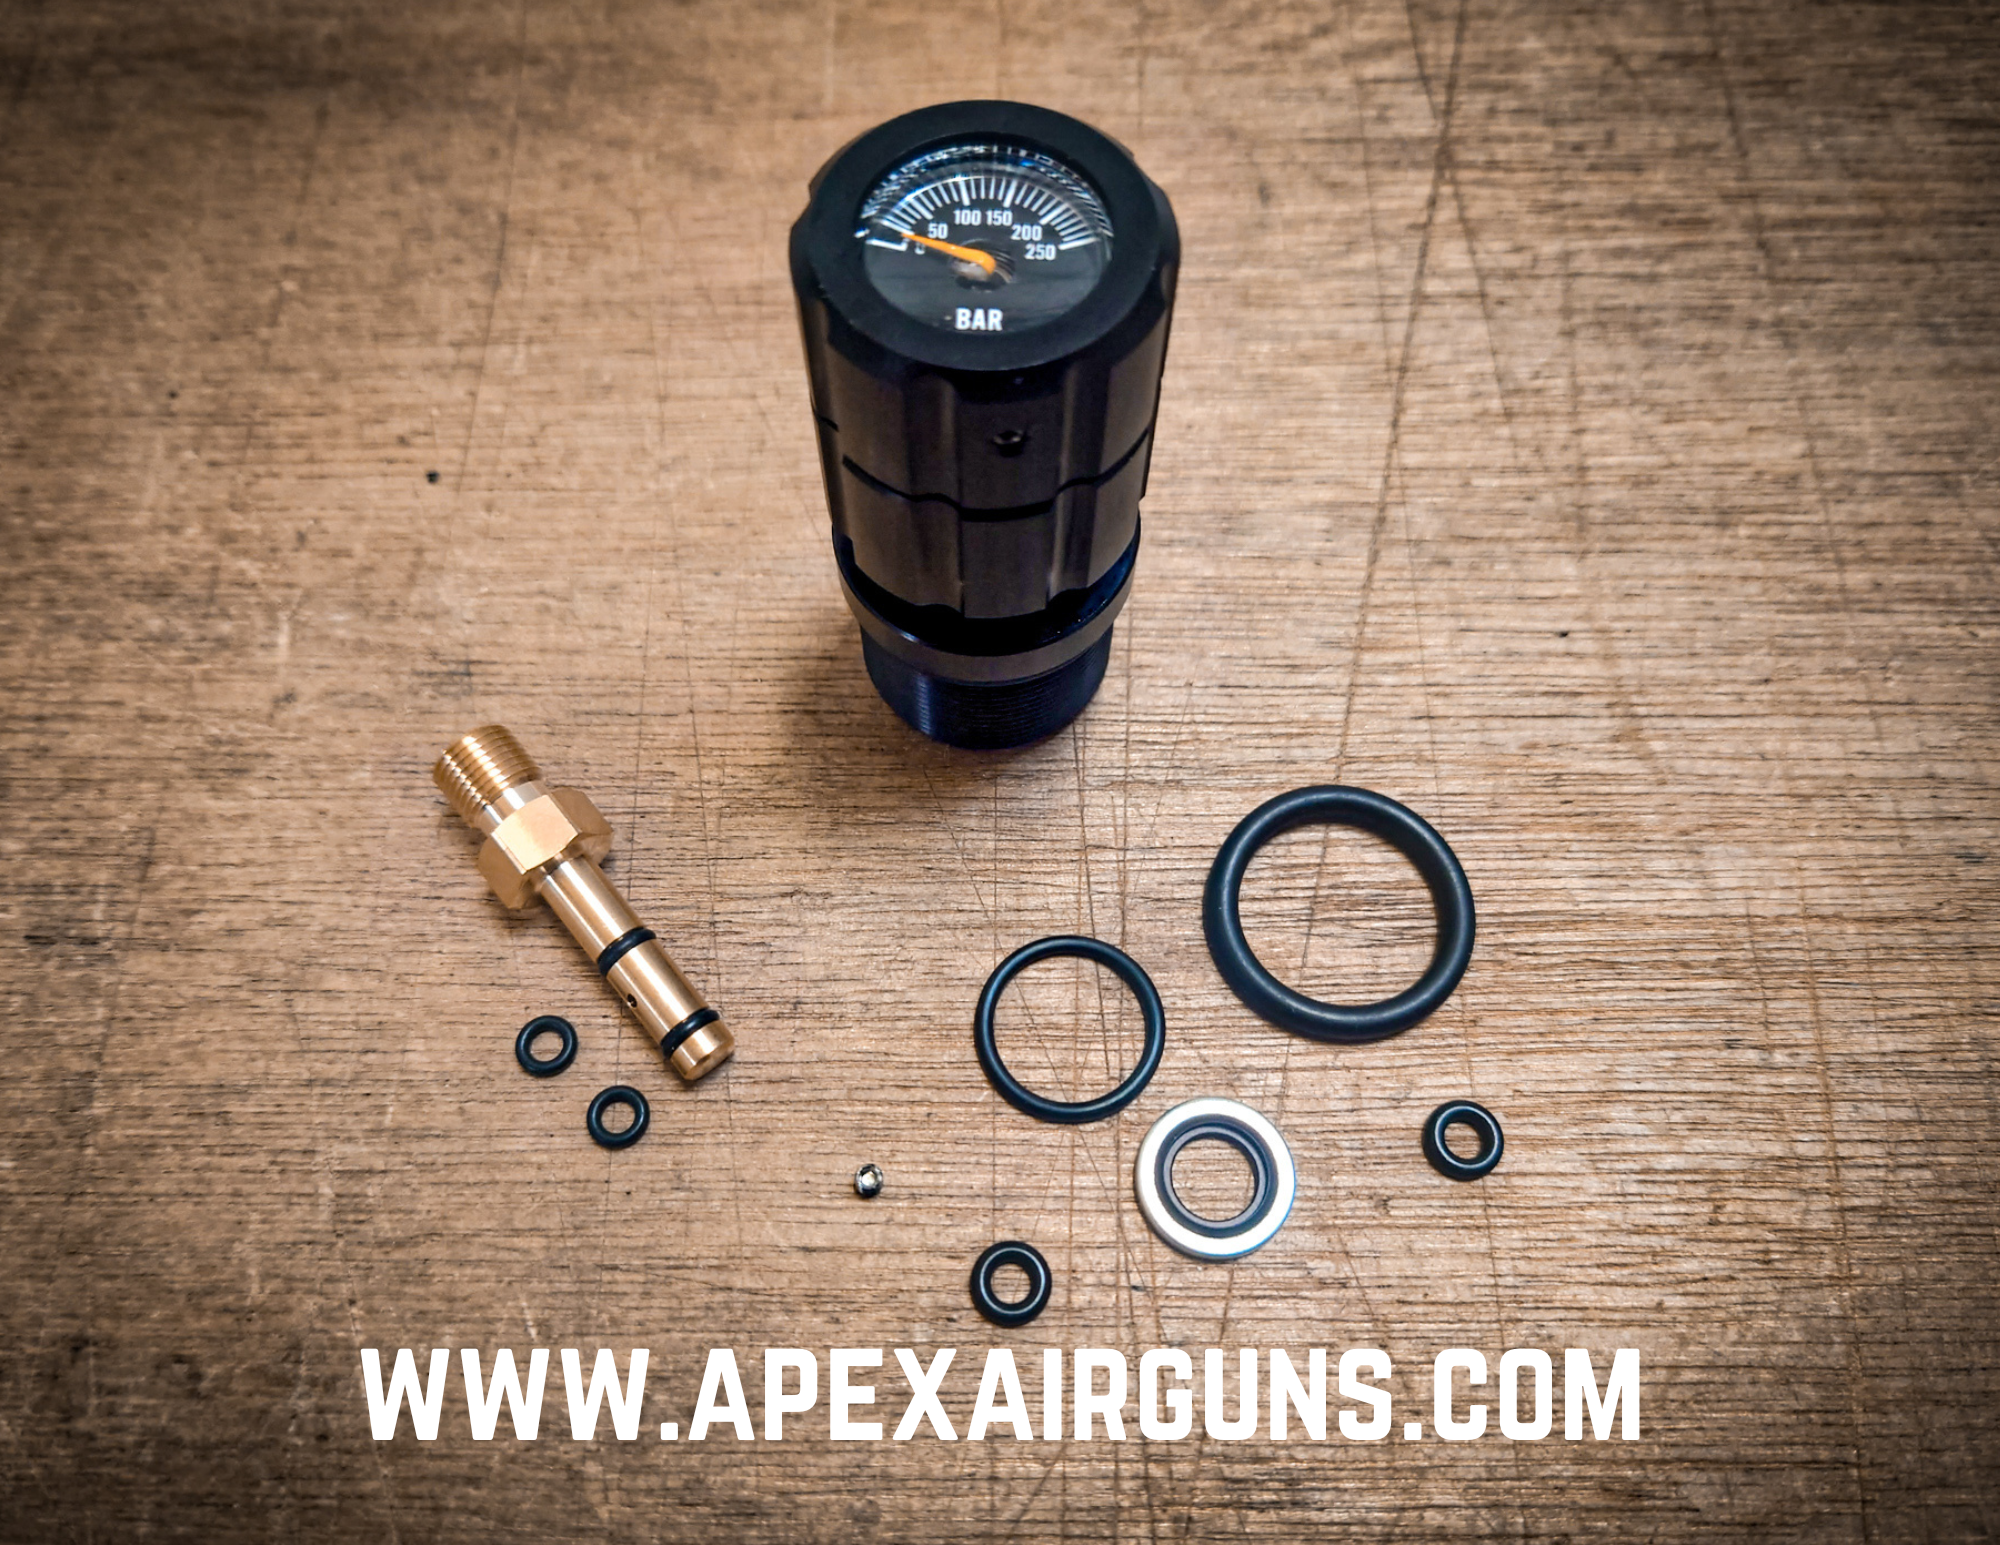
All the parts laid out...
First task was to file down (yeah, I groan inside just thinking about it) the raised bumps for the holes through the tube. For whatever reason, this particular USFT had some nasty ridges of sharp aluminum at the boltholes through the tube. In texting,
@Arzrover speculated that perhaps A BUNCH of barrel swaps while pressurized could lead to this. I was wondering if over-torqueing the bolts could cause it. Dunno for sure, but it needed ameliorated. So, file. This was the before and after of the filing and then some alumiblack to try to touch up the filing. Of note, the distorted metal is mostly on the side of the holes that the bolts would be pushing on from the pressure in the tube. I inspected my personal USFT, and it doesn't exhibit any of this hole distortion. Again, was # 56 over-pressurized at some point in it's life? Problem is now solved. I did verify that there were no sharp burrs at the bolts holes on the inside of the tube (potential for cutting orings on reassembly).
End plugs for air tube...
Of note here is how three of the six oring grooves are un-anodized. Tim's reseal kit only contained 3 of the urethane 028s for this groove, and one of the black (viton/buna?) 028s, yet this particular gun needs a total of six. The non-anodized grooves and not enough of them in the seal kit made me wonder if these were added by some owner some time after it left Tim's hands. Regardless, I had ordered extra 028s in case I nicked one or had trouble getting it to seal so it worked out.
Tim is huge on urethane orings, specifically 90d. His old website talked about their longevity. My personal USFT was made in 2017 and still has the original orings. If I'm remembering correctly,
@Arzrover told me his from the early 2000s is still running on originals too.
This is what some of the orings I took out of #56 looked like...this one was under the fill port, if I'm not mistaken.
The large 028s that seal the air tube plugs were black, not the typical opaque color of a urethane oring. They also felt soft for 90d. Leading me to believe that somebody resealed this gun after Tim.
Here are some close-ups...
The valve is removed through simply unthreading it, using the pin holes on either side of the exposed valve stem. A tool was sold by Tim for this express purpose at one point, but I had some pins that fit perfectly and worked just fine.
Poppet return spring sits in that small depression in the bottom of the threaded hole that the valve comes out of.
Swing breach removed from valve here. It rotates on those two parallel orings for opening and closing for loading/firing.
All said and done, I got it resealed and now holding air. But it did require a few baths and hair dryer/time on the trampoline in the sun a few times for the dry-out.
The pile of orings that came out of it. Those big black 028s were looking pretty ratty.
What I learned that could help anyone resealing one in the future...
- DO NOT fill your threaded bolt holes through the breech with grease. Whoever owned this thing before the last two owners filled the threaded holes with nasty, black, tarry grease. I can only presume they did this with hopes of making barrel changes easier. And since we're talking about steel bolts in aluminum threads, some grease is a probably a good idea. But I question their choice, and their excessive use. It was prodigious. I was reminded of greasing farm implements with a grease gun. Whoever did this to this gun had to have put three or four pumps from a grease gun into all four bolt holes. It was frankly, comical. Cleaning up the grease was a large part of the reseal process.
- Don't hesitate to dunk it underwater. It gave me invaluable information about where I had leaks after my first reassembly with new orings.
- The biggest was the poppet. I was hoping to reserve the replacement poppet and spring that Tim included in the reseal kit for future use by this gun's owner. But the previous poppet didn't want to hold air so I put the new one in. I grabbed hold of it with an electric drill and gently pulled it against the valve seat and briefly spun it. This was to coax the new one into sealing. And it worked the first time.
- I had a slow leak from the gauge and the fill port. Slightly tighter got those sorted.
- I had a small leak from the front end plug. I pulled that and replaced one of the white orings with the singular black one Tim included in the kit. I don't know if that black one was supposed to go in any particular place, or if it was meant for a trouble oring groove, but that's what I did, and it worked.
- The inner air passageways of the valve require it to be in the correct orientation, which requires MUCH more force on threading the valve back in than I would have guessed. The correct orientation is that the disassembly pin holes of the valve need to basically line up with the barrel. If the pins are not in line with the barrel (think , the air passageways are blocked, and....no air makes it to the barrel when the trigger is pulled. Think of the disassembly pin holes as the handle of a ball valve for PVC pipe and you'll know what I'm talking about..."open" is when the handle aligns with the flow of water, and "closed" is when the handle is at a 90 degree angle to the flow of water (air).
- The tiny little oring in the check valve is a pain in the butt. Being 90d, there's just not much stretch. And being so small makes it even harder. I eventually got it, but it was a bit frustrating that such a simple little part of the process took so long. I was taking great care in not scratching or nicking the oring groove. And the check valve is just tiny to hold onto. No tips here, just be patient.
Shortly after resealing it I spent some quality time doing the fun part: shooting it.
In our FT game, the ability to address the wind at the time of trigger break is usually what separates out the field. BUT starting with a combination that minimizes the effects the wind has on the pellet in flight makes perfect wind reads much less critical. As I've worked through various...

www.airgunnation.com
So now that it's holding air, I can address the owners next concerns, accuracy. The first step was a gun rule-out/control by dropping in a known exceptional barrel (explained in the link above).
Here are red and black Hunter #95 and my personal Hunter #165.


