its holding up great double layer attached to a piece of Kevlar from local police station I got from a buddy who was a carpenter when building the cop shop
Upvote 0
http://www.homedepot.com/p/Envirotile-24-in-x-24-in-XL-Brick-Black-Rubber-Paver-4-Pack-MT5001273/206293313"mtngerry59"Pick Up In StoreUnavailable at Portage (kalamazoo)Check Nearby Storespackage iconWe'll Ship It to YouUnavailableShipping is unavailable for this product
")
I just recently bought the horse stall mat from farm and fleet 3/4 thick 4 by 6 made 2 20 by20 works great
I've been thinking about how to build a quiet, larger, and easy to service target. I also wanted it to be portable to mow under and move to different yardage.
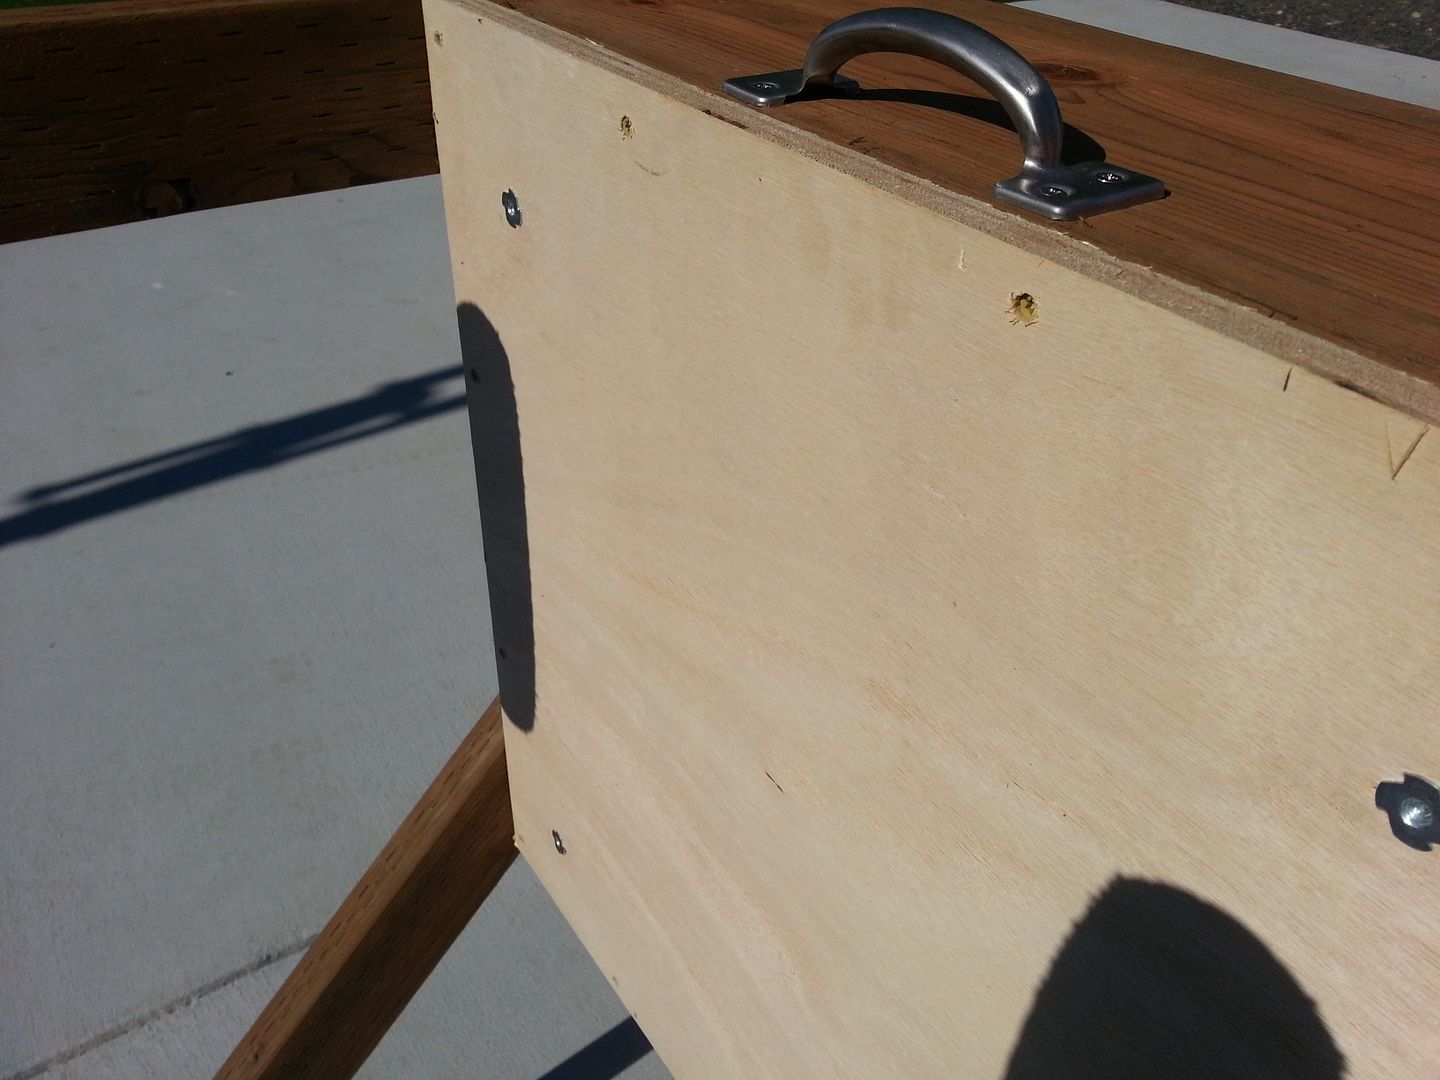
So what I wanted to do was make it portable and serviceable. When the target is tipped down it acts as a wheelbarrow of sort. This also makes it parallel to the ground to lift off the top to add without spilling rubber mulch.
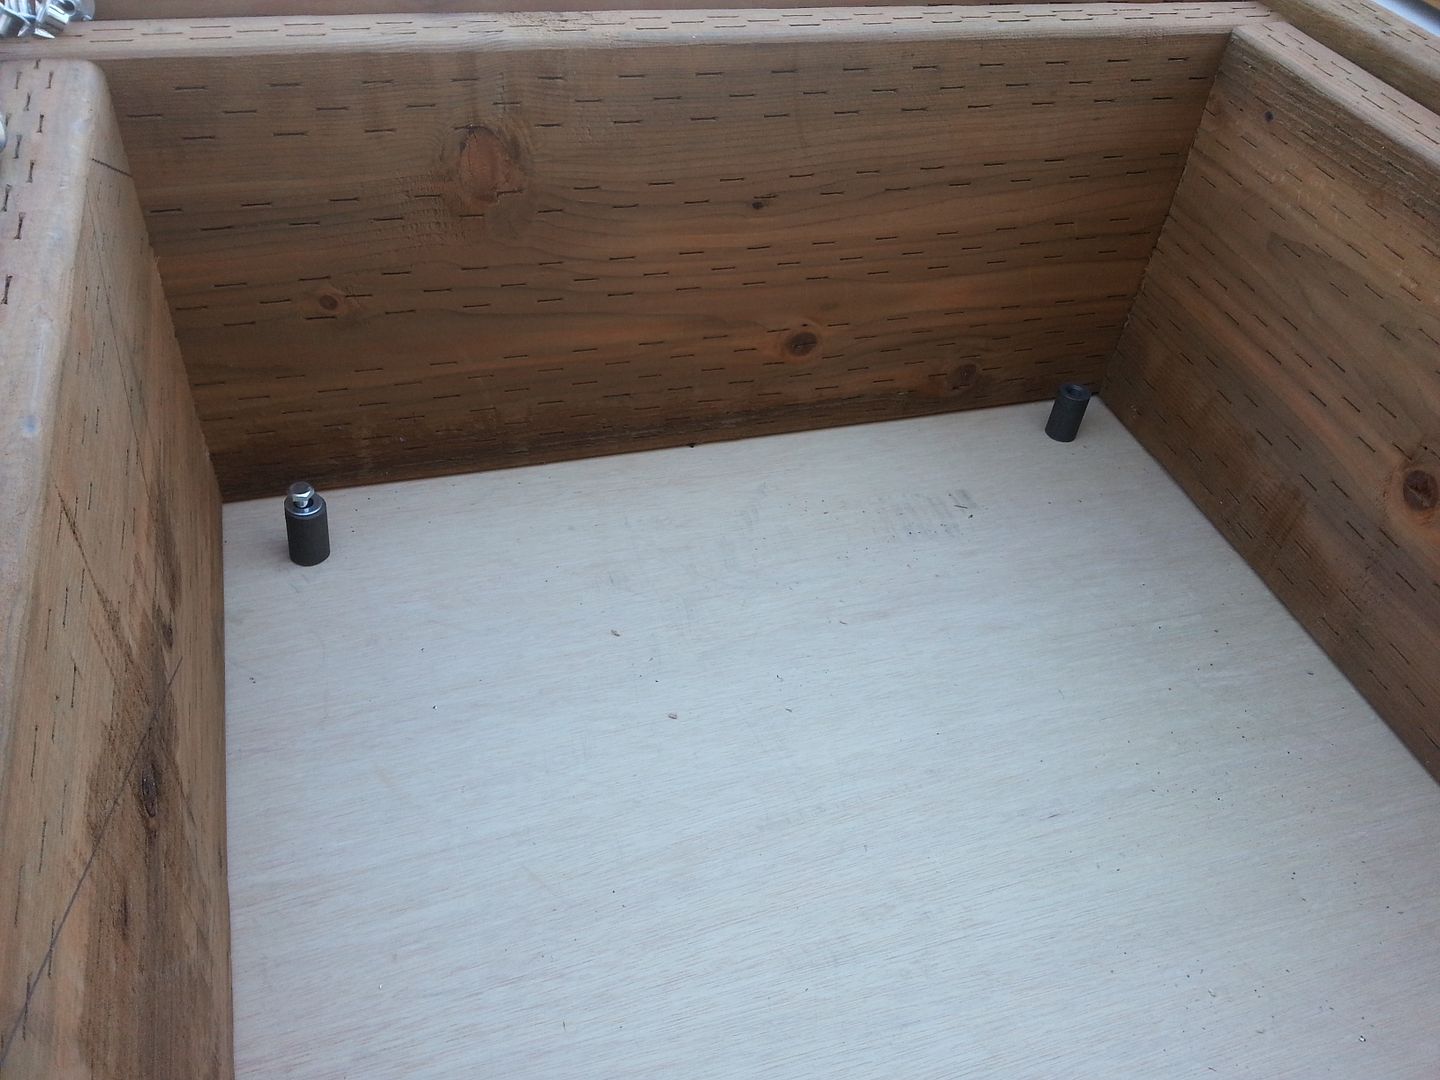
Perhaps overkill but I placed a steel plate it the back that would stop any pellet that made it though the rubber mulch. I wanted it to stand off so it would dent and not punch against the wood.
For the inset edge that I attach the face, I used inserts that will have wing bolts screwed into.
On the top I added a handle to aid in tipping it upright. I also added a long eye bolt to attach a wind ribbon. The background shows a set of wheels turned inward to protect them from stray pellets.
For the face of the target I used a 2'X2' rubber outdoor tile. As you can see the wing bolts can be used to attach it. I have a wingnut driver for my drill that makes quick work of it.
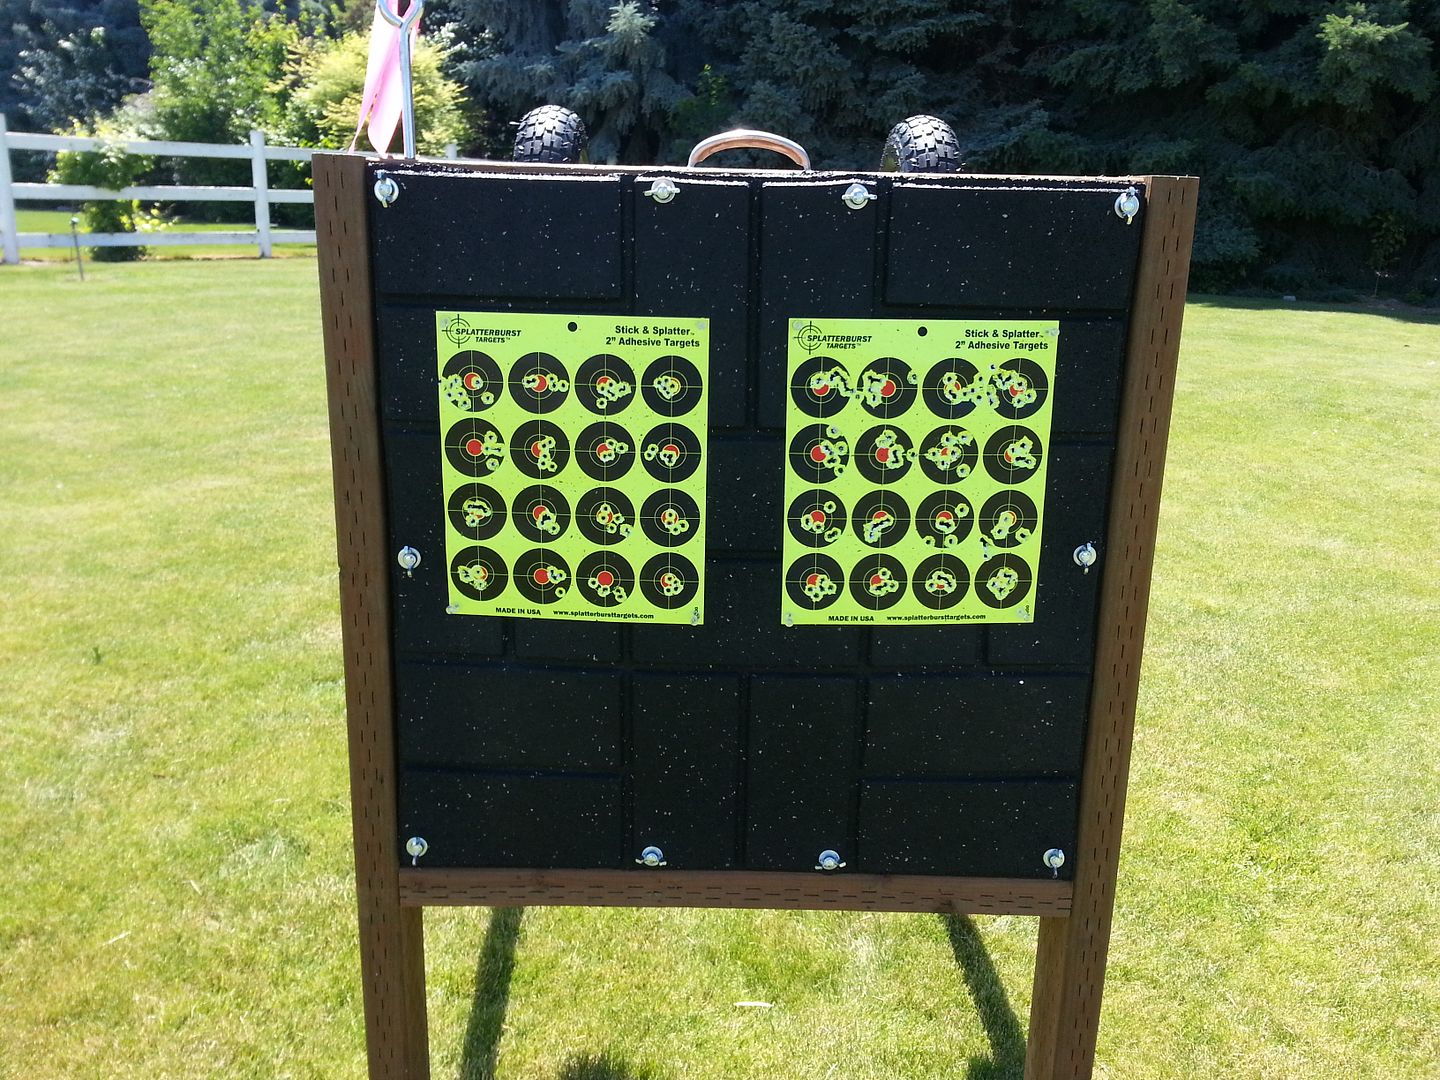
I'm am pleased with the results. Just using thumb tacks to hold the targets. It is very easy to roll to the correct yardage. I just drive tent pegs into the ground to keep my correct yardage. The tile used on the face is almost self healing. Very impressed how well it holds up. From the picture above It was shot with a .25 (right) vs. .22 (left) at 50 yards.
All in all it works well for what I'm doing. I want to say, I spent about a $100 on the project. The rubber mulch was a little spendy at 3X $10.00.


