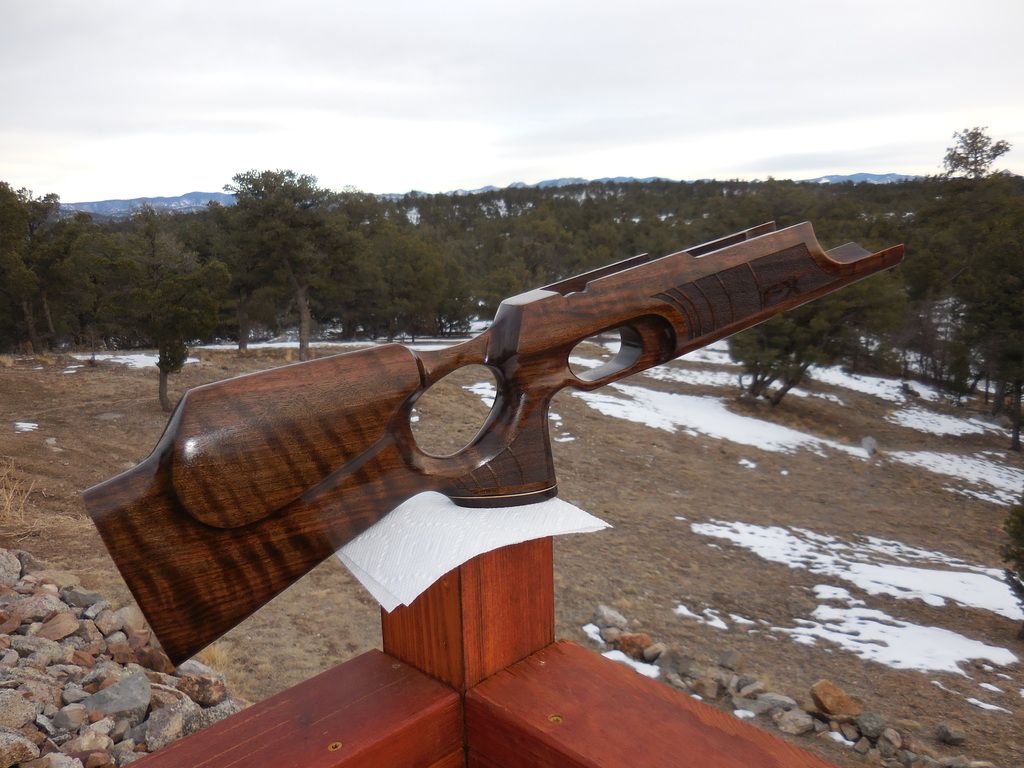
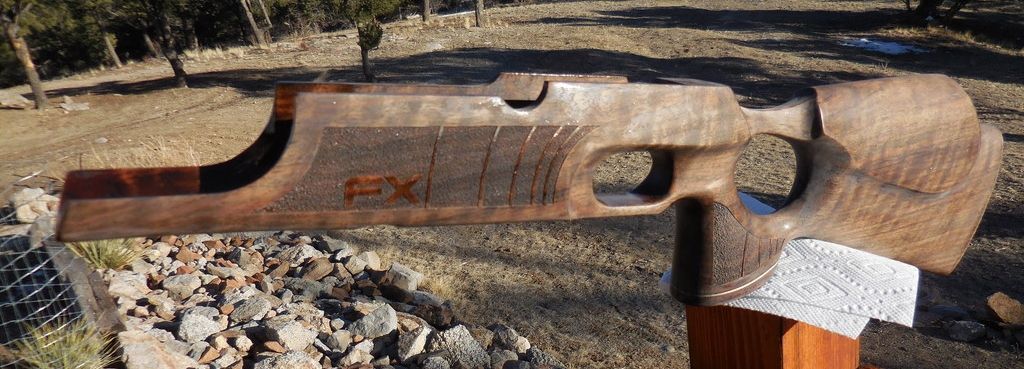
I've had this "block of wood" ") sitting around for quite a few months waiting for me to get to it. I started on it today by hand sanding it down with 400 grit then I followed that by rubbing it with 000 synthetic wool. I use synthetic over steel wool so that there's no chance of leaving bit of steel behind that could corrode later. I'll rub it again with 0000 synthetic wool before moving on to final cleaning.
sitting around for quite a few months waiting for me to get to it. I started on it today by hand sanding it down with 400 grit then I followed that by rubbing it with 000 synthetic wool. I use synthetic over steel wool so that there's no chance of leaving bit of steel behind that could corrode later. I'll rub it again with 0000 synthetic wool before moving on to final cleaning.


For those of you that own a Royale - Beware! The older stocks were made for the older metal bottles. The new Carbon Fiber bottles are fatter and WILL cause a fit issue.
2.378" (The leather boot actually makes the metal bottle fatter than the CF one! 2.46")

2.442"

You'll have to do some inletting on an older stock if you replace your metal bottle with a CF one. You could also shim the stock so that it sits farther away from the action by putting a washer between the stock and the action. If you did that you'd still have 2 points of contact 1 at the stock screw and the other would be the front of the stock pushing on the bottom of the bottle. If you look at pictures of Royales you might notice that the gap between the bottle and the barrel is not in line. In some cases the bottle will actually be pushed up to the point of touching the barrel. If you inlet, your contact point will be the length of bottom of the action which is much better.
I used a dremel with a sanding bit to SLOWLY and CAREFULLY sand out the areas where the bottle was conflicting with the stock. There ate two areas, one is the very tip of the CF and the other is at the apex of the bottles curve. If you attempt doing this, take your time, use slow speeds, and do not rush. You could also use a more aggressive grit and hand sand this area by wrapping the sandpaper around the bottle (grit side out) and then use the bottle as a sanding block.
I wasn't overly concerned with esthetics since this area is hidden by the bottle so, I opted for the Dremel.
The area that is the trickiest is right at the edges. Both at the top of the stock and at the bottle curve. One little "oops" could easily leave you with a gouge.

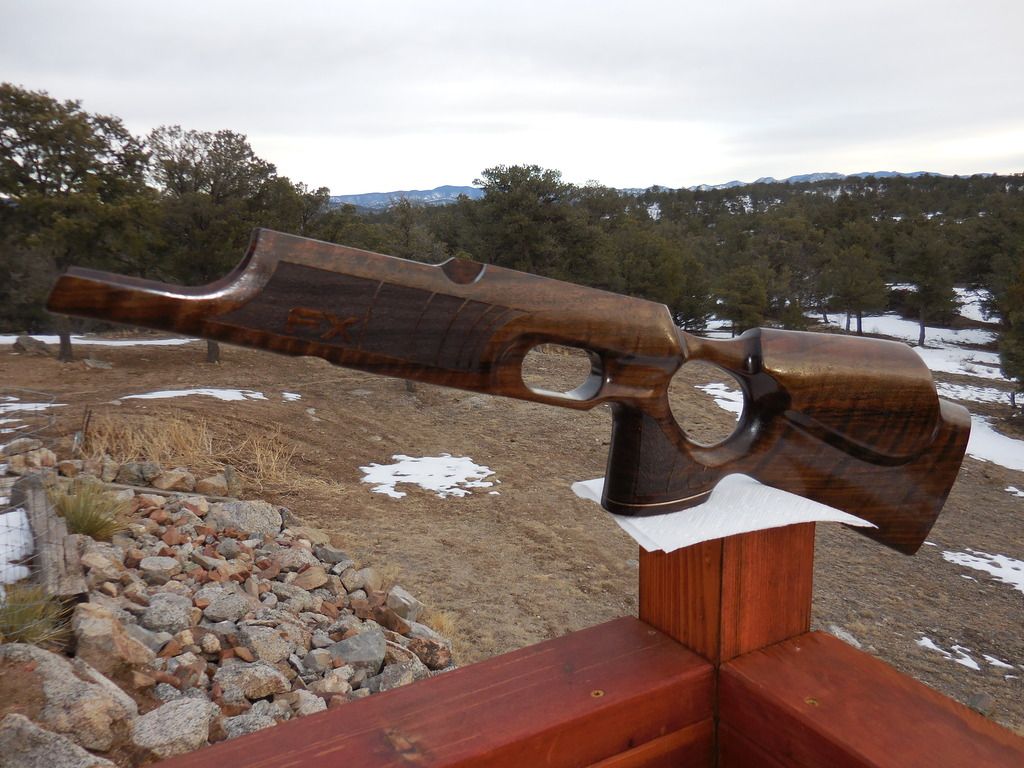
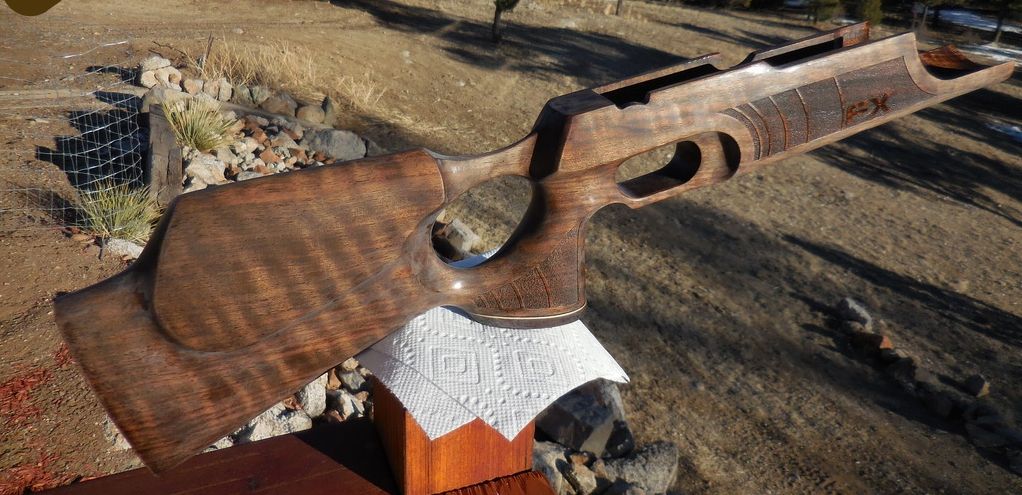
Here it is with my other grade 2 stock, ready to be cleaned and finish applied. I can get a sneak peek of what it will look like by applying a thin coat of paint thinner. My final cleaning will consist of shooting compressed air at the stock which should help remove any leftover sanding dust that may have settled into microscopic void spaces in the grain. Then, I'll go over it with paint thinner to pick up any dust or debris that might be left behind and then probably shoot it with compressed air again.

A little paint thinner,

A little more paint thinner,

I'll be using the finishing process mentioned in this thread by T3PRanch.
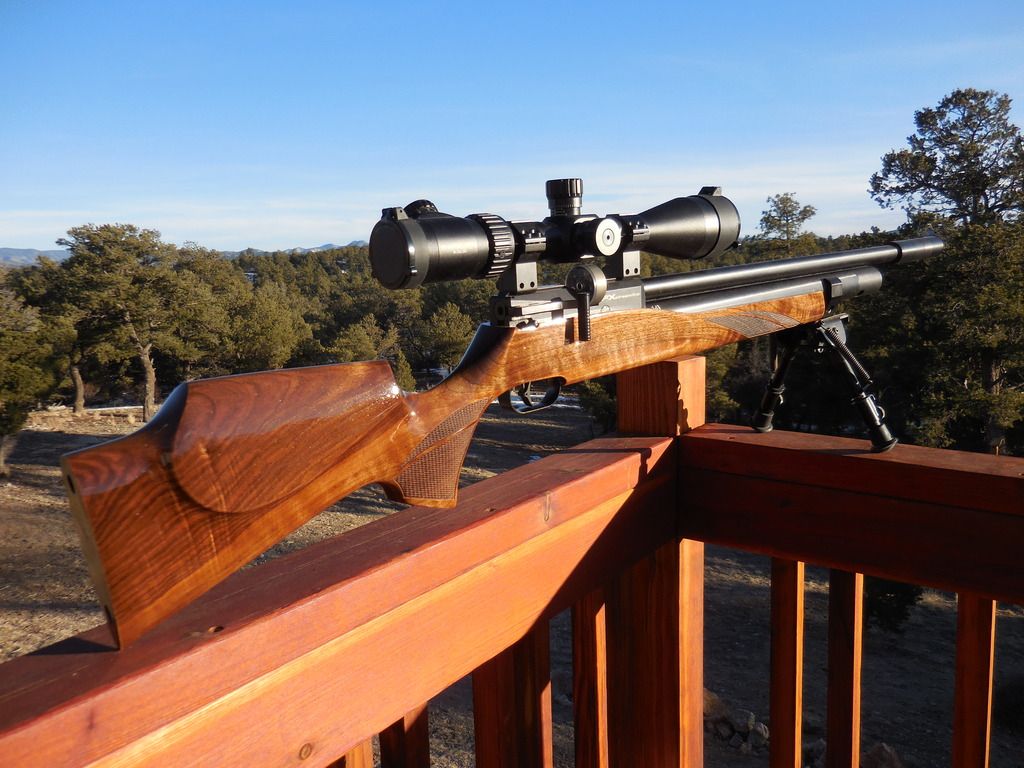
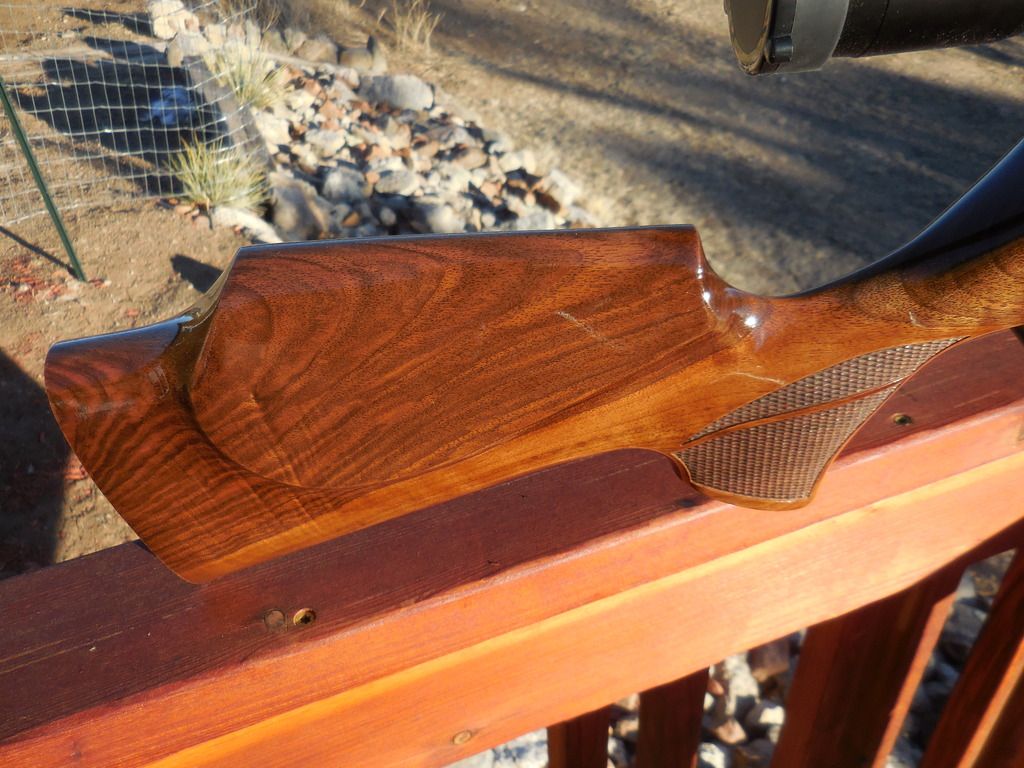
I'm also going to get my Streamline stock prepped and ready as well since it came with such a pretty stock.

Happy Shooting!
Tom
sitting around for quite a few months waiting for me to get to it. I started on it today by hand sanding it down with 400 grit then I followed that by rubbing it with 000 synthetic wool. I use synthetic over steel wool so that there's no chance of leaving bit of steel behind that could corrode later. I'll rub it again with 0000 synthetic wool before moving on to final cleaning. For those of you that own a Royale - Beware! The older stocks were made for the older metal bottles. The new Carbon Fiber bottles are fatter and WILL cause a fit issue.
2.378" (The leather boot actually makes the metal bottle fatter than the CF one! 2.46")
2.442"
You'll have to do some inletting on an older stock if you replace your metal bottle with a CF one. You could also shim the stock so that it sits farther away from the action by putting a washer between the stock and the action. If you did that you'd still have 2 points of contact 1 at the stock screw and the other would be the front of the stock pushing on the bottom of the bottle. If you look at pictures of Royales you might notice that the gap between the bottle and the barrel is not in line. In some cases the bottle will actually be pushed up to the point of touching the barrel. If you inlet, your contact point will be the length of bottom of the action which is much better.
I used a dremel with a sanding bit to SLOWLY and CAREFULLY sand out the areas where the bottle was conflicting with the stock. There ate two areas, one is the very tip of the CF and the other is at the apex of the bottles curve. If you attempt doing this, take your time, use slow speeds, and do not rush. You could also use a more aggressive grit and hand sand this area by wrapping the sandpaper around the bottle (grit side out) and then use the bottle as a sanding block.
I wasn't overly concerned with esthetics since this area is hidden by the bottle so, I opted for the Dremel.
The area that is the trickiest is right at the edges. Both at the top of the stock and at the bottle curve. One little "oops" could easily leave you with a gouge.
Here it is with my other grade 2 stock, ready to be cleaned and finish applied. I can get a sneak peek of what it will look like by applying a thin coat of paint thinner. My final cleaning will consist of shooting compressed air at the stock which should help remove any leftover sanding dust that may have settled into microscopic void spaces in the grain. Then, I'll go over it with paint thinner to pick up any dust or debris that might be left behind and then probably shoot it with compressed air again.
A little paint thinner,
A little more paint thinner,
I'll be using the finishing process mentioned in this thread by T3PRanch.
I'm also going to get my Streamline stock prepped and ready as well since it came with such a pretty stock.
Happy Shooting!
Tom